Keycloak
Discover step-by-step instructions on configuring a connection with Keycloak. Learn how to integrate your application with Keycloak for secure and streamlined SSO authentication.
How to start

Open your Keycloak Server
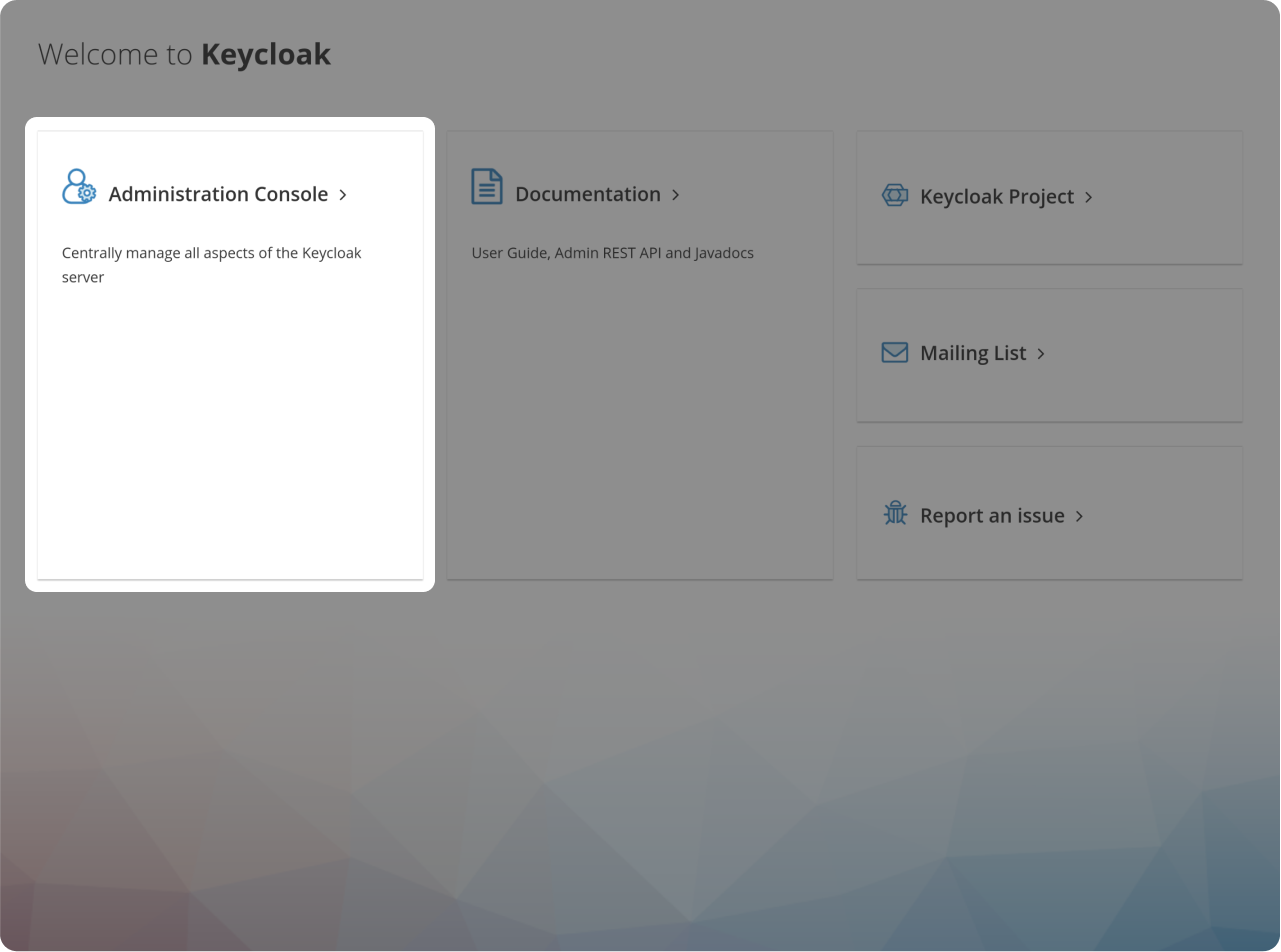
Click on "Administration Console"
Declare a client

Login to your Admin Account
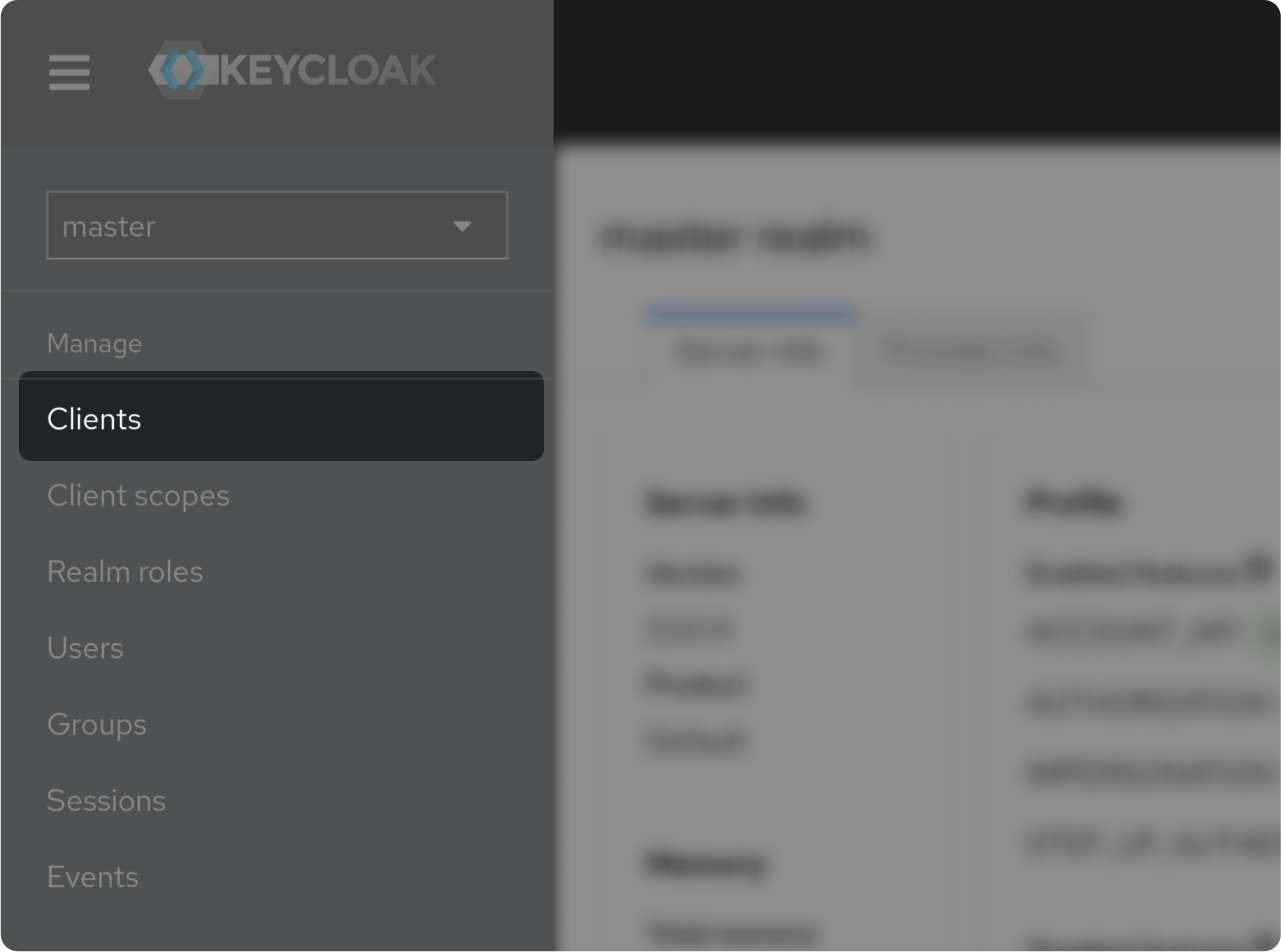
Click on "Clients"
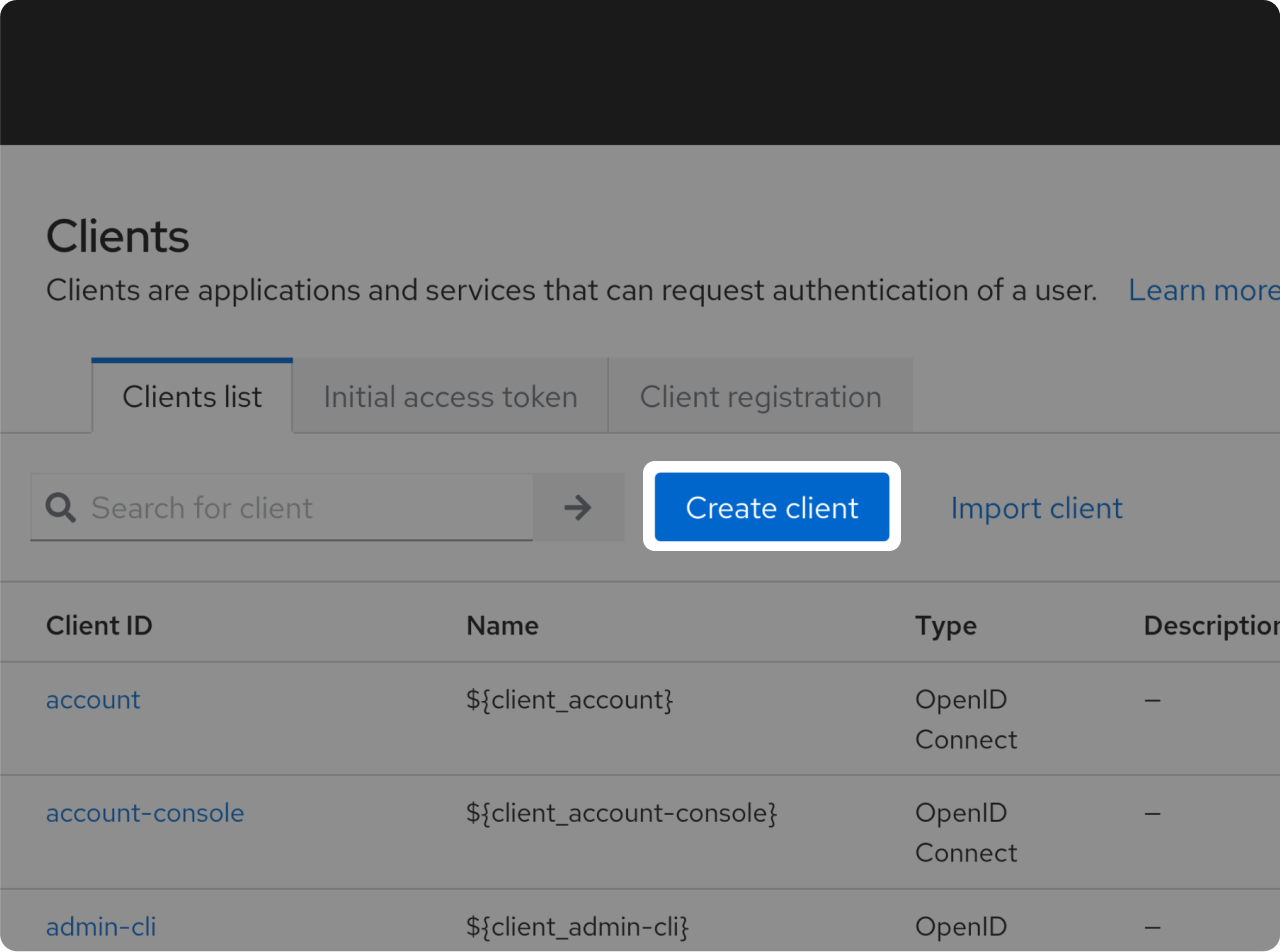
Click on "Create client"
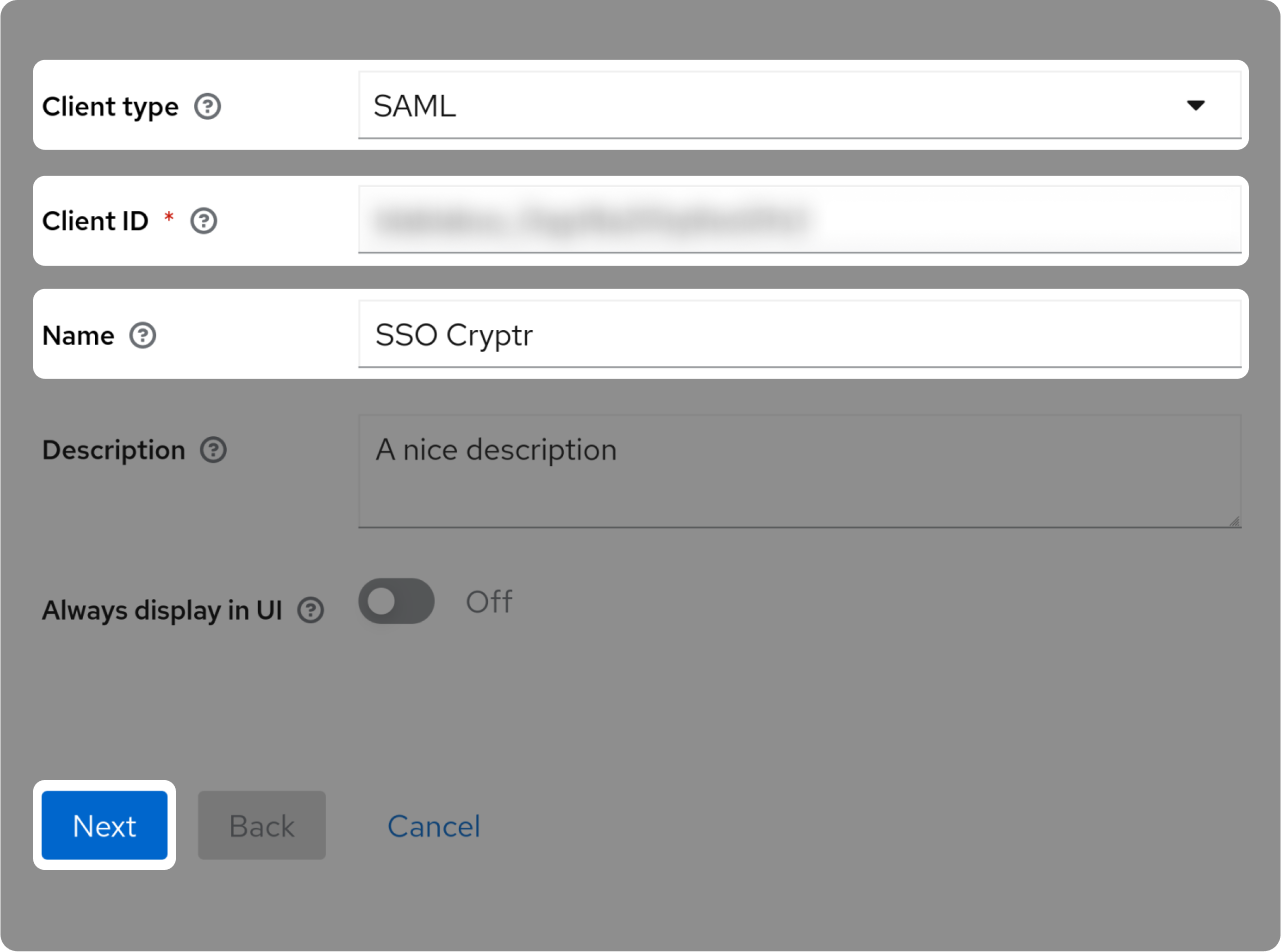
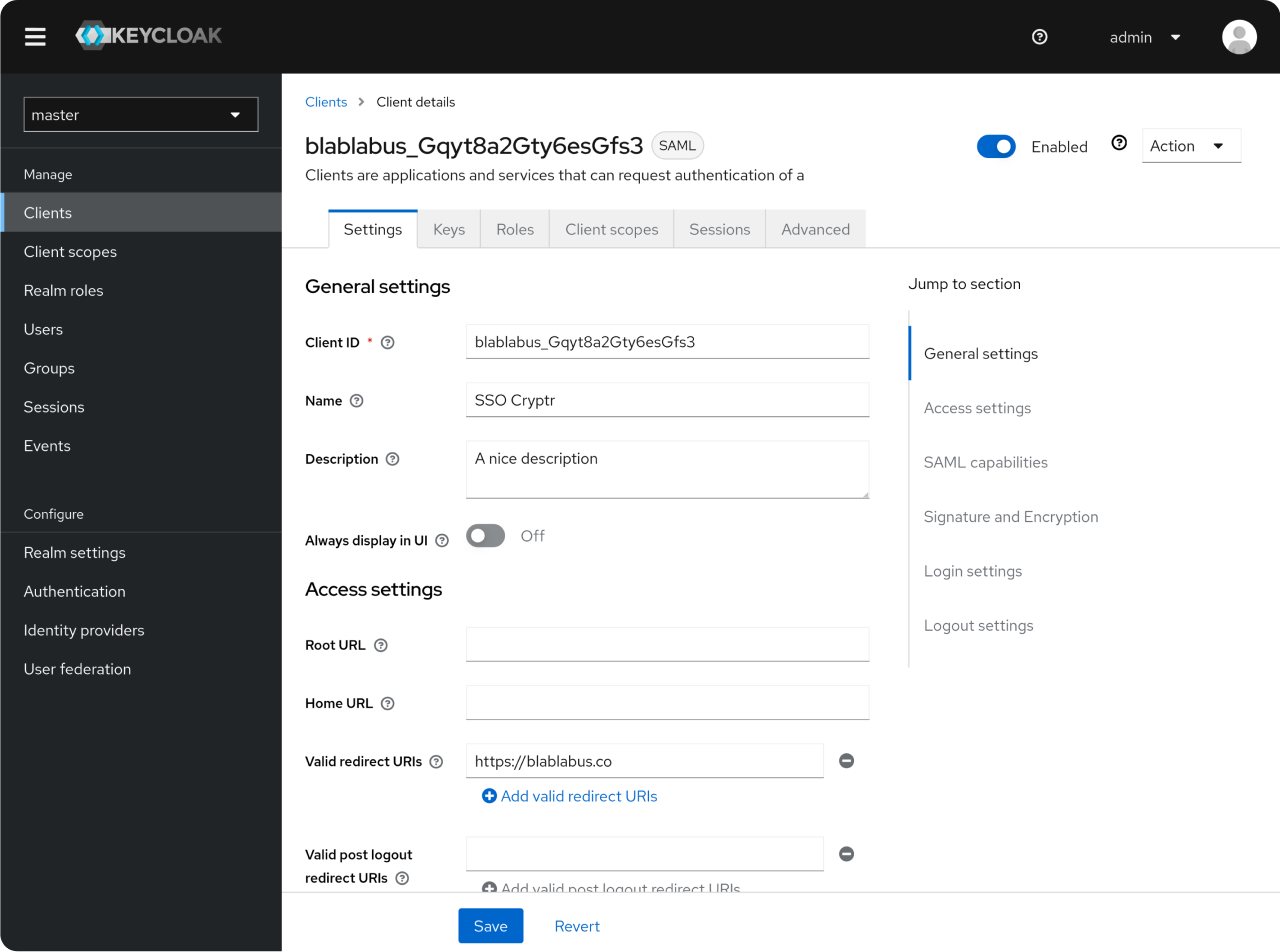
- Select "SAML" for "Client type" field
- Paste "Client ID" value you'll find on right side of this screen in "Client ID" field 👉
- Type a custom friendly name in "Name", then click "Next"
Configure Client
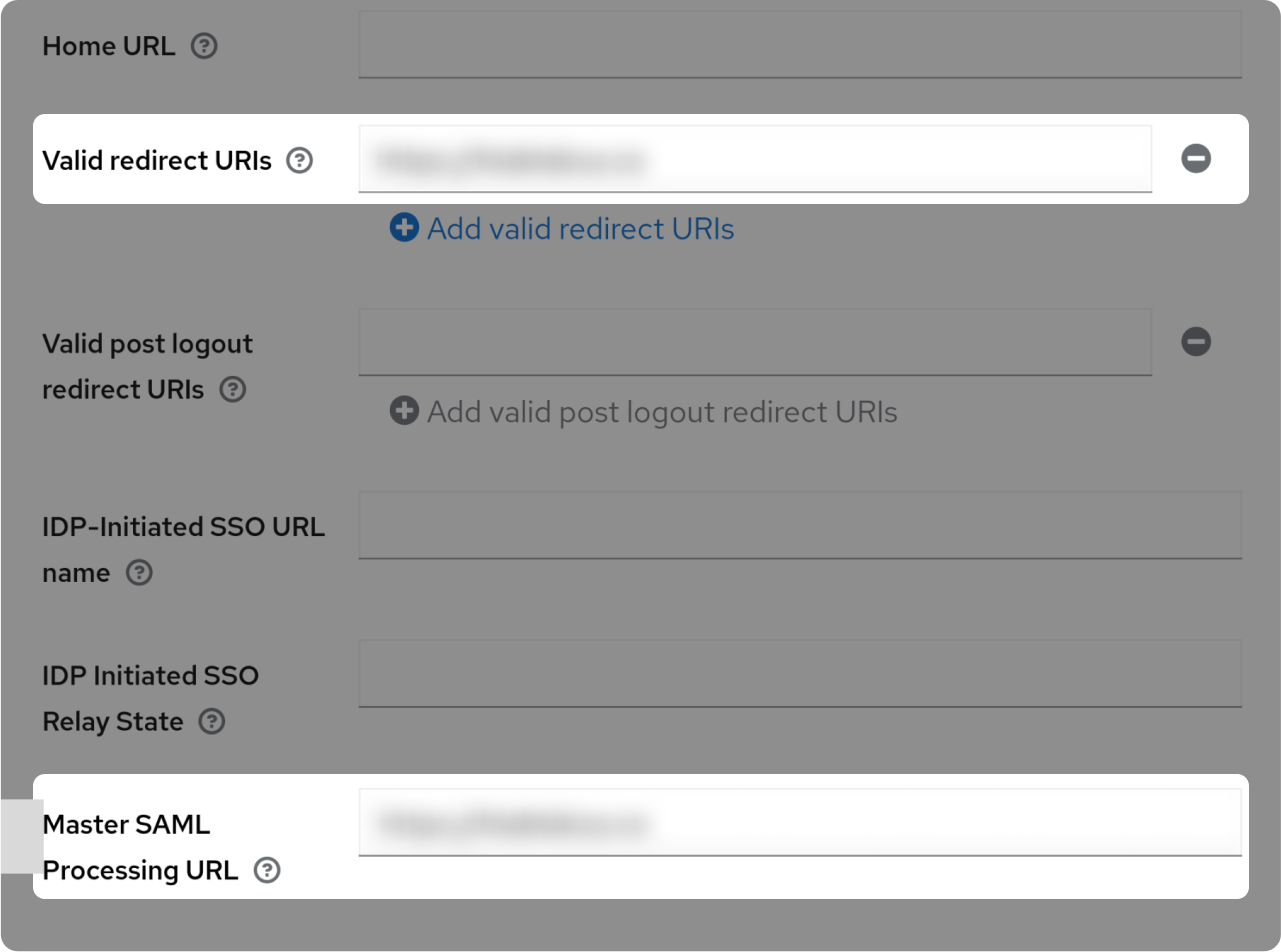
- Paste "Valid redirect URIs" you'll find on right side of this screen into "Valid redirect URIs" 👉
- Paste "Master SAML Processing URL" you'll find on right side of this screen into "Master SAML Processing URL" 👉
- Save
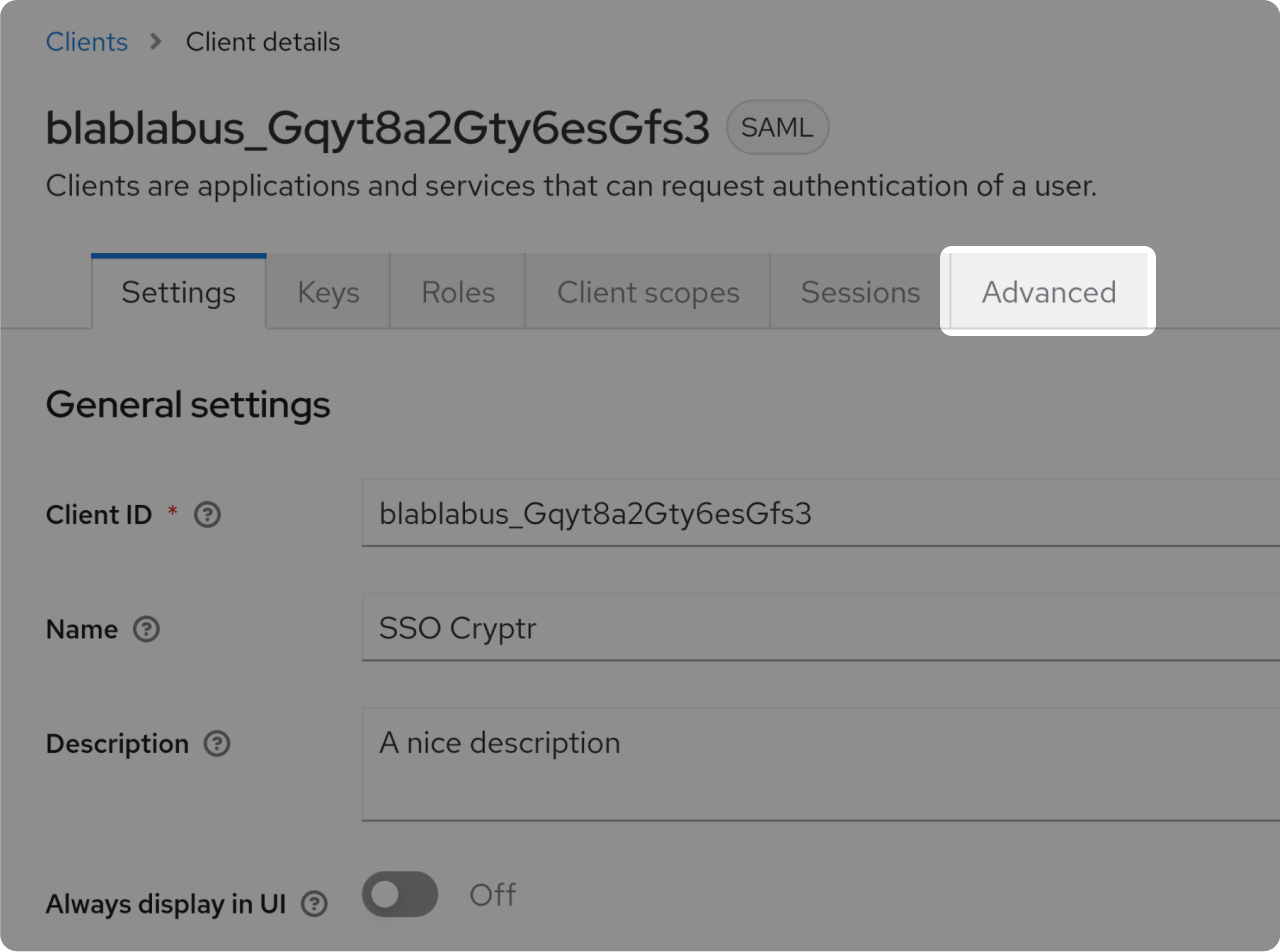
Go to "Advanced" tab
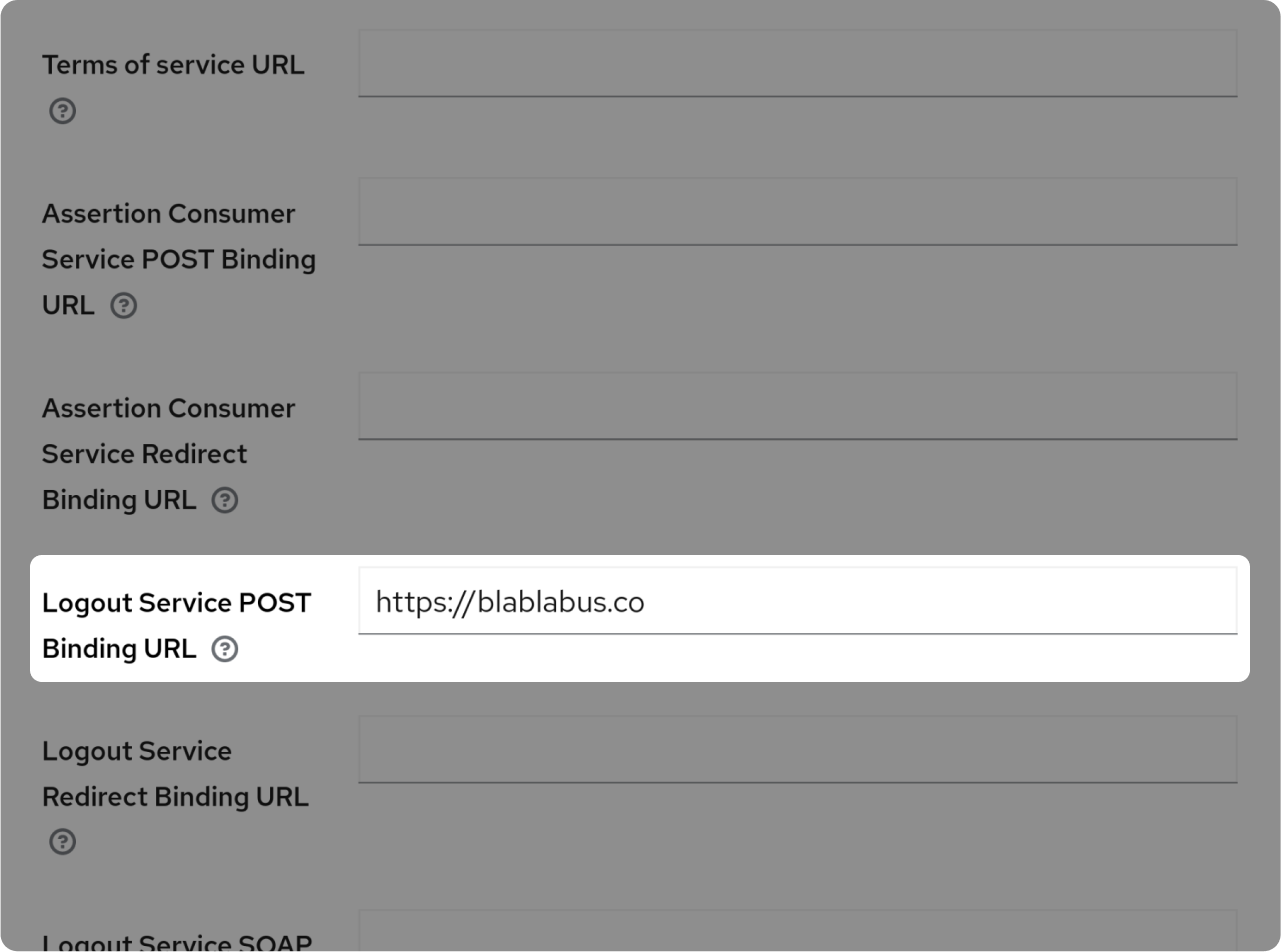
Paste "Logout Service POST Binding URL" you'll find on right side of this screen into "Logout Service POST Binding URL" 👉
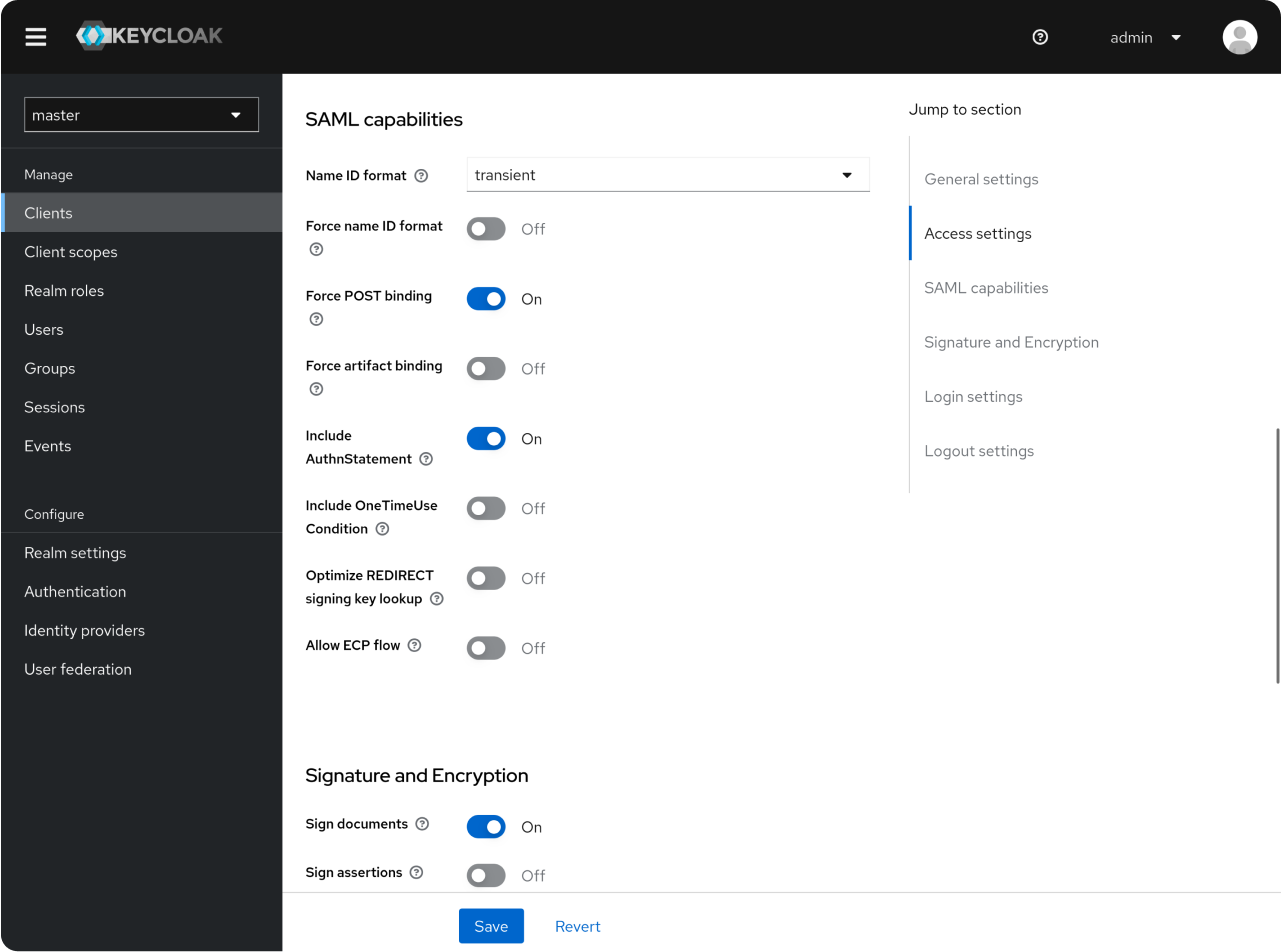
Scroll down to "SAML capabilities" section
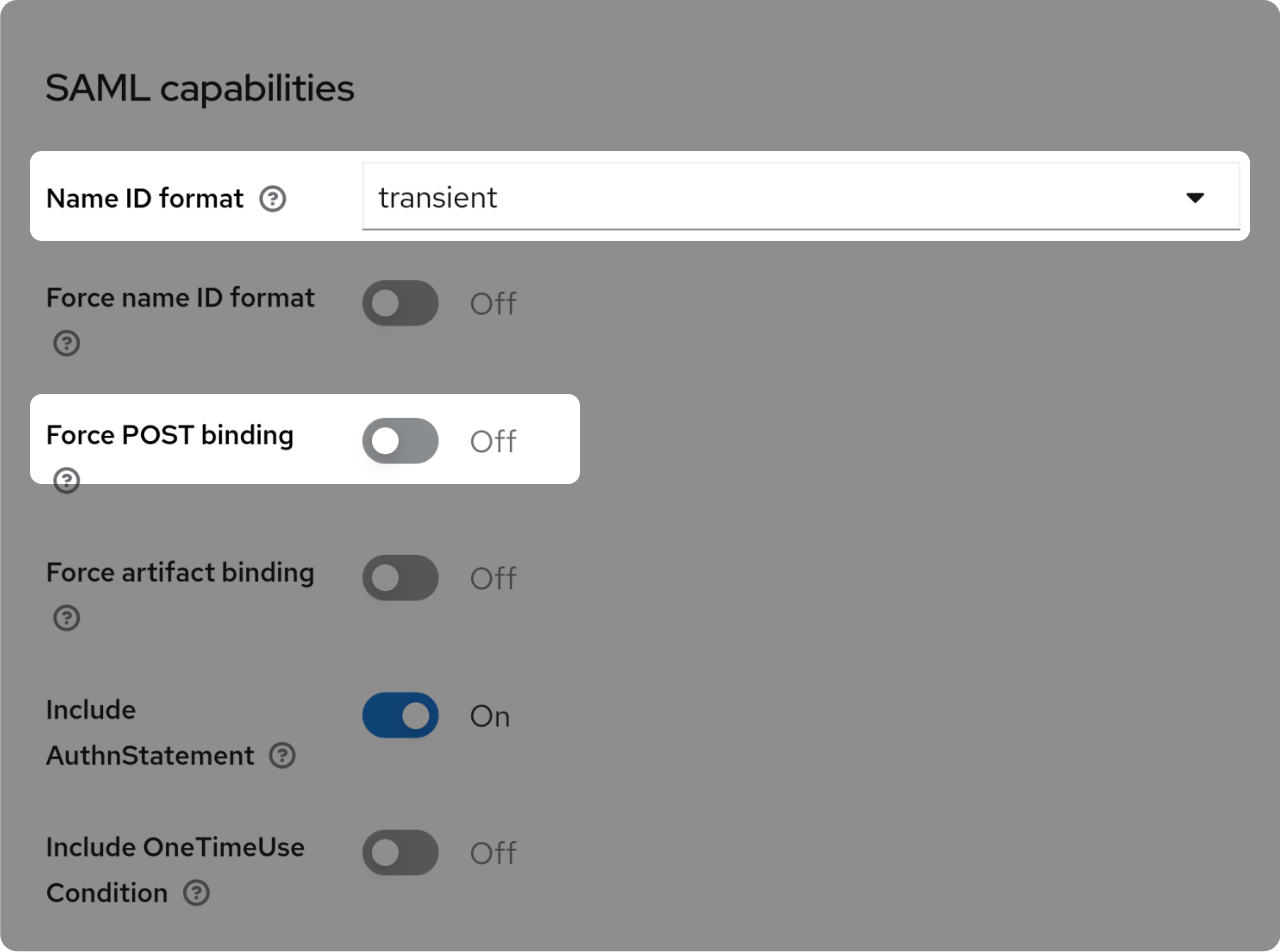
- Choose "transient" as "Name ID format"
- Uncheck "Force POST binding" field
- Scroll to "Signature and Encryption"
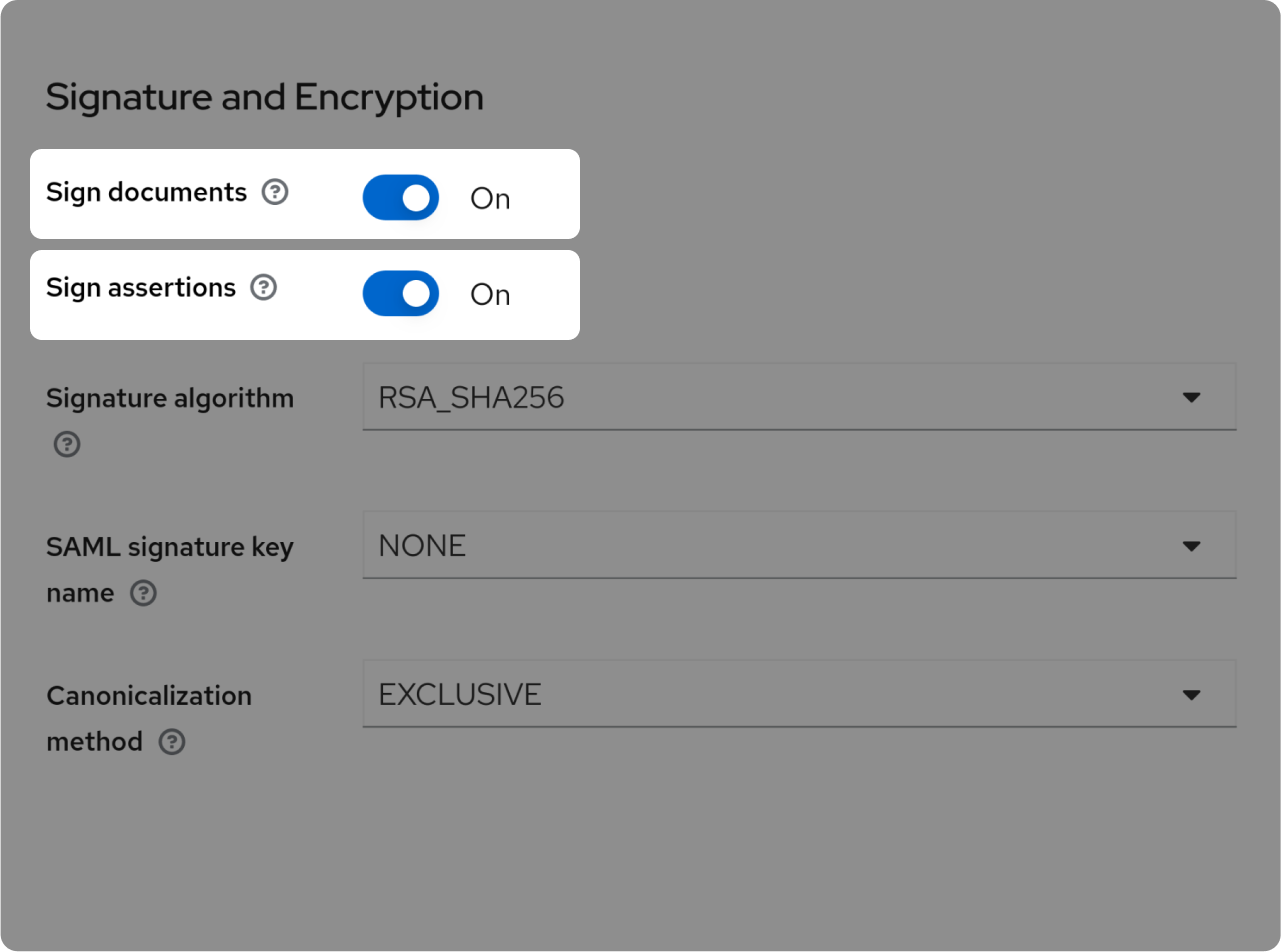
- Check "Sign documents" field
- Check "Sign assertions" field
- Scroll to "Logout settings"
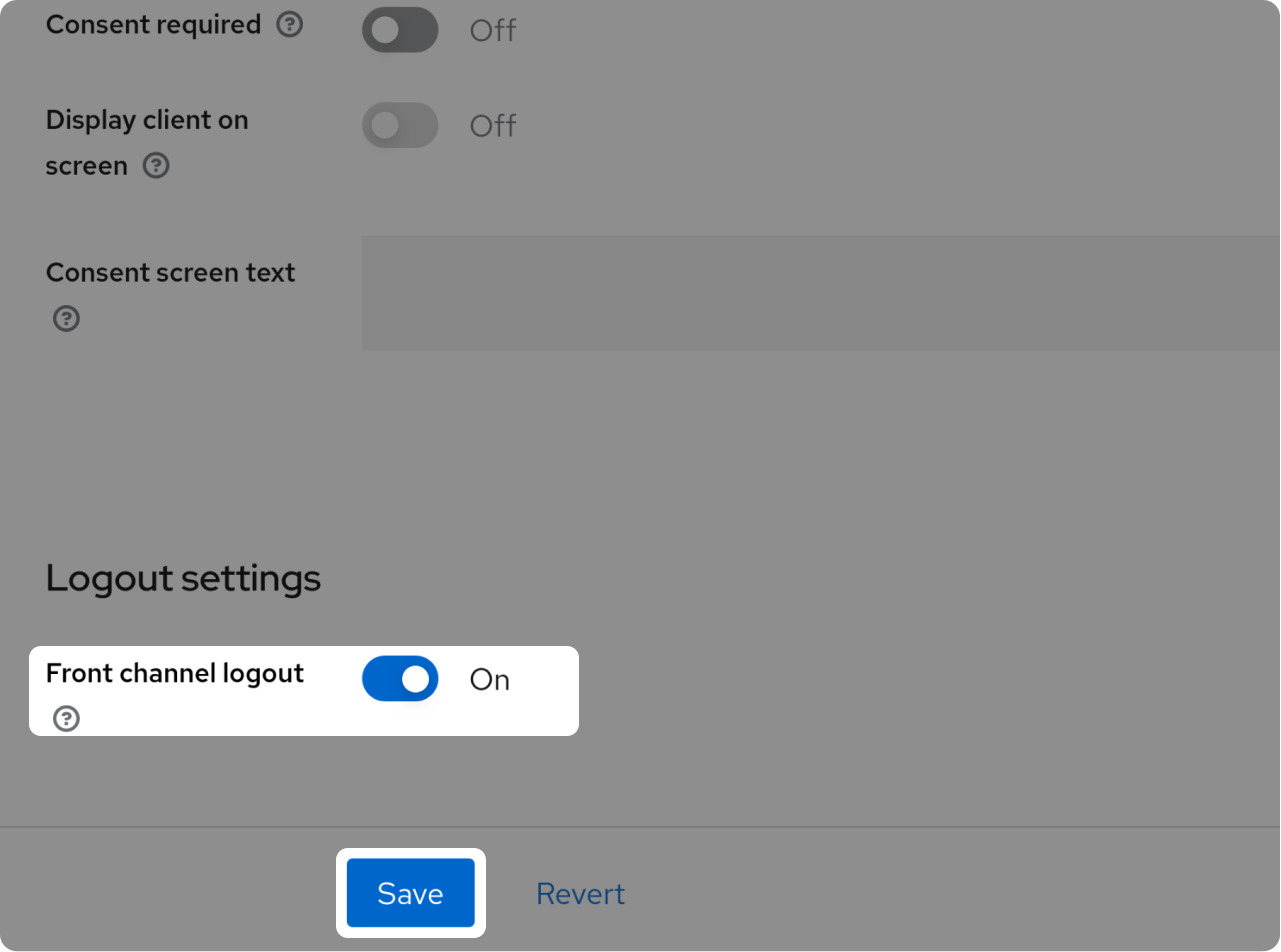
- Check "Front channel logout" field
- Click "Save"
Configure Keys
- Click on right side of this screen on "Generate PFX" button
- Download the PFX file
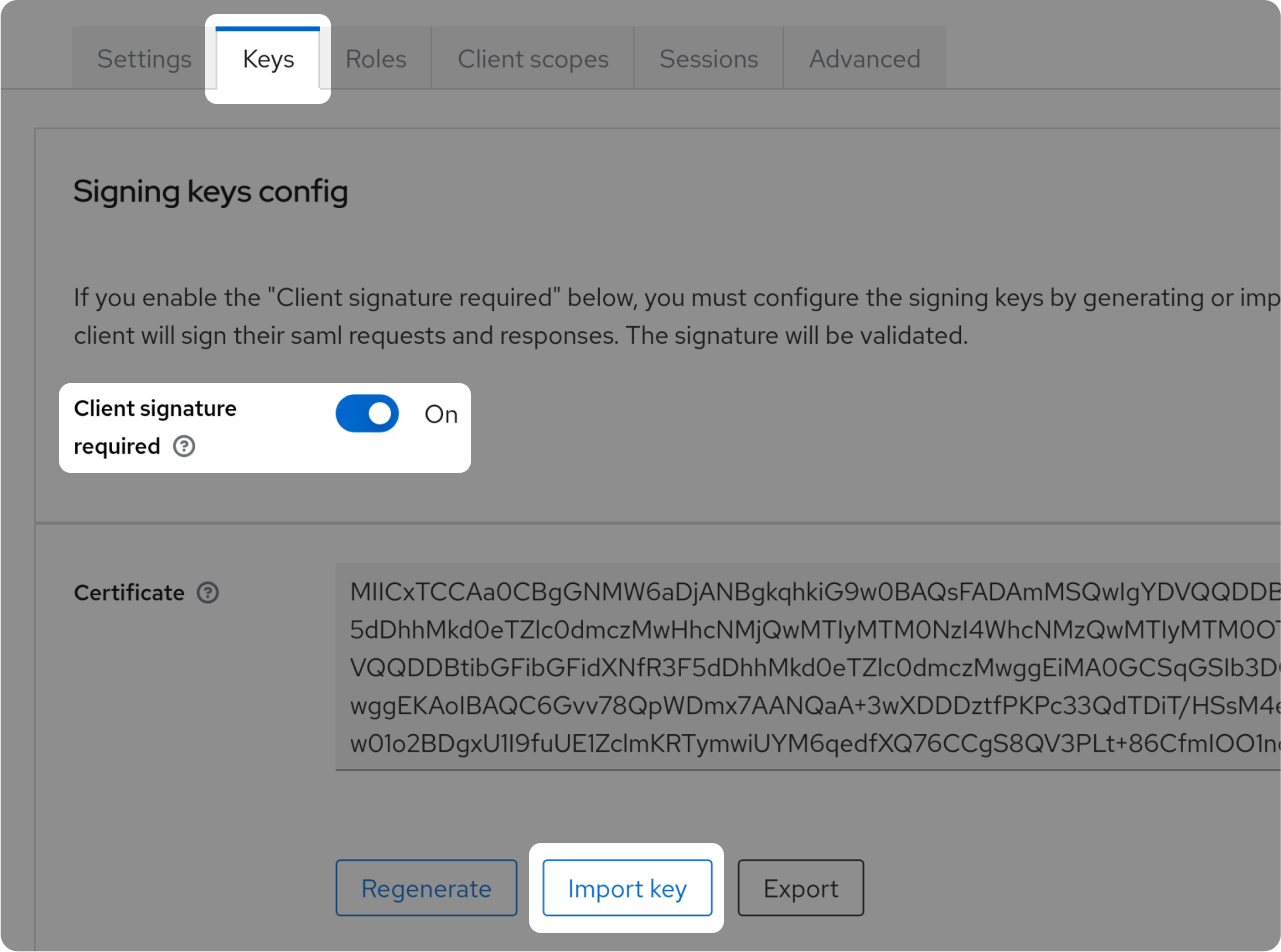
- Go to "Keys" tab
- Switch OFF "Client signature required" then ON again 🚨
- In certificate section click on "Import key"
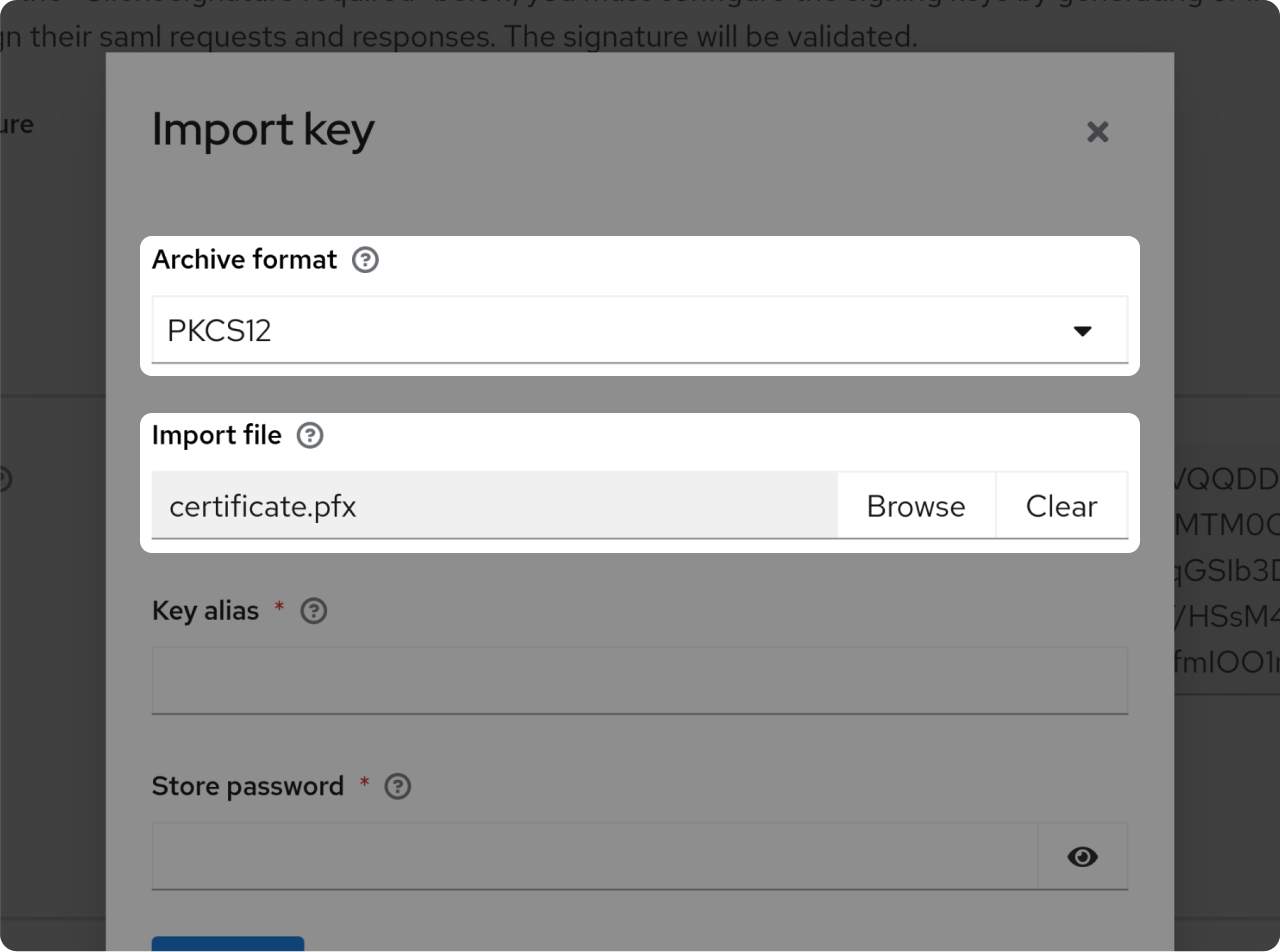
- As "Archive format" choose "PKCS12"
- In "Import file" browse the downloaded PFX file
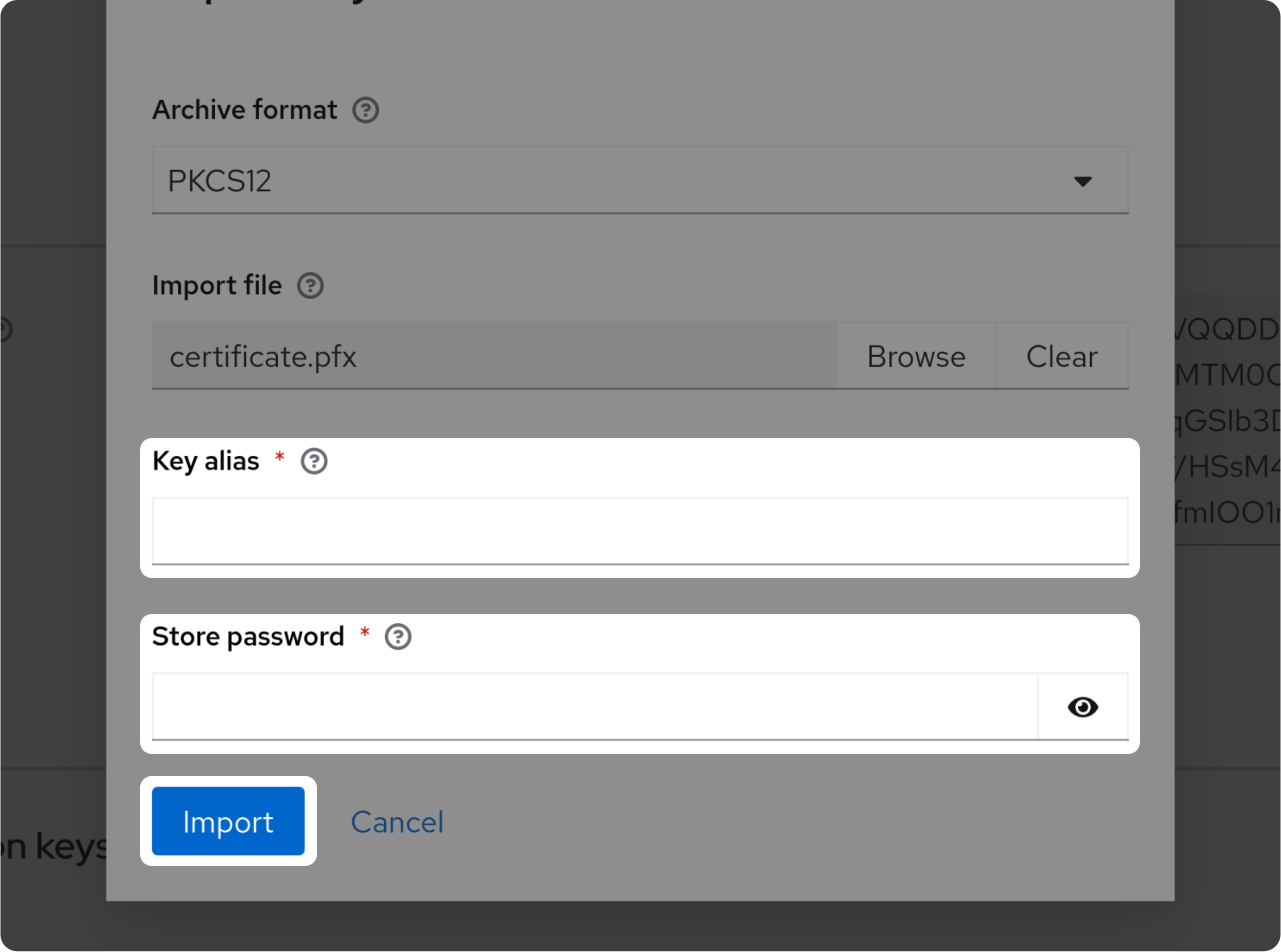
- In "Key alias" field paste "Key alias" value you'll find on right side 👉
- In "Store password" field paste "Password" value you'll find on right side 👉
- Click "Import"
Attributes Mapping
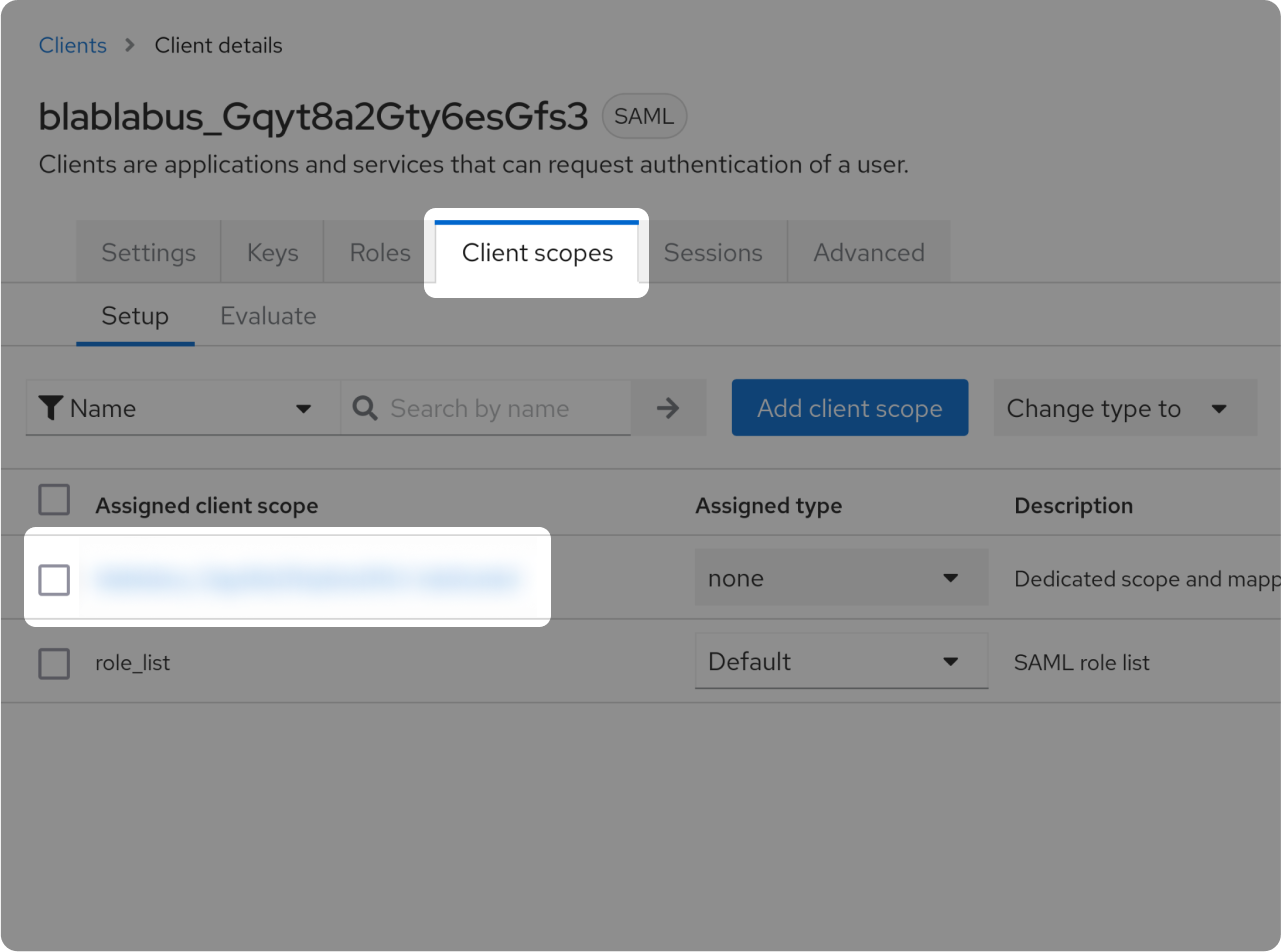
- Go to "Client scopes" tab
- Click on the row that corresponds to your client
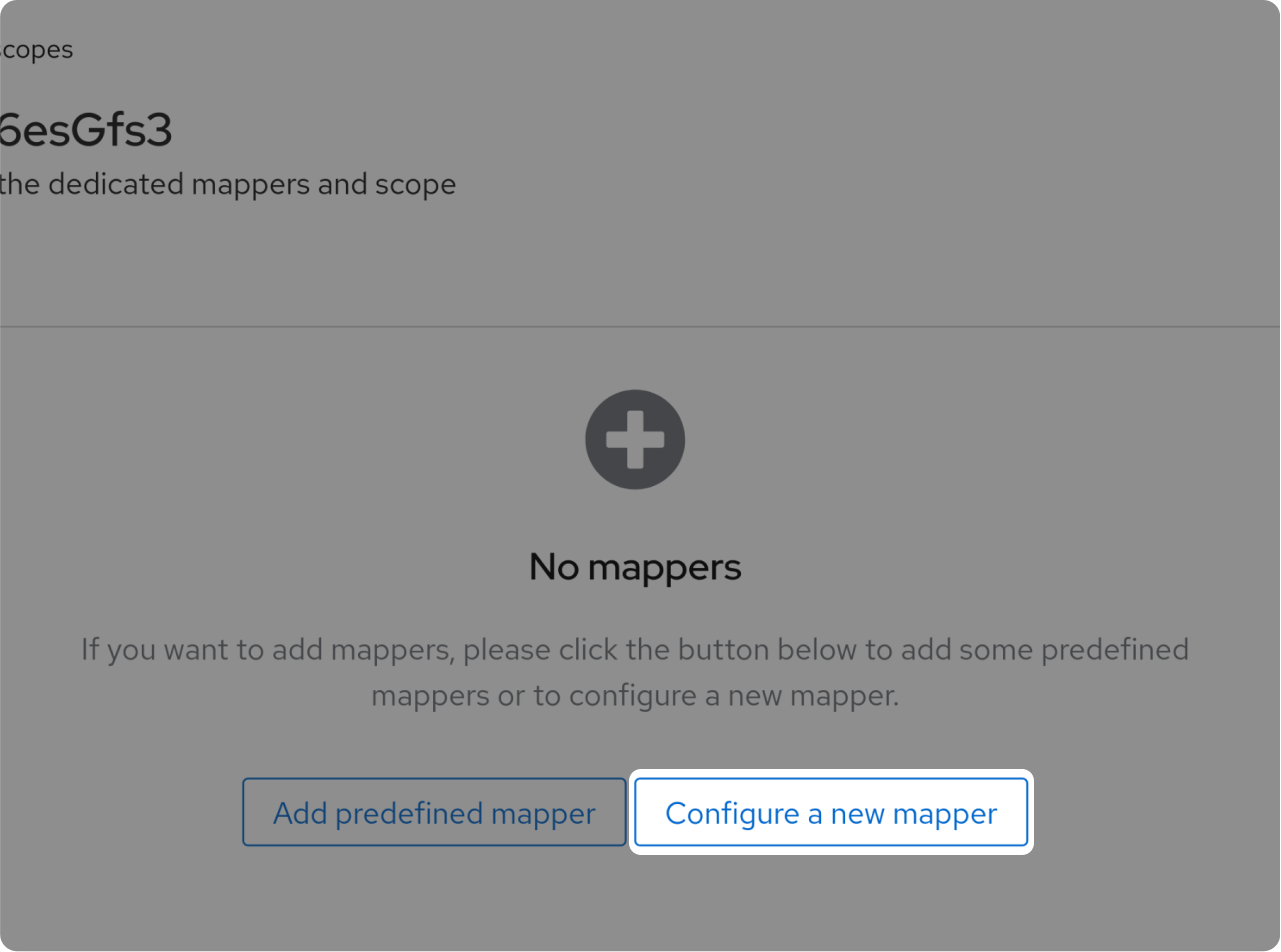
Click on "Configure a new mapper" button
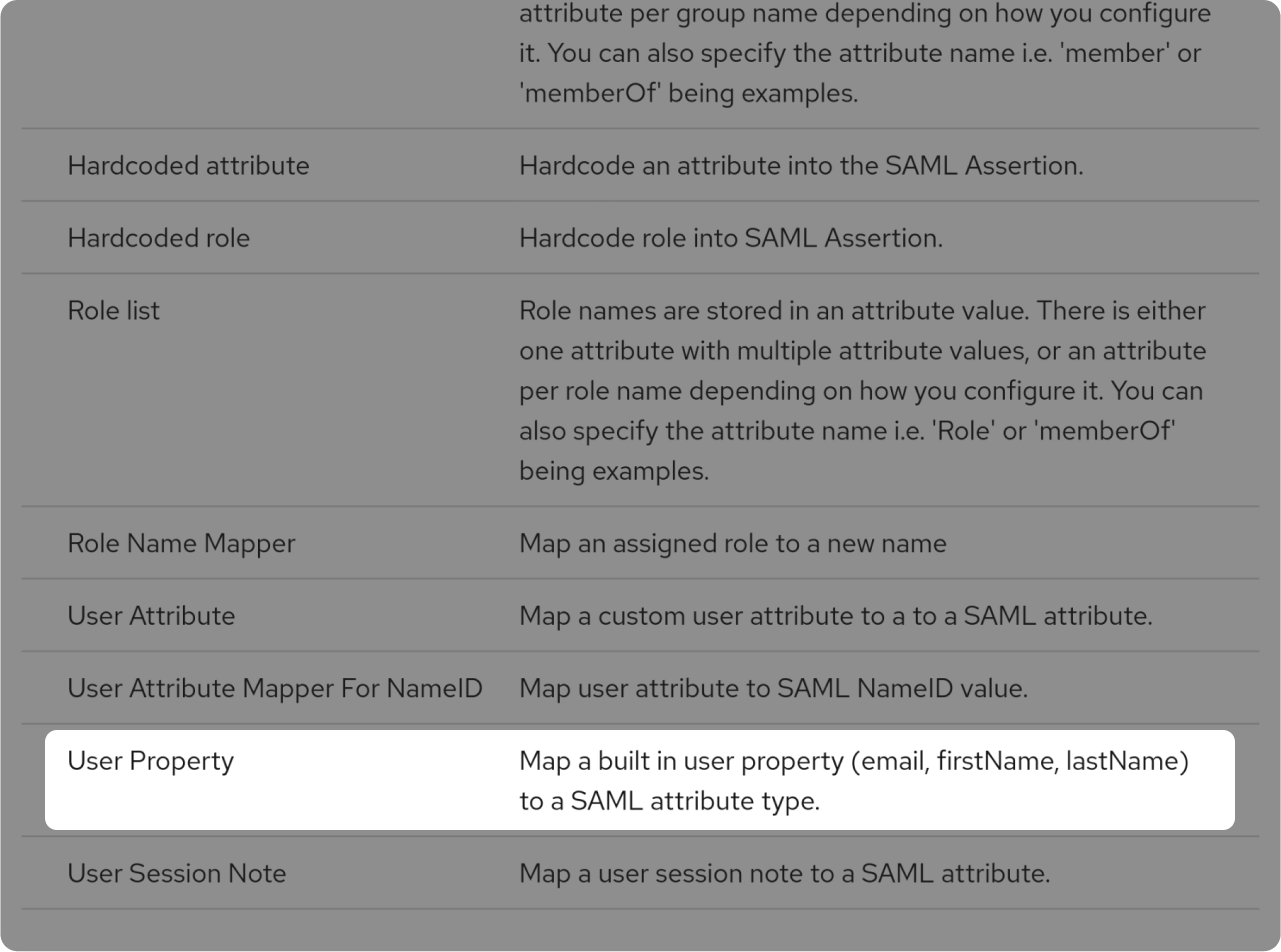
Click on "User property" list item
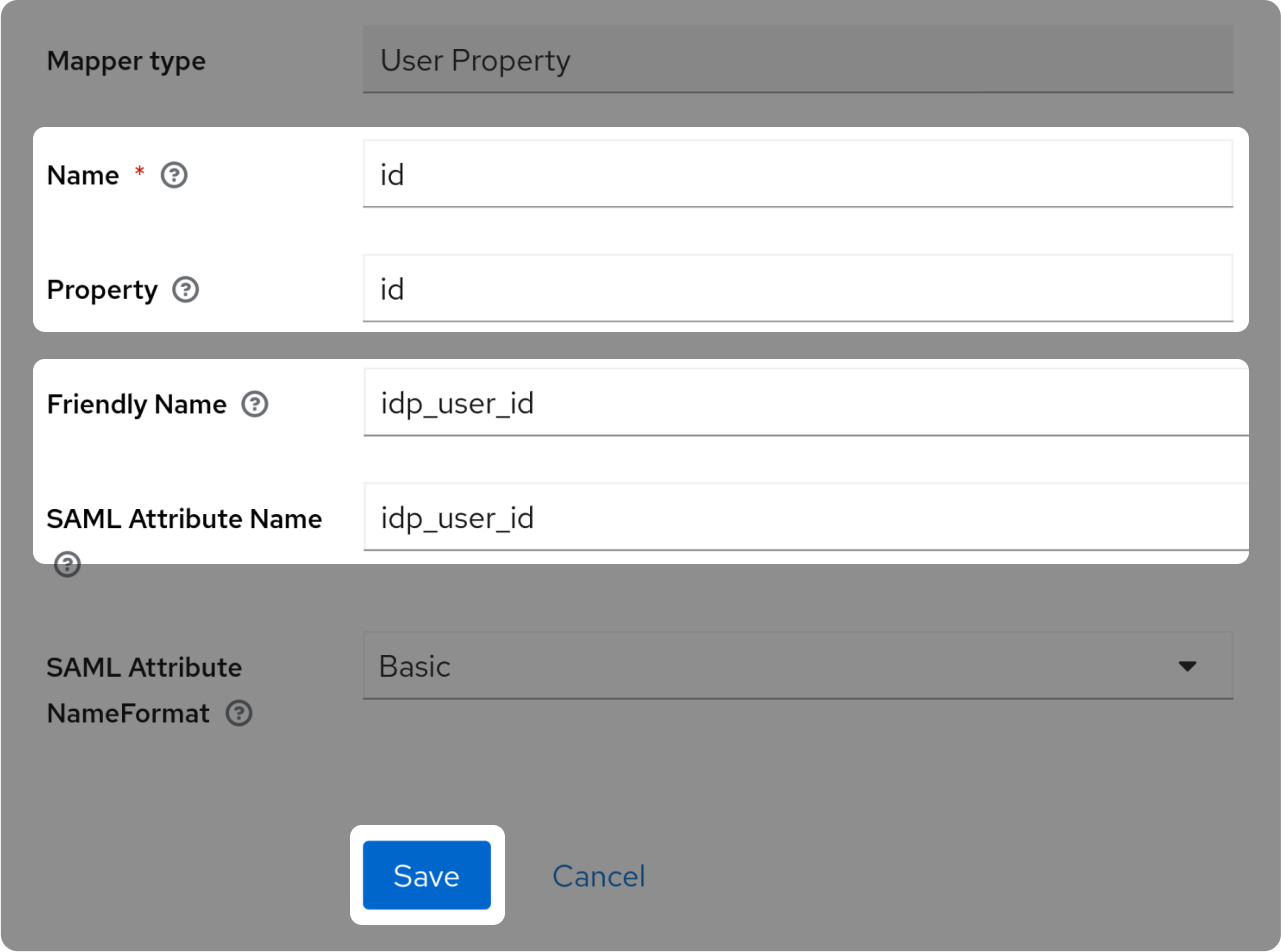
- In "Name" & "Property" type "id"
- In "Friendly Name" & "SAML Attribute Name" type "idp_user_id"
- Save
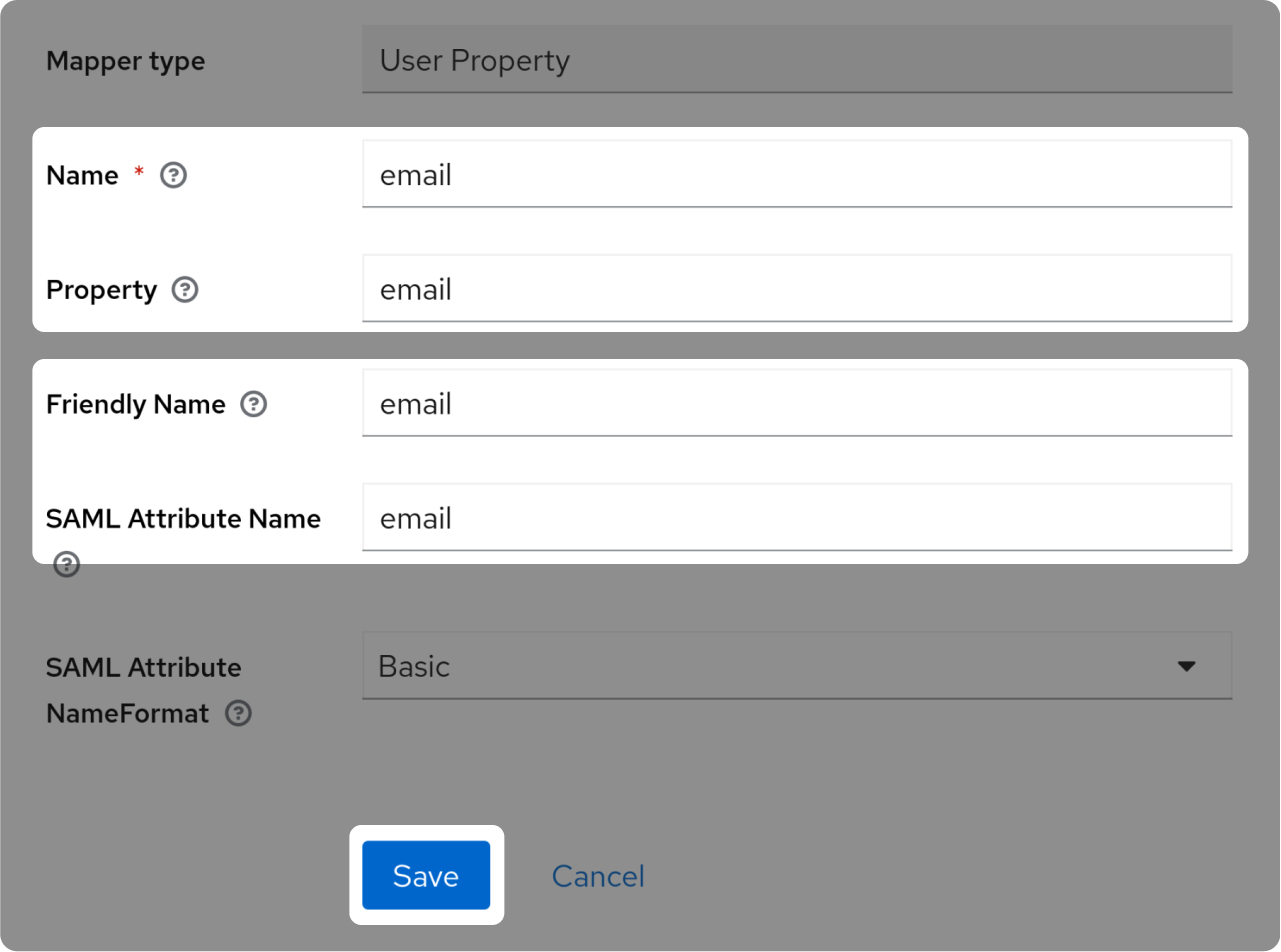
- In "Name" & "Property" type "email"
- In "Friendly Name" & "SAML Attribute Name" type "email"
- Save
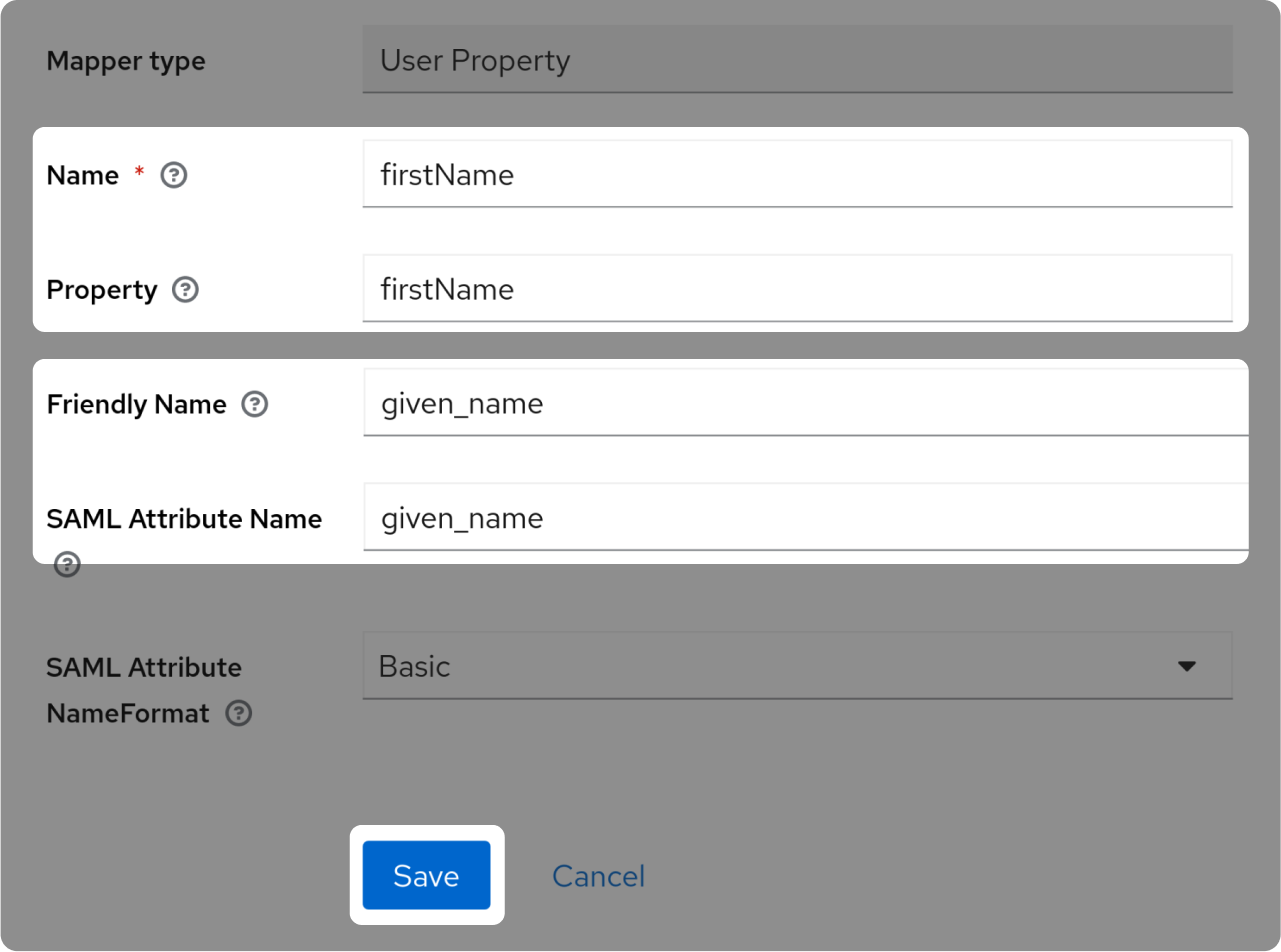
- In "Name" & "Property" type "firstName"
- In "Friendly Name" & "SAML Attribute Name" type "given_name"
- Save
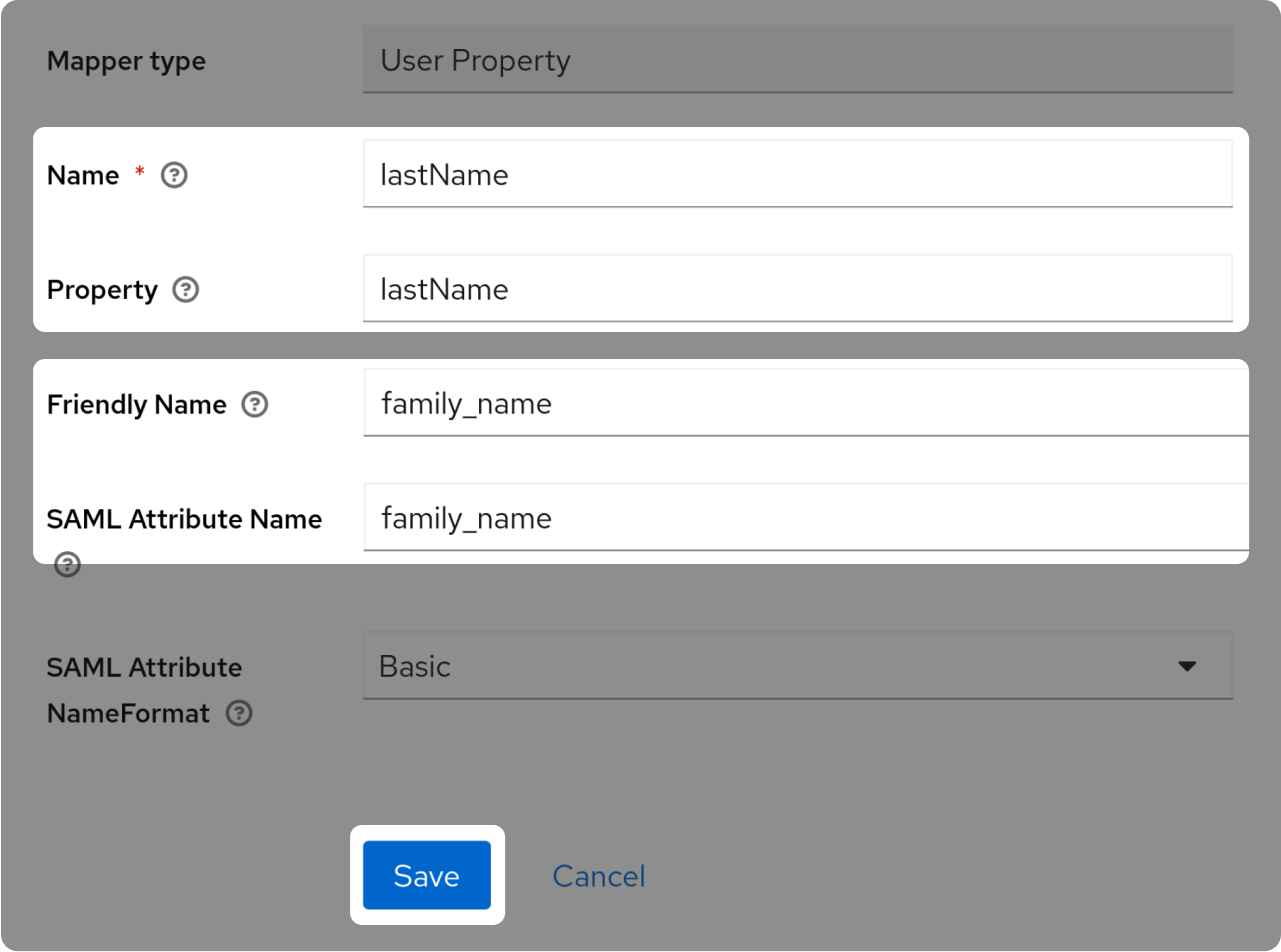
- In "Name" & "Property" type "lastName"
- In "Friendly Name" & "SAML Attribute Name" type "family_name"
- Save
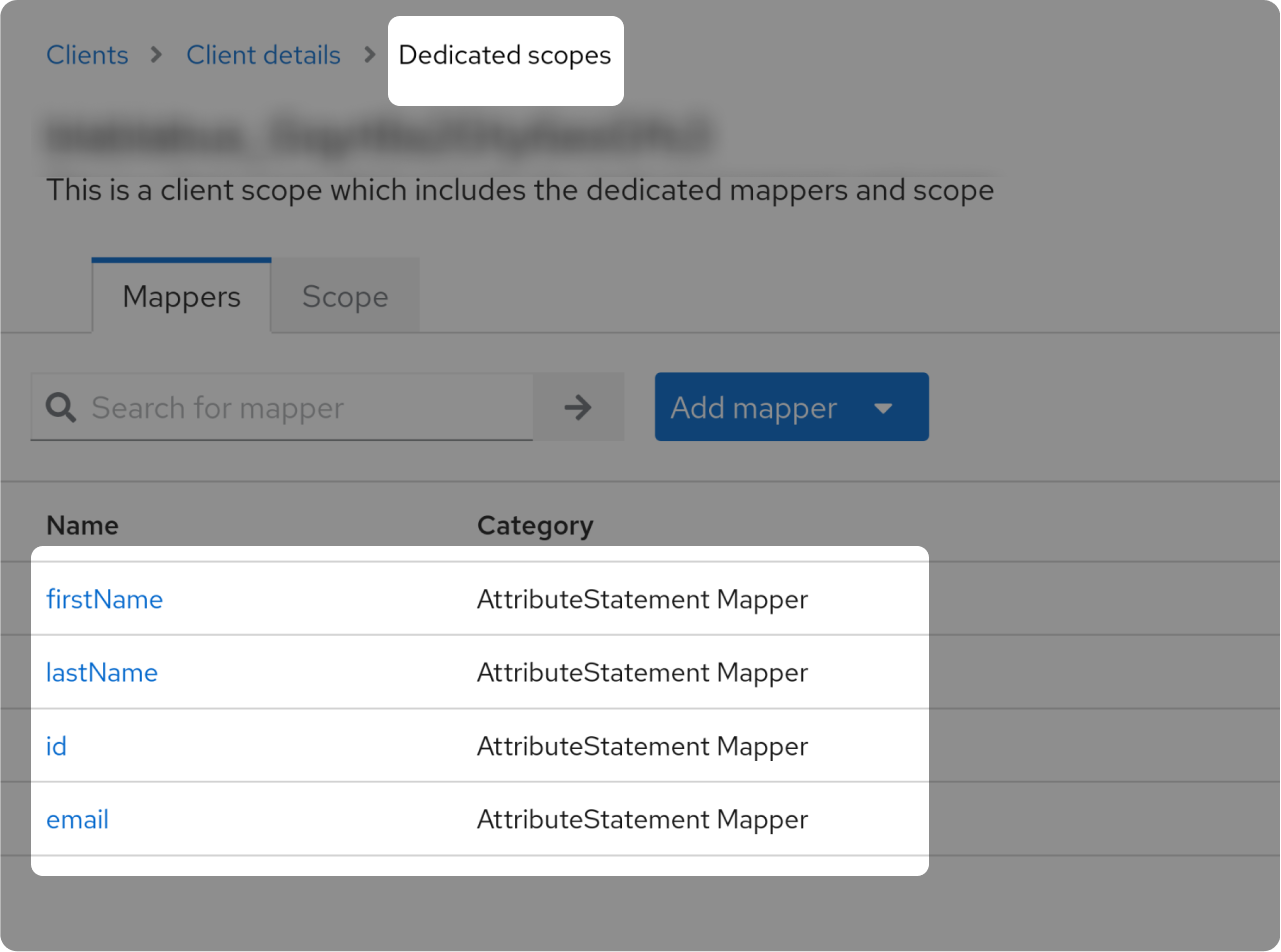
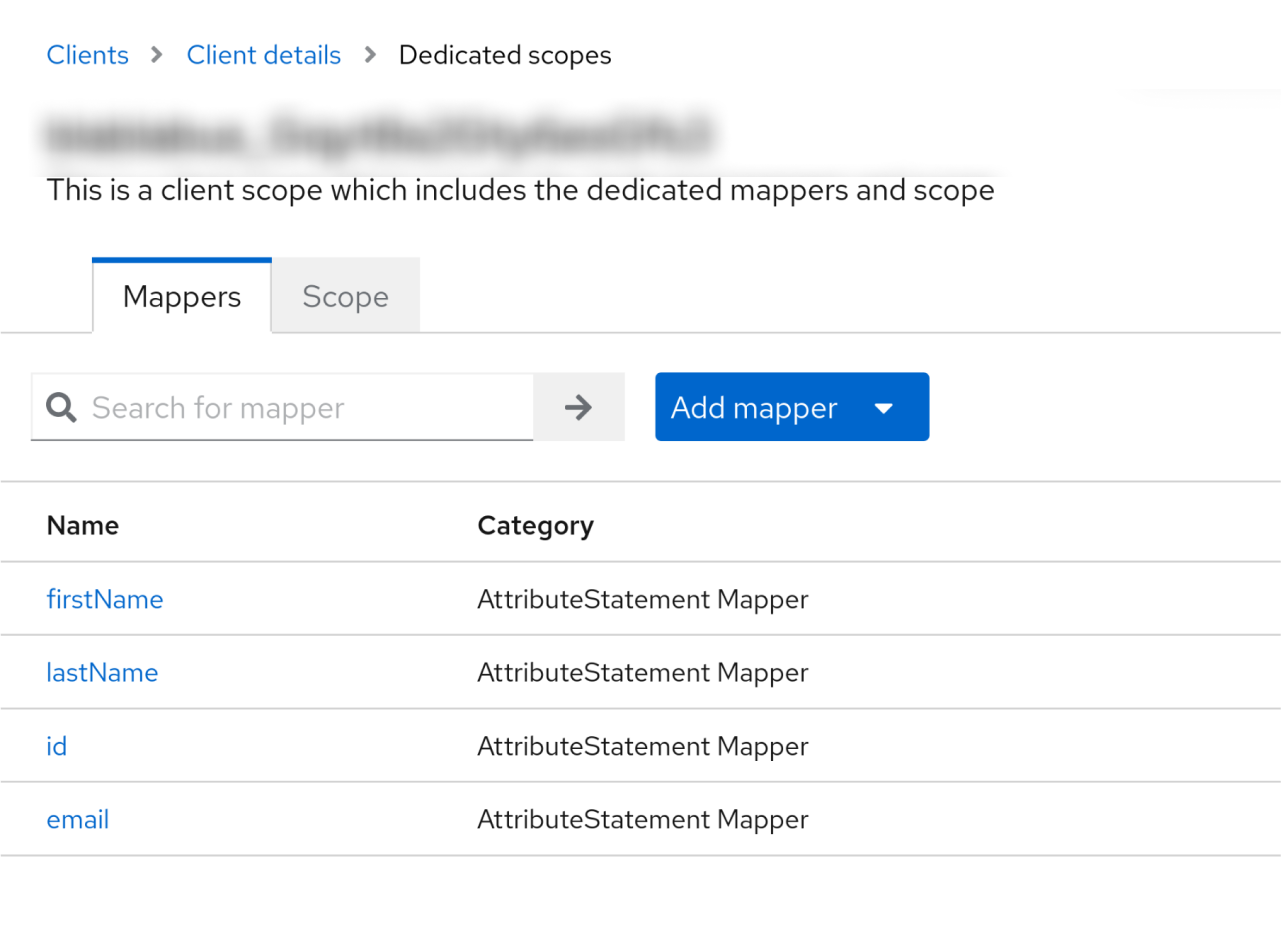
- Click on "Dedicated scopes"
- You should now have the above Mapping
XML Metadata file
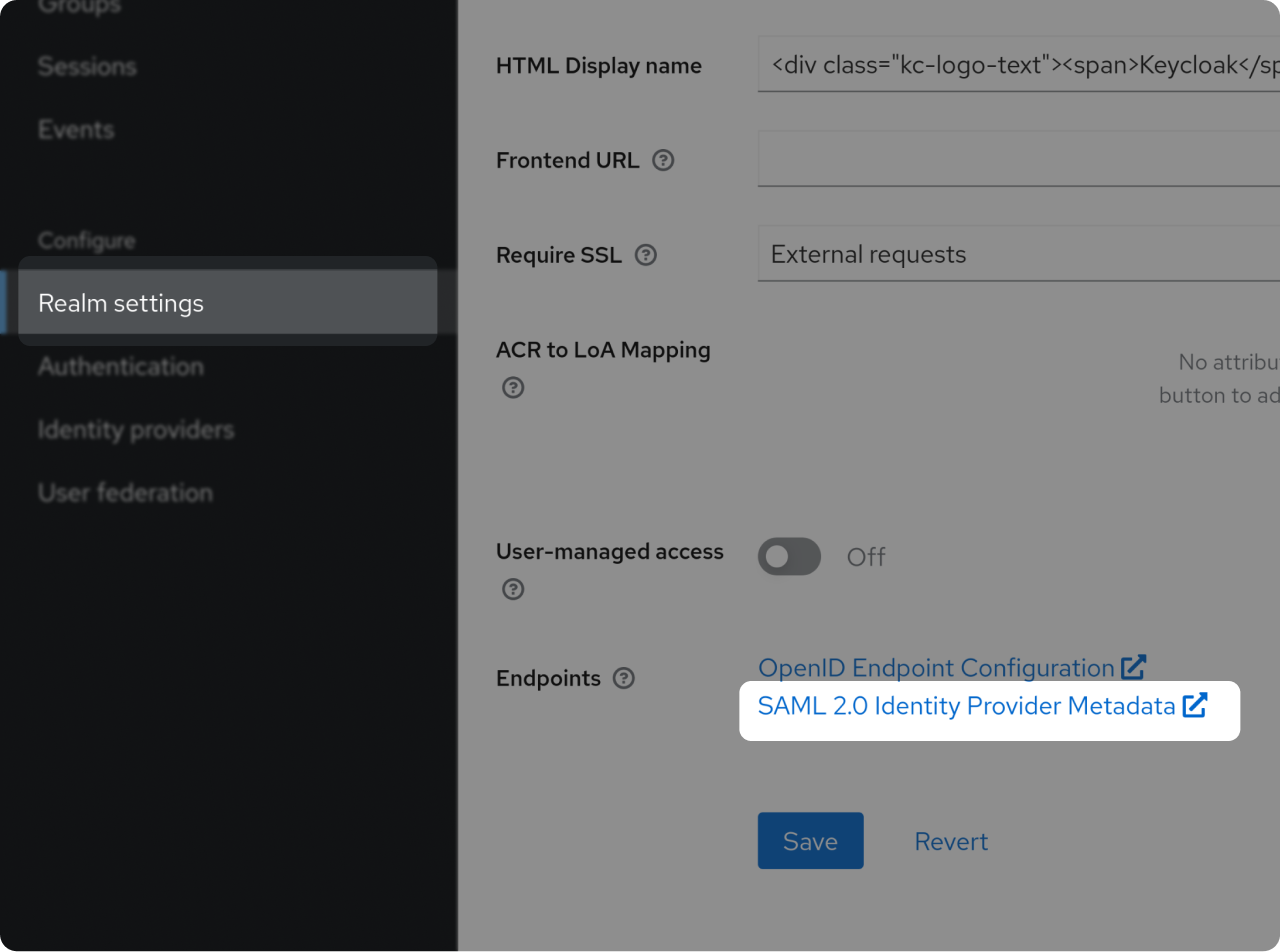
- On left side of your Keycloak click on "Realm settings"
- Click right on "SAML 2.0 Identity Provider Metadata" to save XML file link
- If you prefer, you can also download the file.

Drop your link or downloaded XML metadata
Users and groups
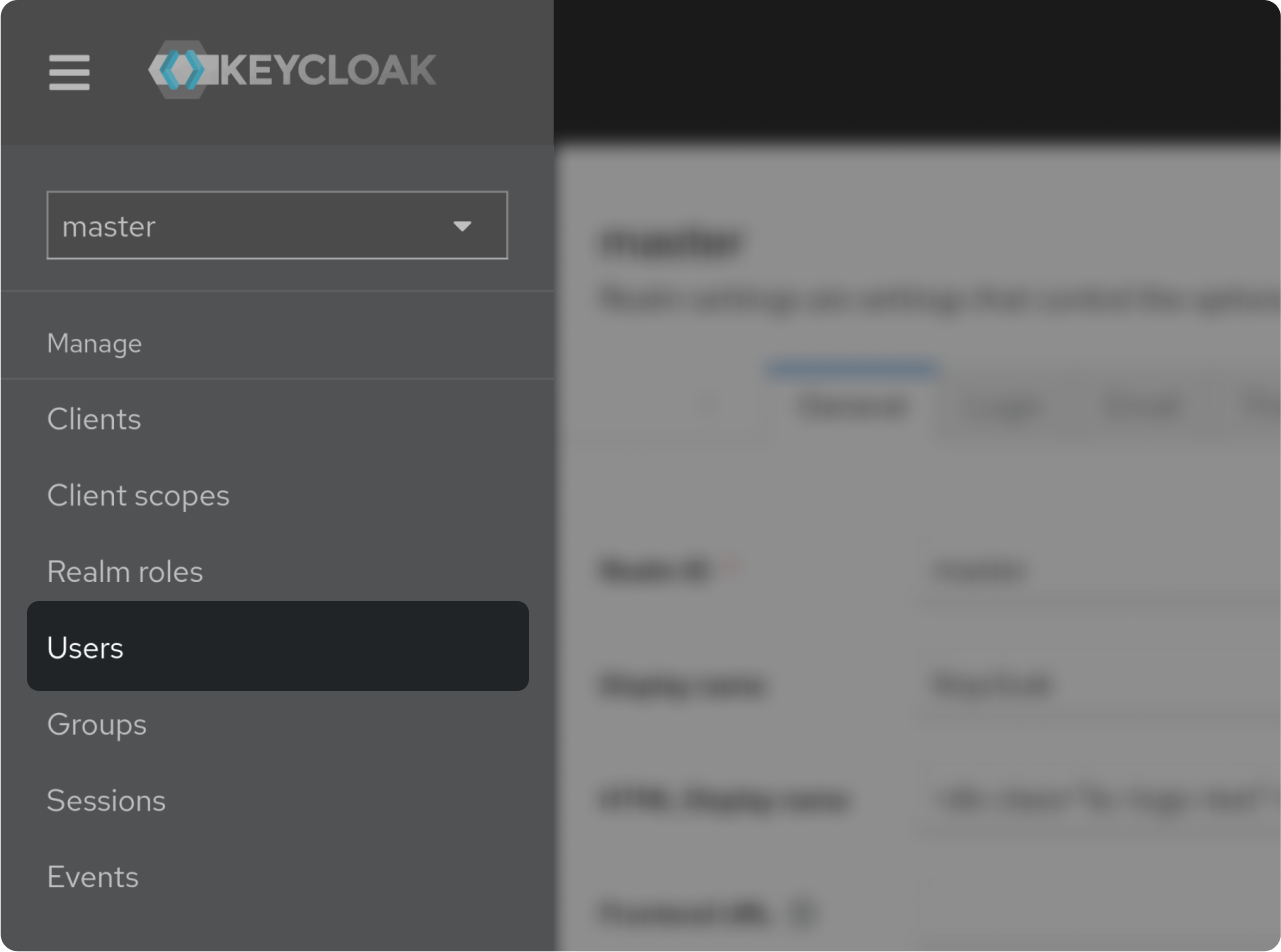
To add some users, click on "Users" tab on the left.
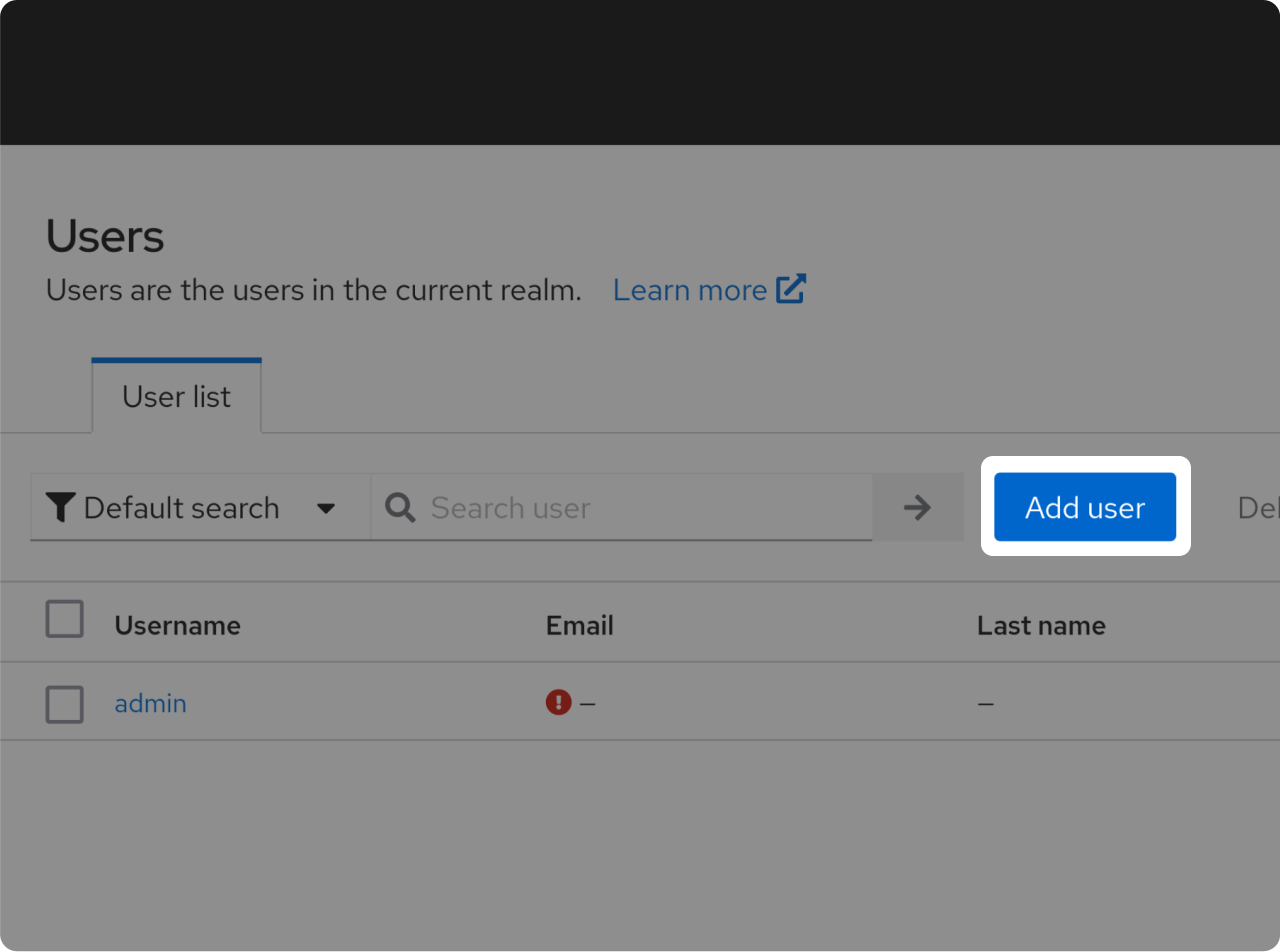
Click on "Add user"
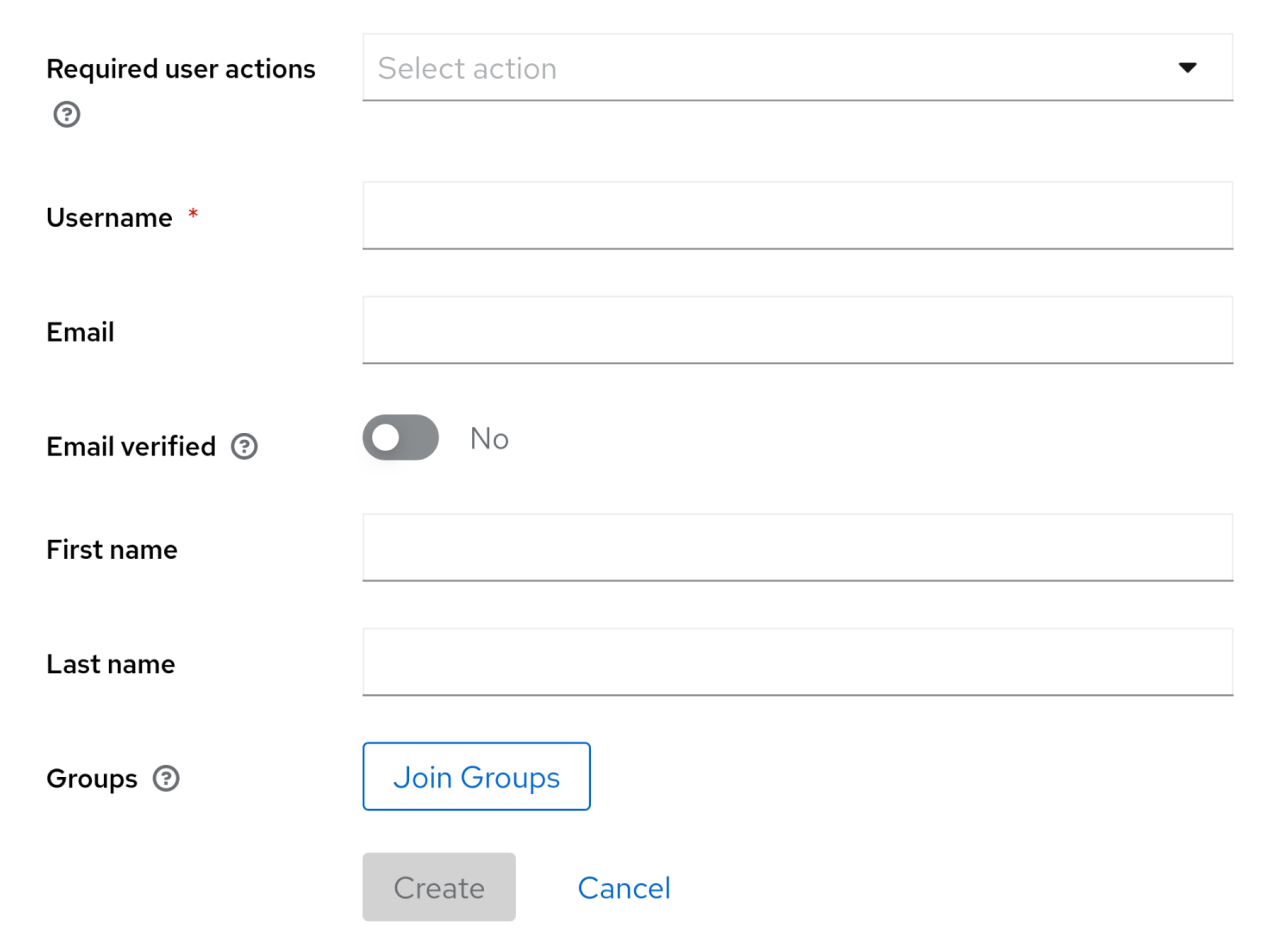
Fill the fields and click on "Create"
Test SSO login
Test SSO login