Ping One
Discover step-by-step instructions on configuring a Directory Sync with Ping One. Learn how to integrate your application with Okta.
How to start
Open console.pingone.eu (or other region)
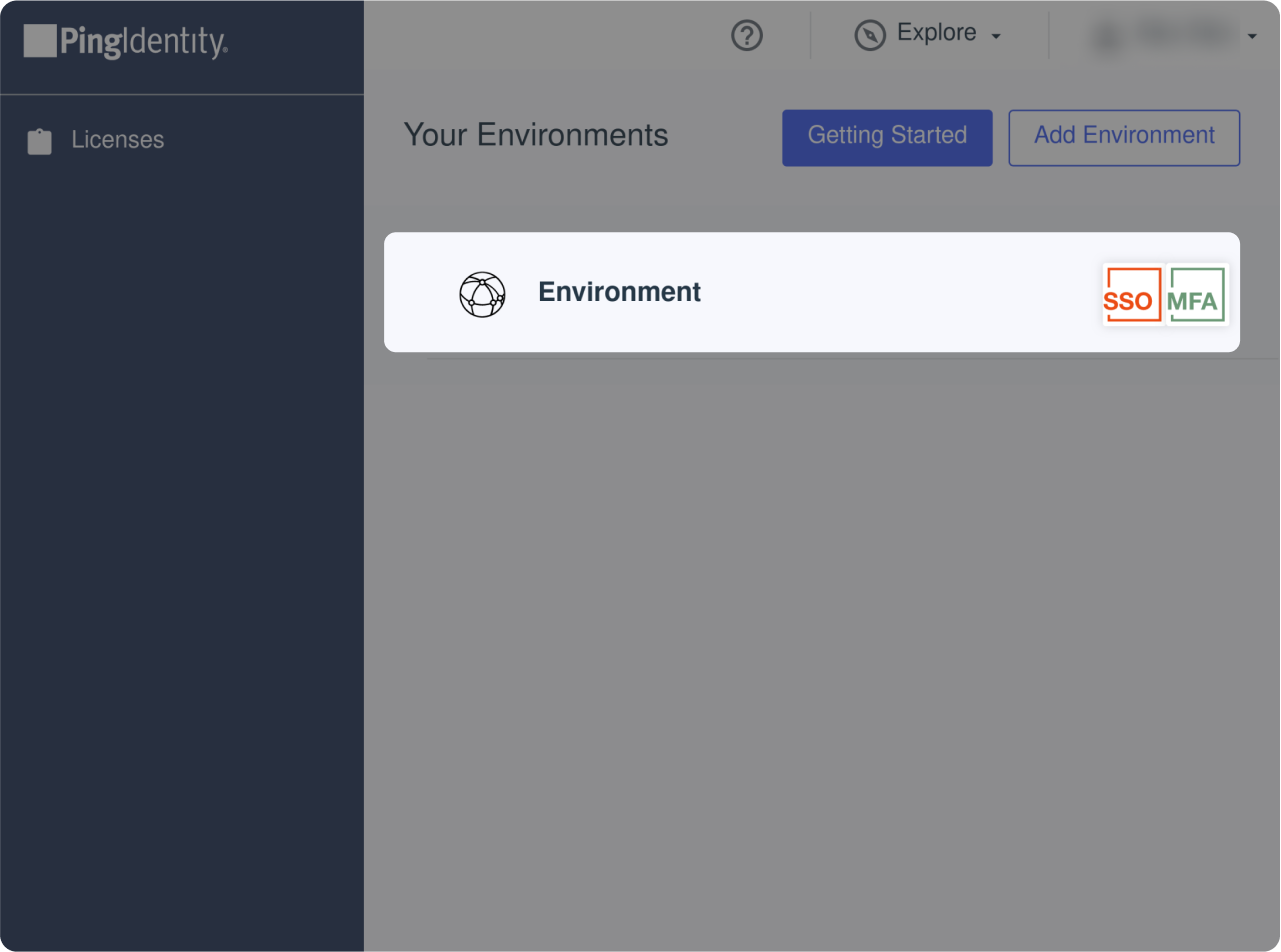
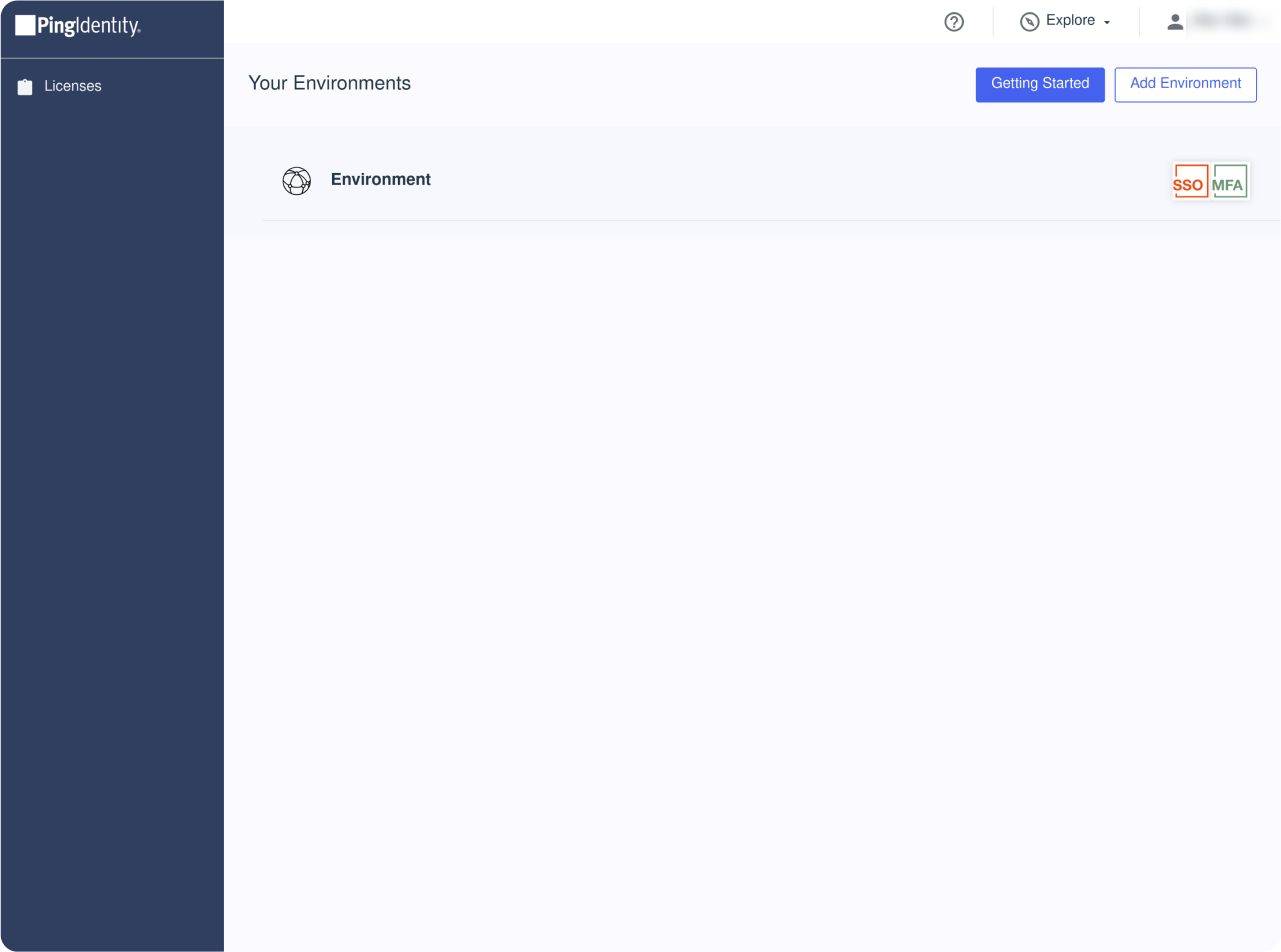
Select your Environment (The Default Admin Env can't be used)
Declare an application

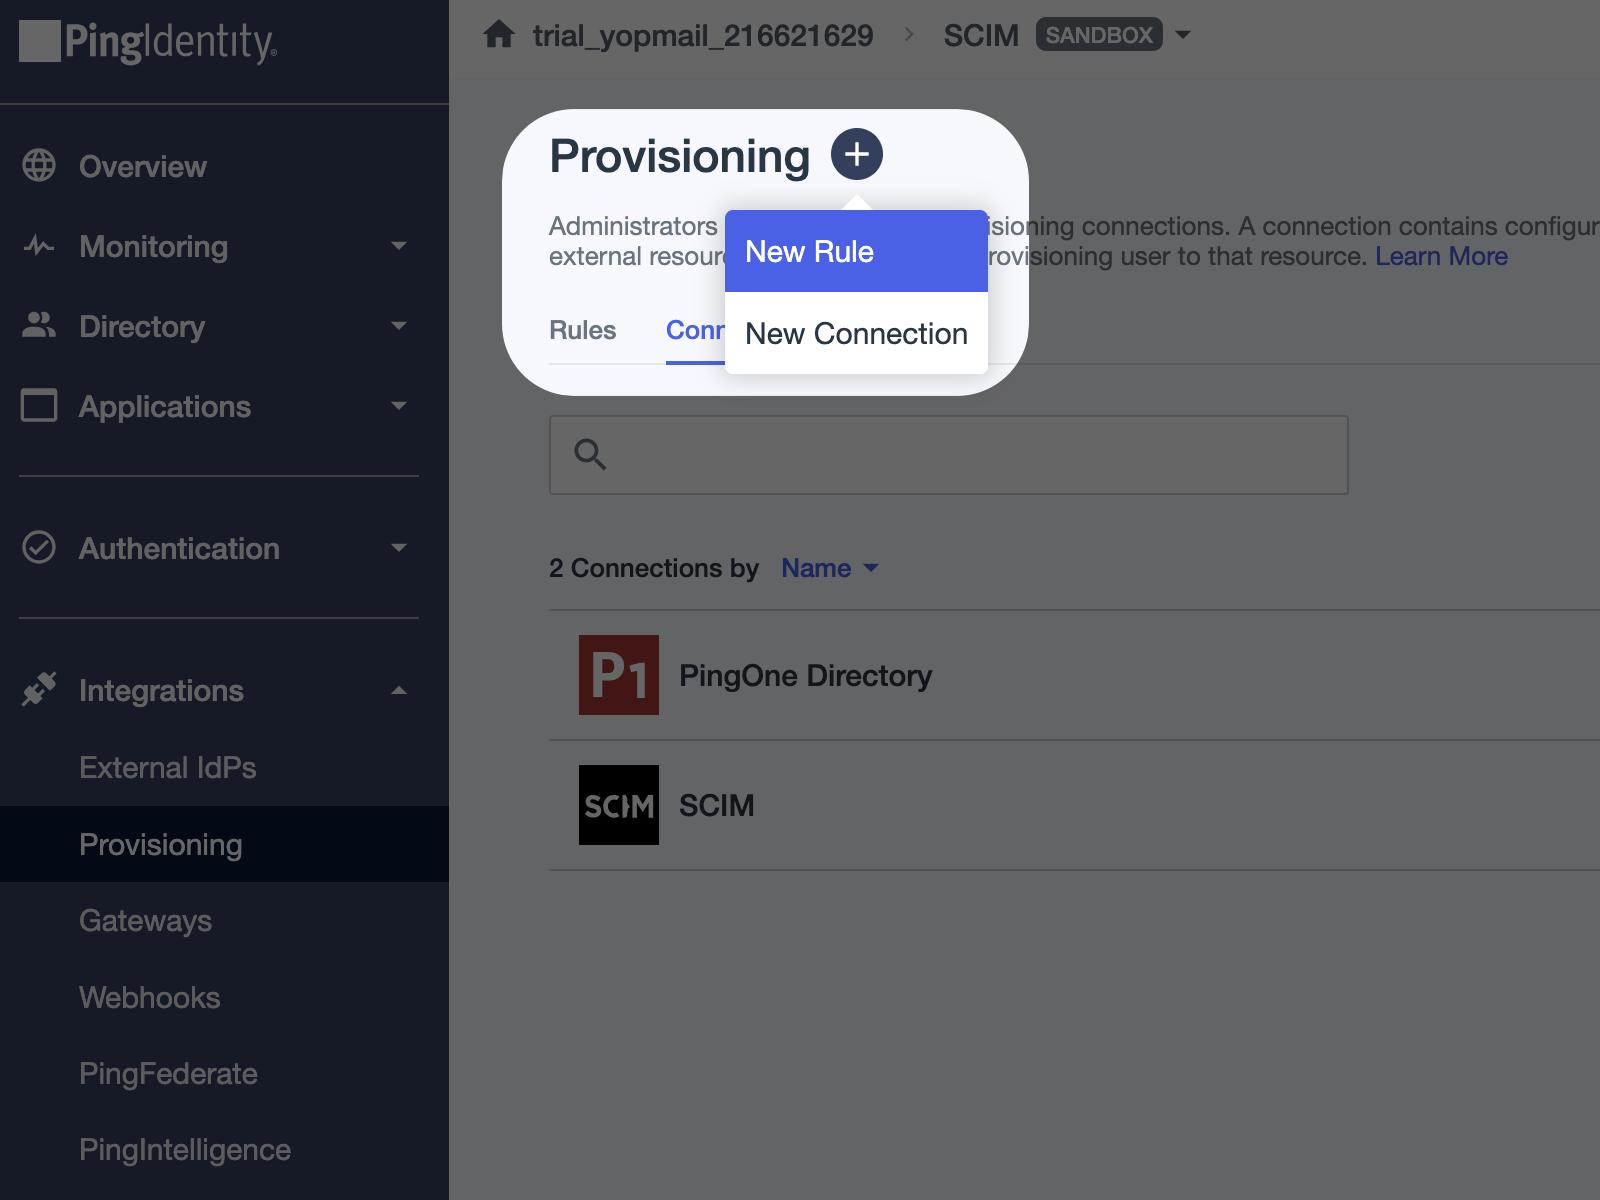
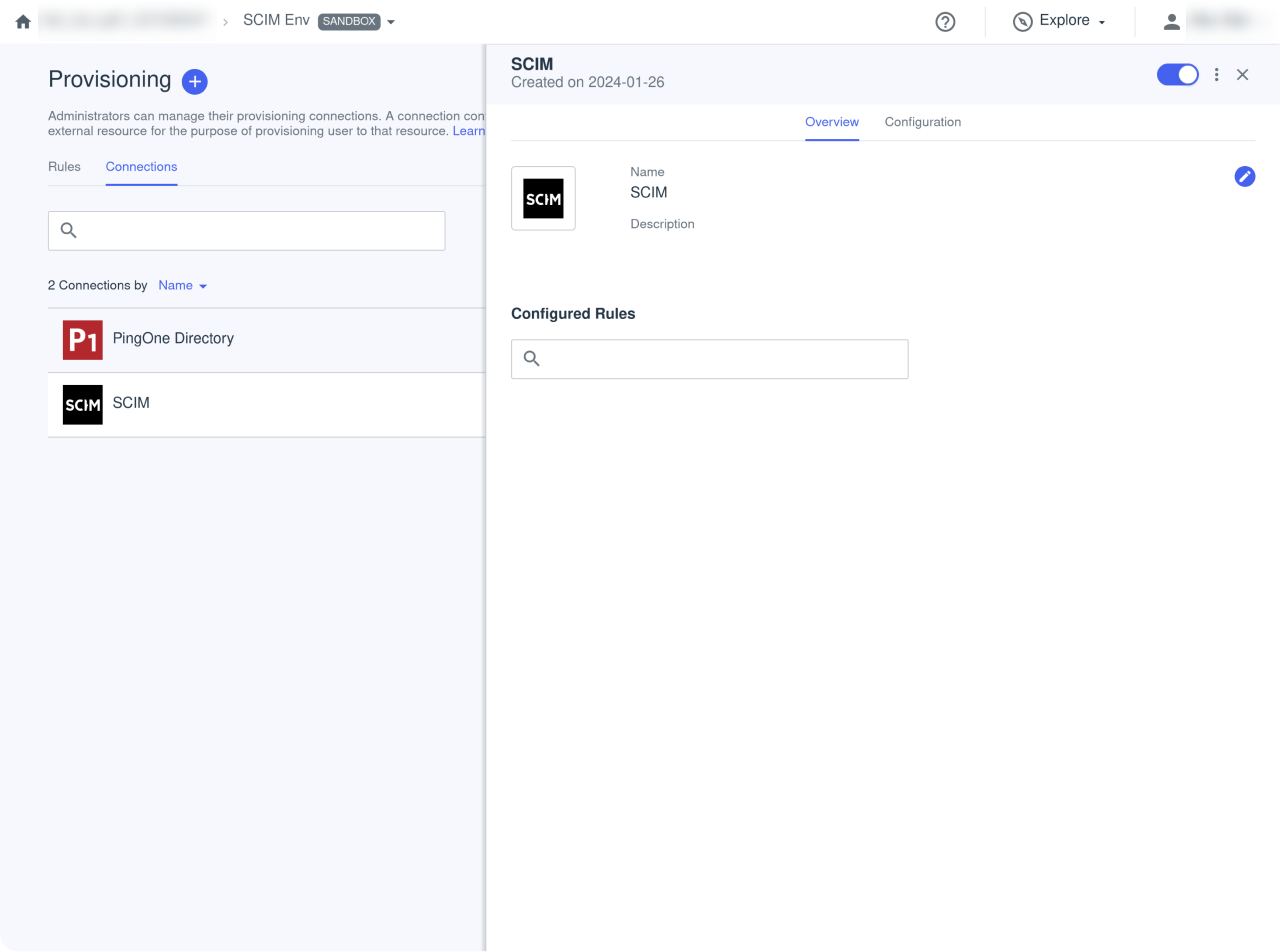
Click on "Integrations" on left sidebar
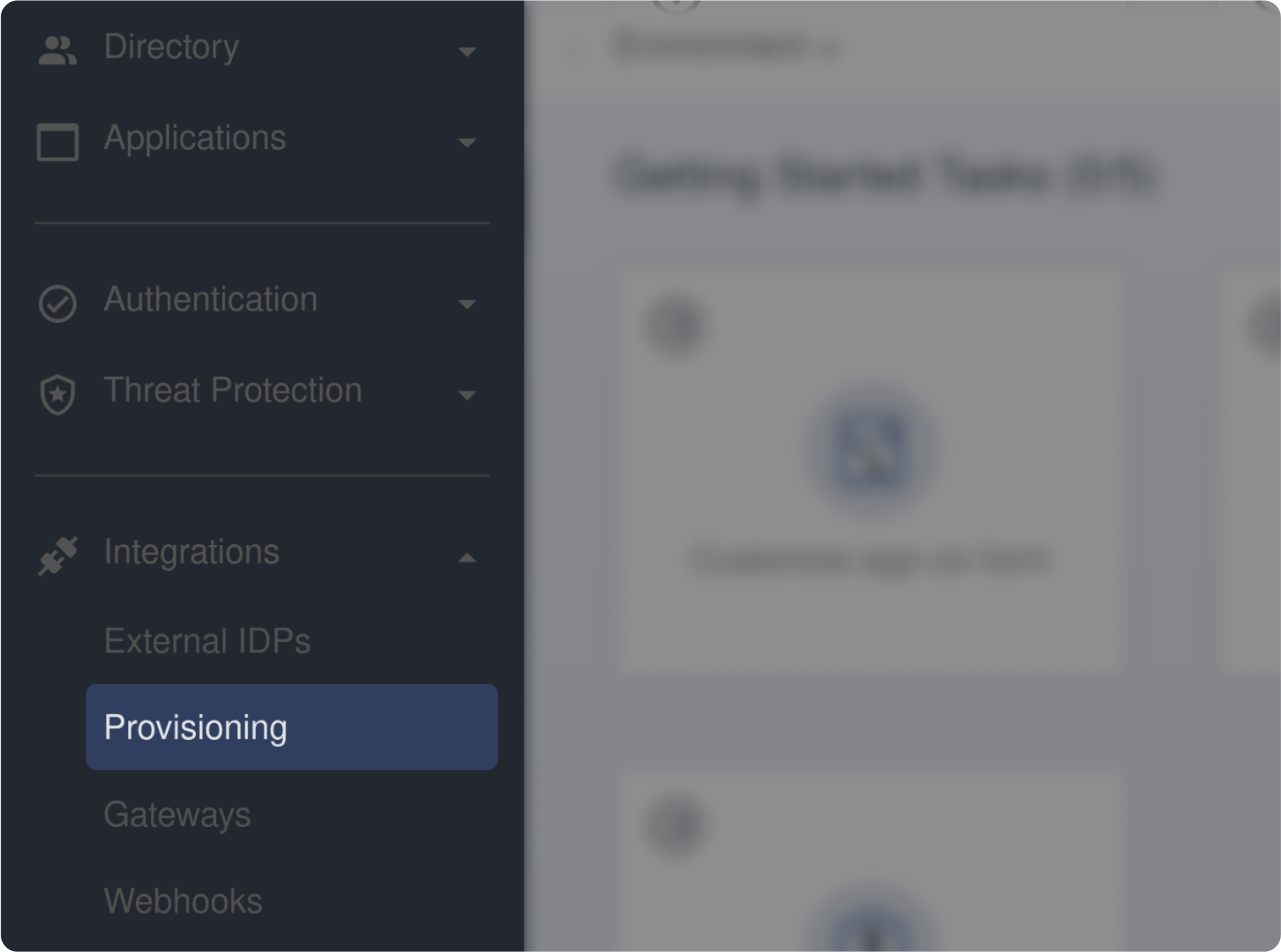
Then, click on "Provisioning"
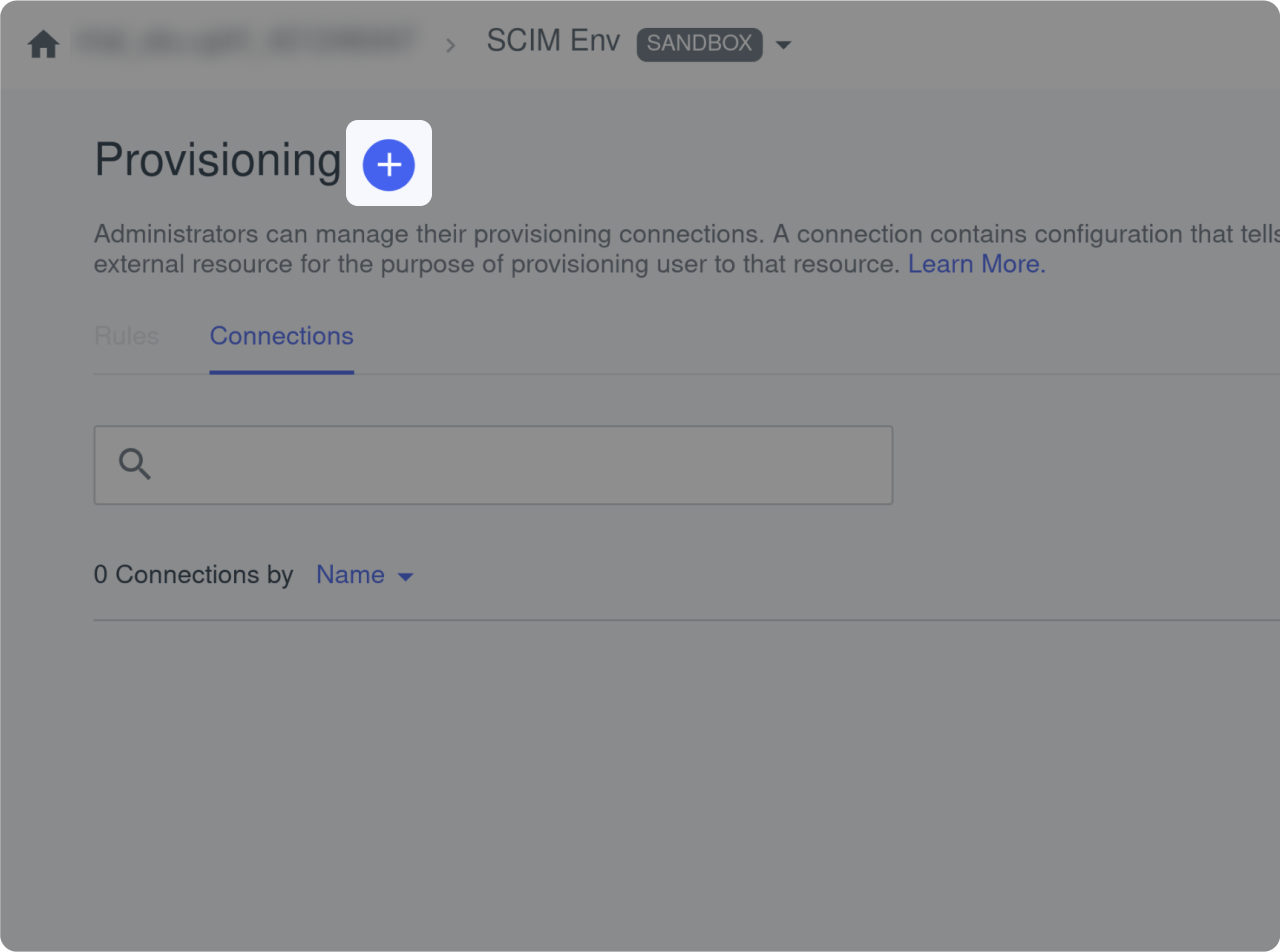
Click on the "+" icon.
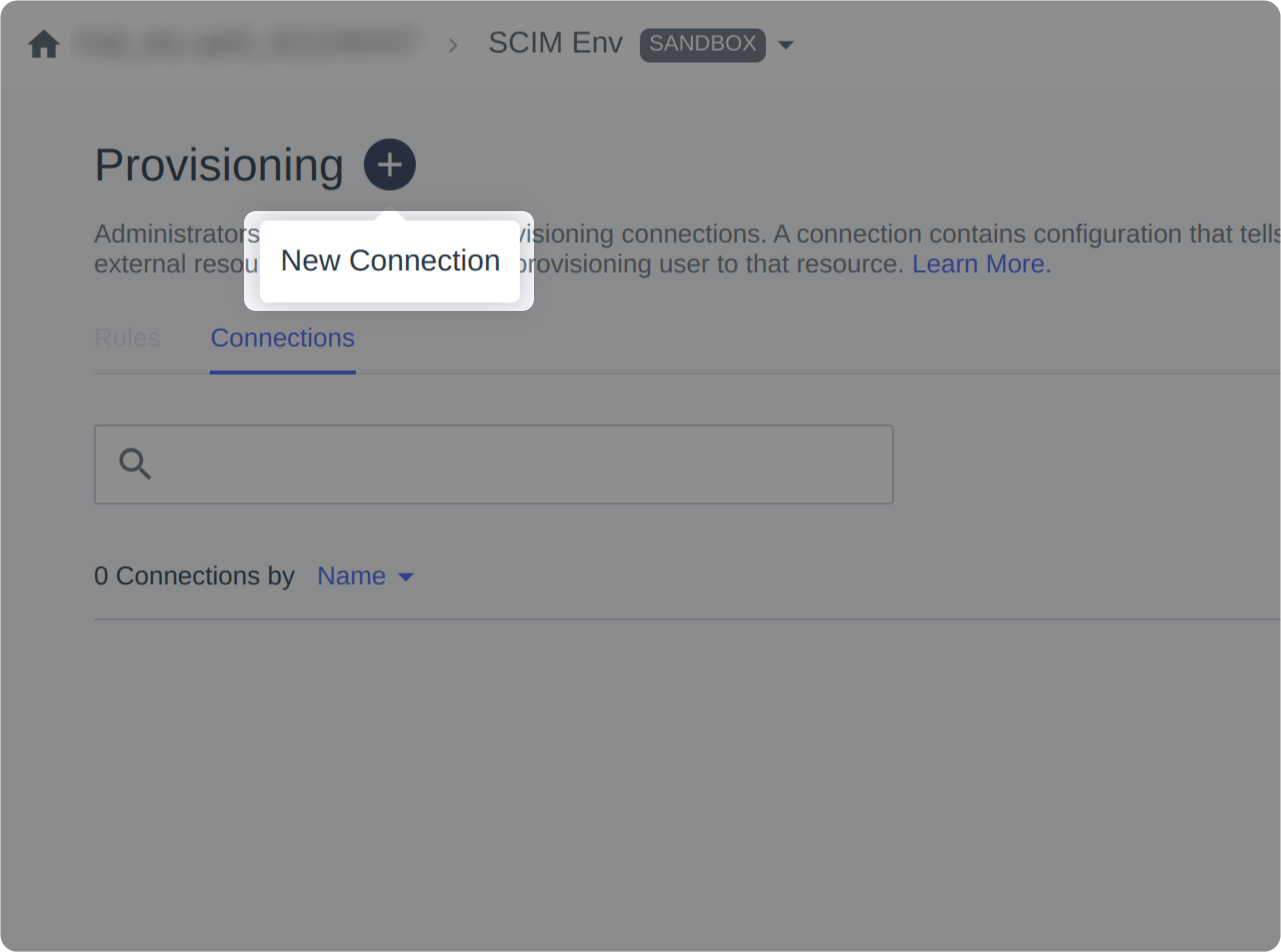
Then click on the "New Connection"
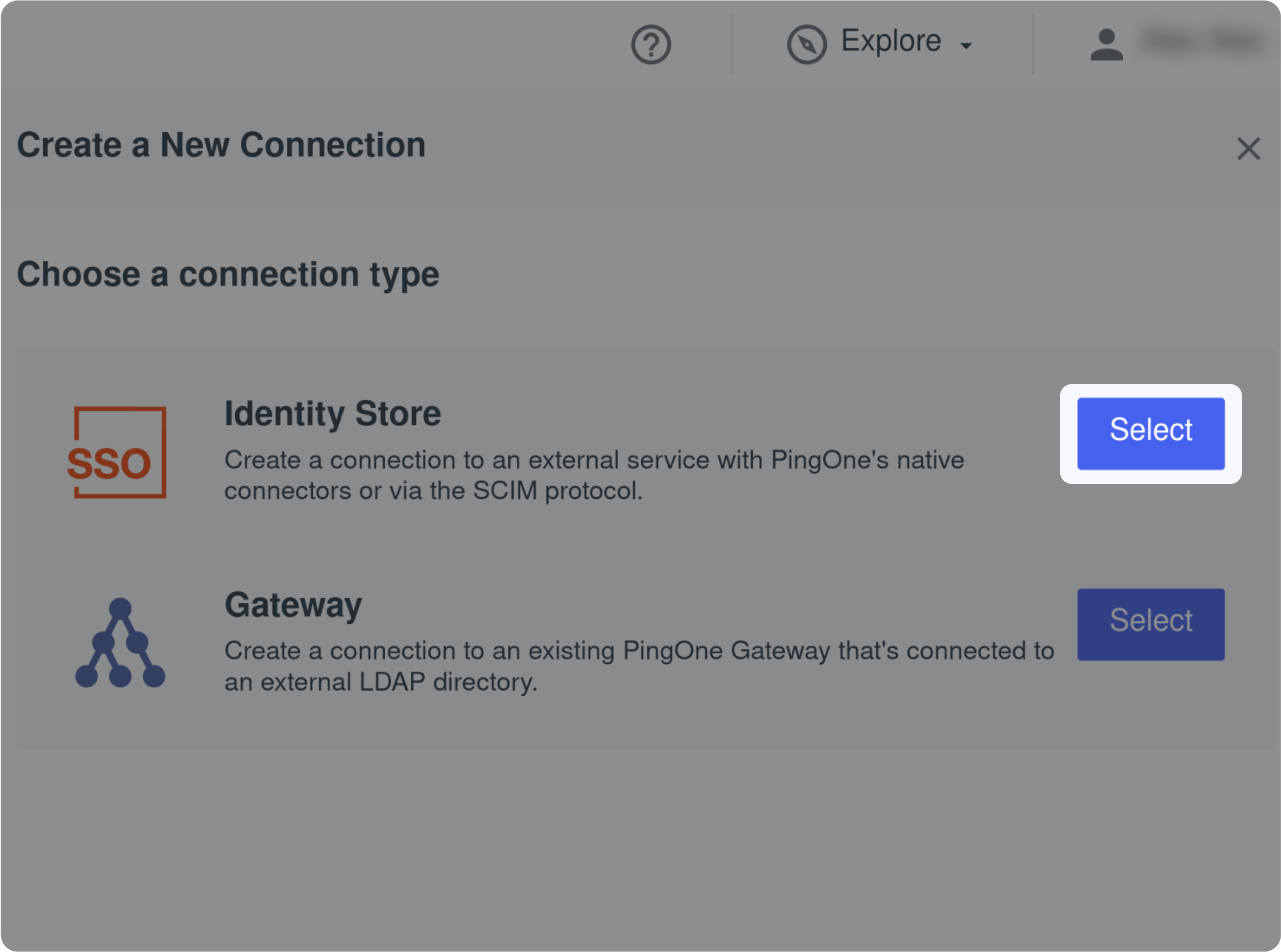
Select "Identity Store"
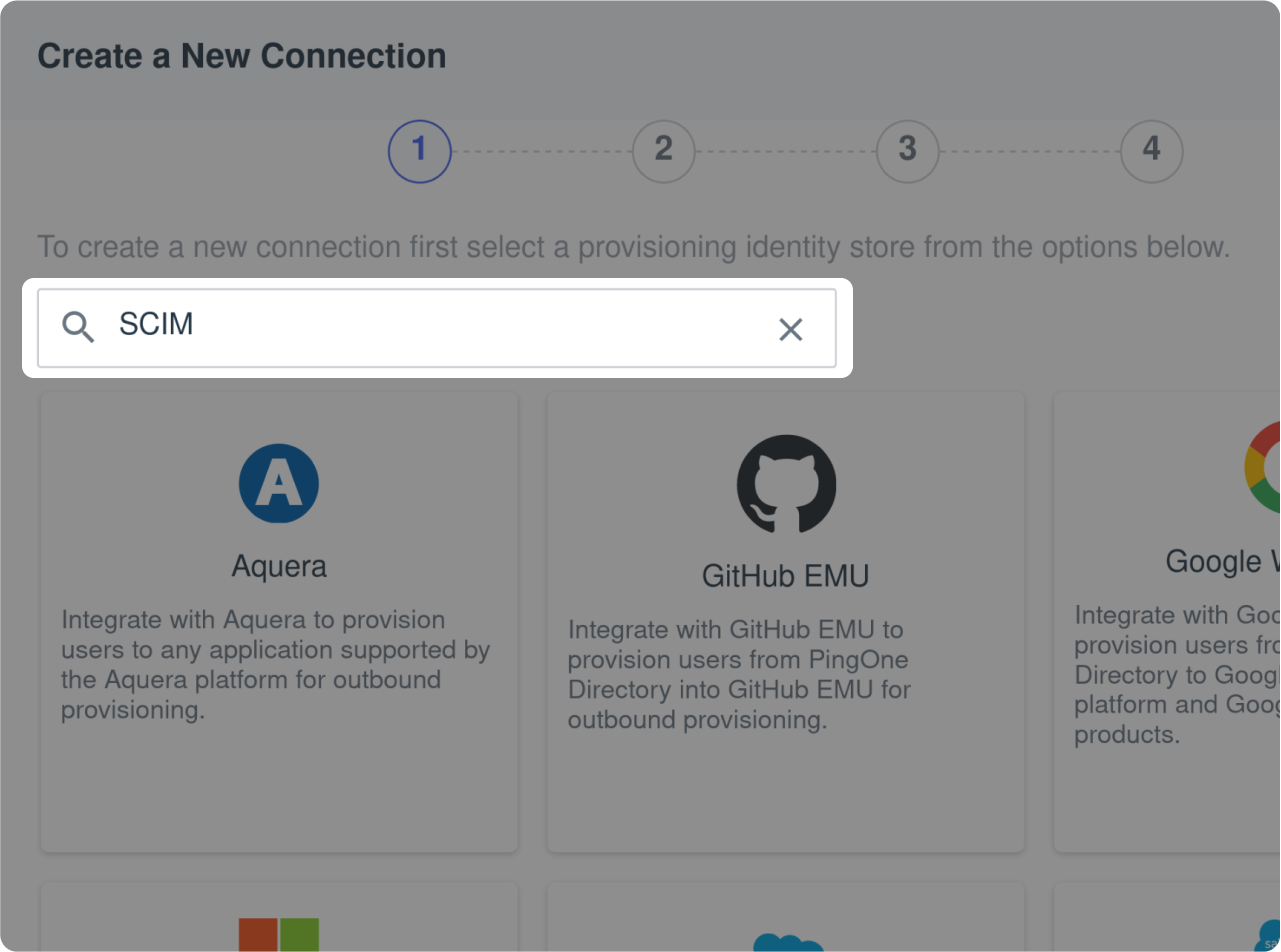
Search for "SCIM"

Select the only result that should be "SCIM Outbound"
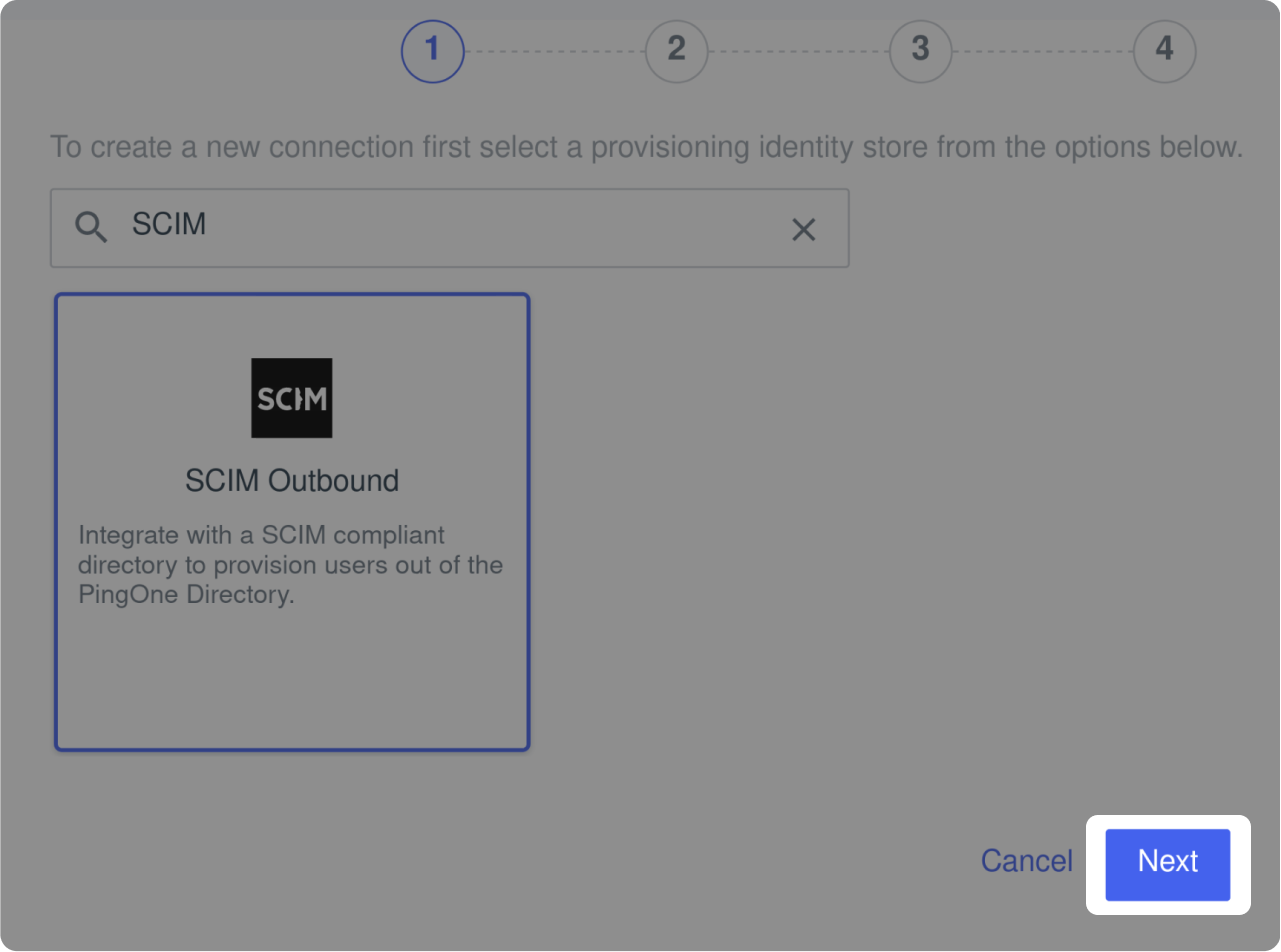
Click on "Next"
Configure your application with the supplied identification elements
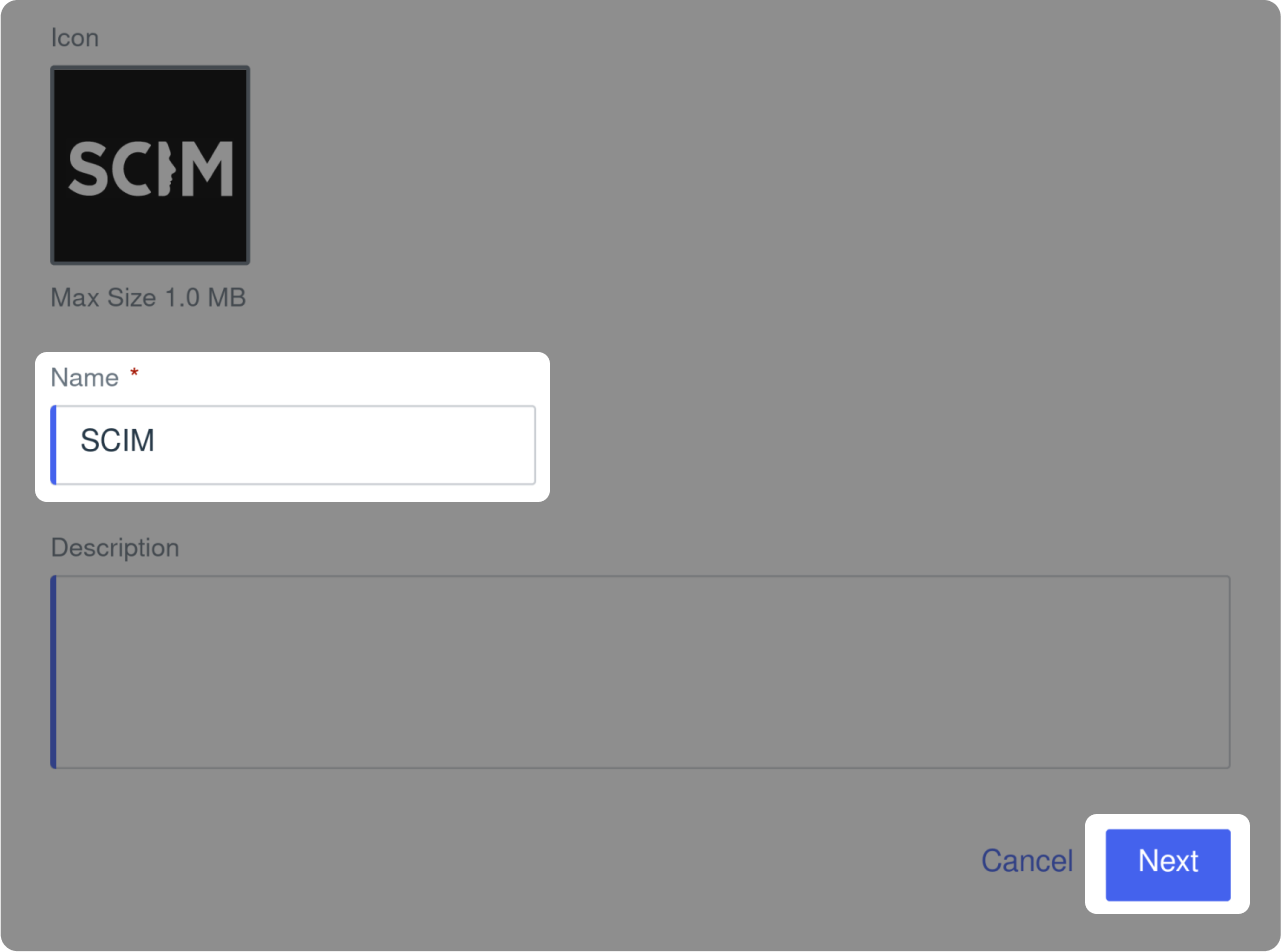
- Enter the name of your app in the "Name" text zone
- Customize the icon and description of your app (optional)
- Click on "Next"
-
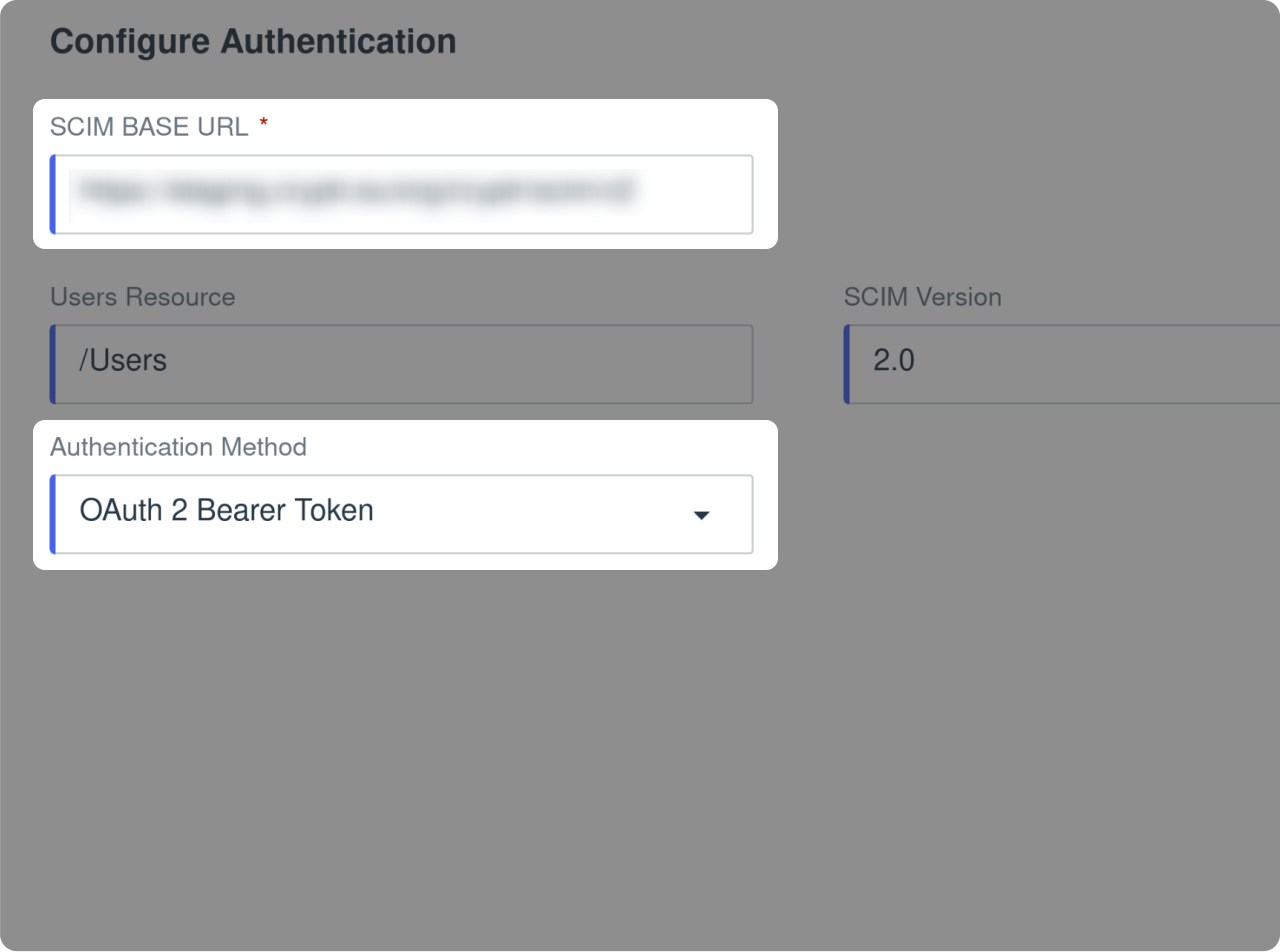
In the "SCIM BASE URL" field, paste the "SCIM Endpoint" value that you find on the right side of this tutorial 👉
-
Select "OAuth2 Bearer Token" as the "Authentication Method."

-
In the "OAuth Access Token" field, paste the "OAuth Access Token" value that you find on the right side of this tutorial 👉
-
Select "Bearer" as the "Auth Type Header."
-
Click on "Test Connection" and then "Next" if the test is successful.
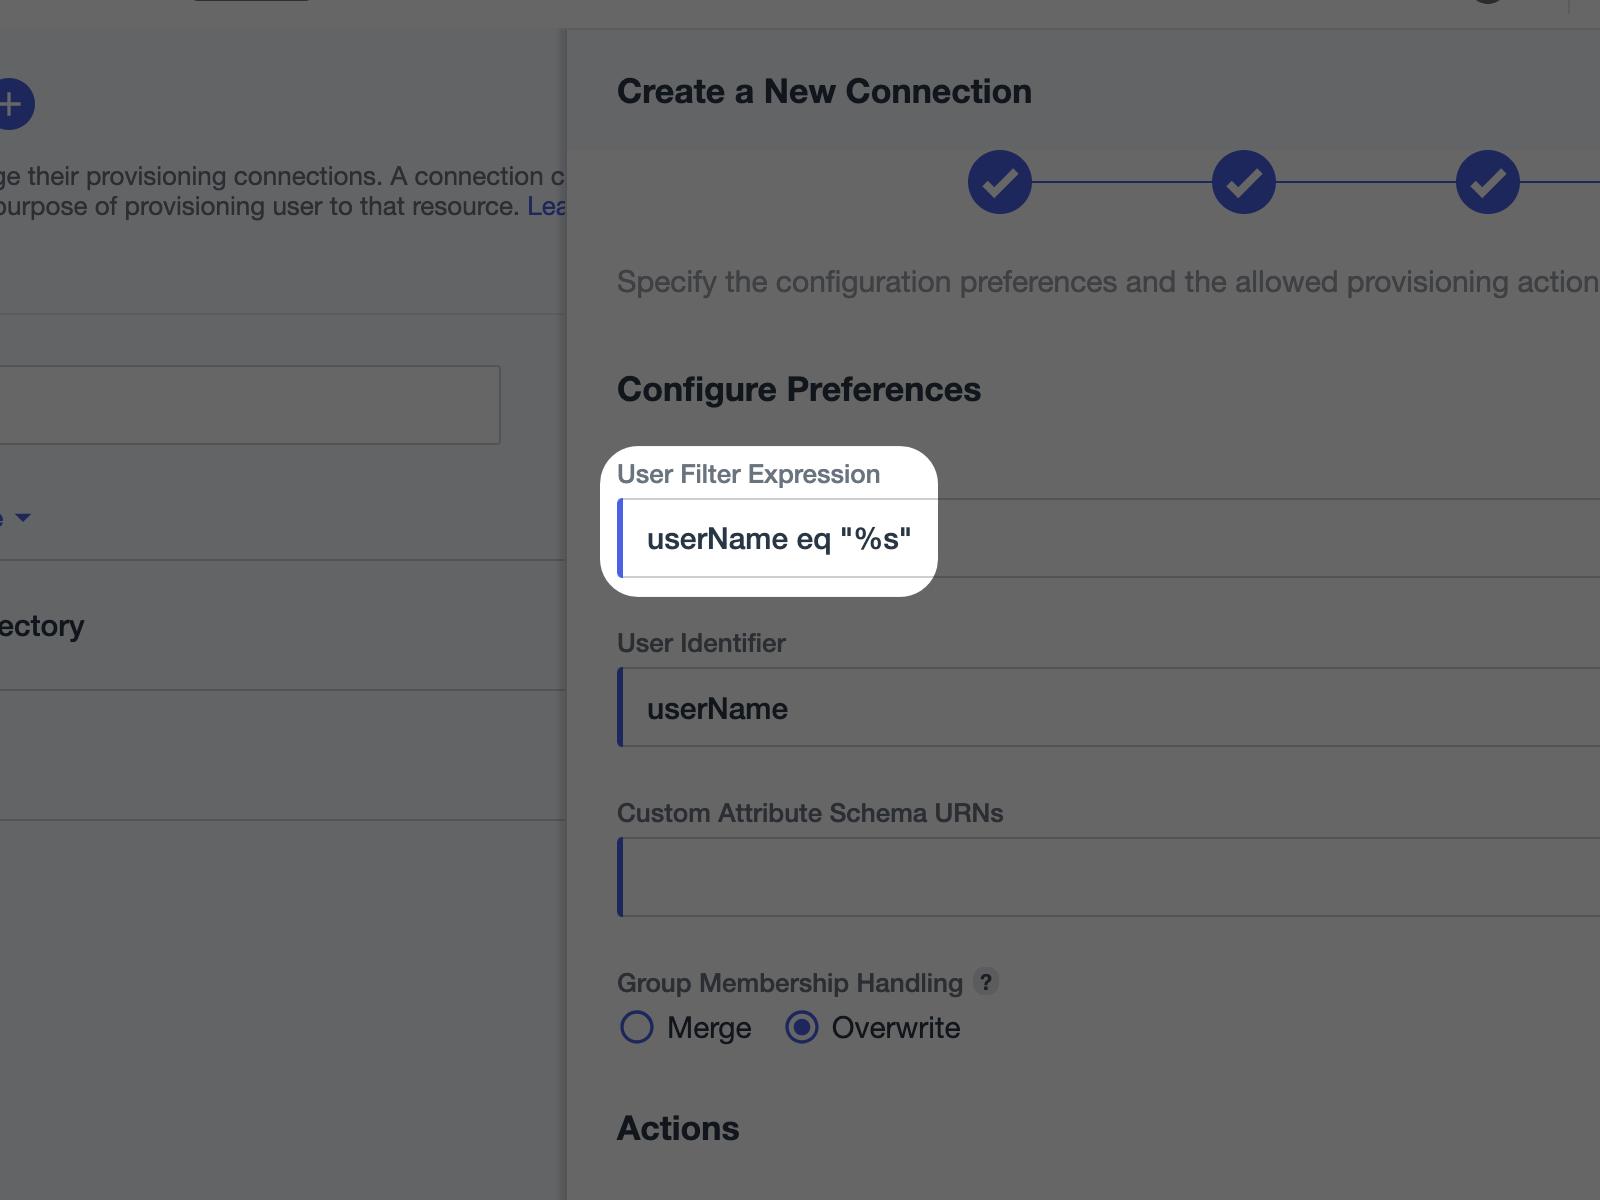
Edit your Provisioning Settings
-
In the "User Filter Expression" replace "username Eq" by "userName eq"
-
Configure the others parameters depending on your needs.
-
Click on "Finish"

Enable your provisioning App.
Setup your Connector (Rule)
-
Now you can create a new Rule by clicking "+"
-
Then click on "New Rule"
-
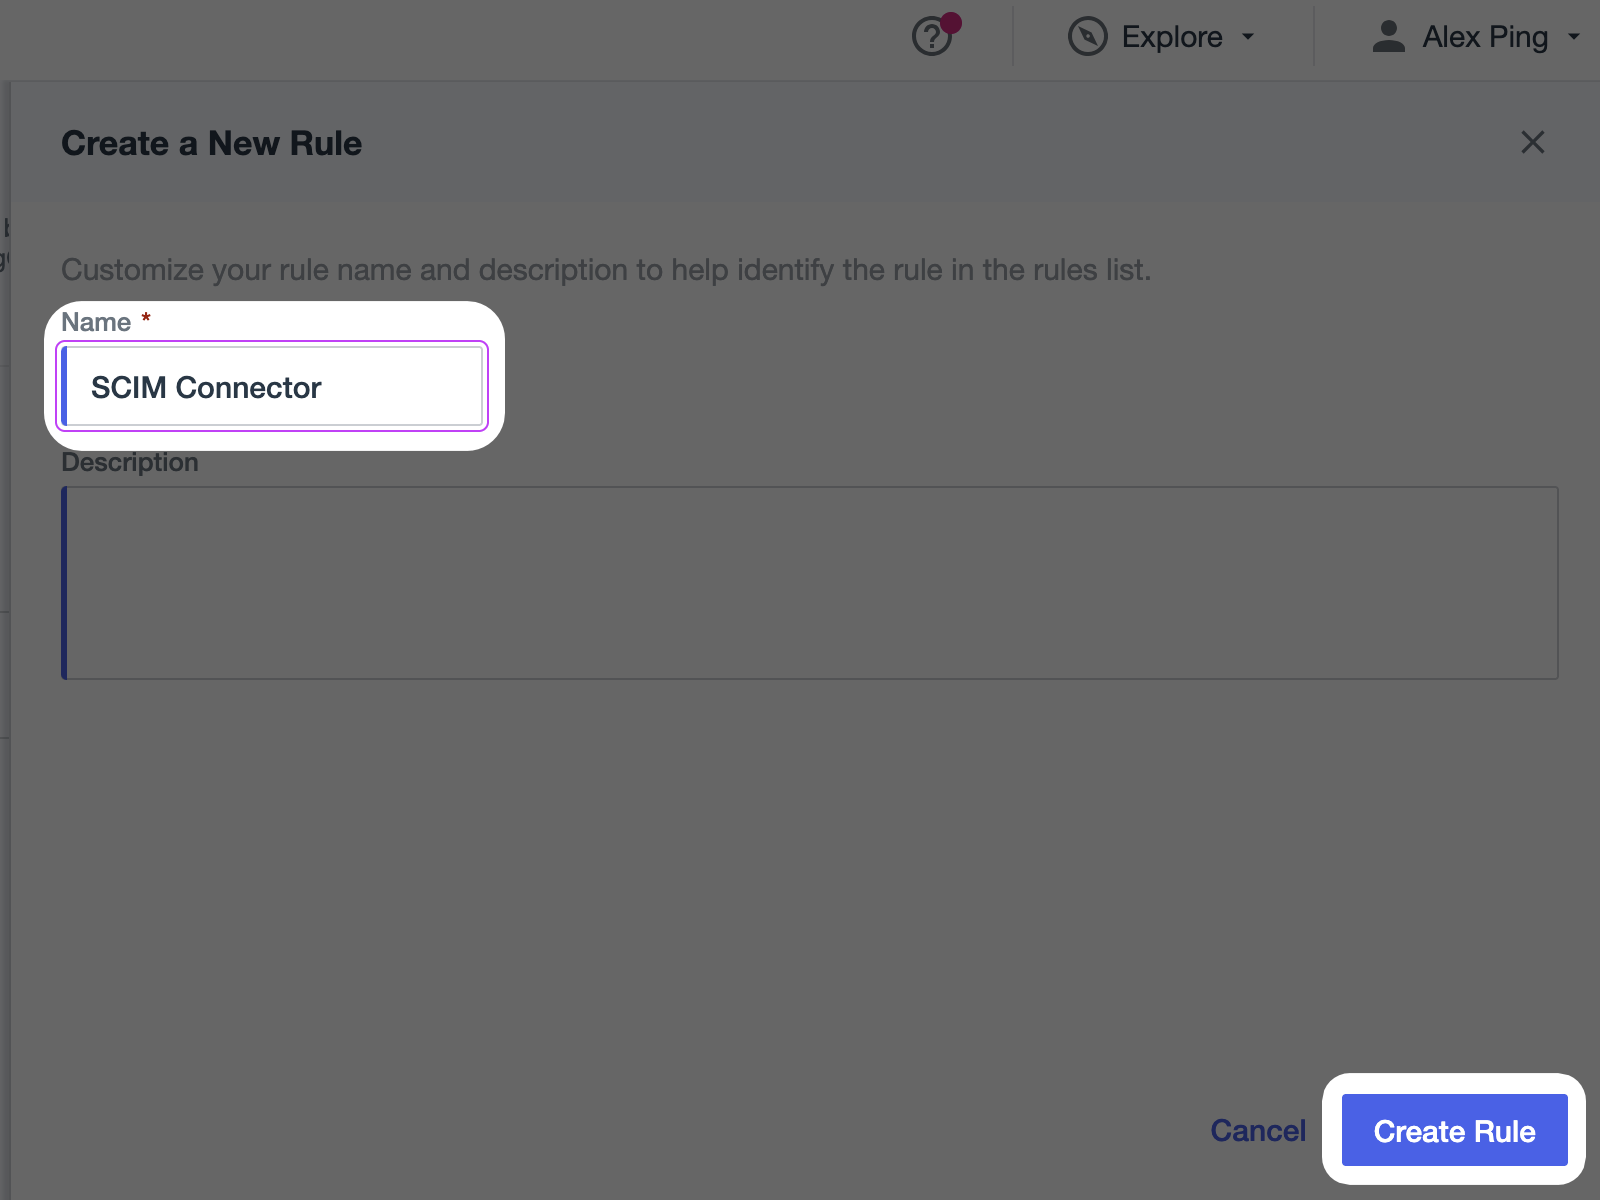
Give a name (and description) to the new Rule.
-
Then click on "Create Rule"
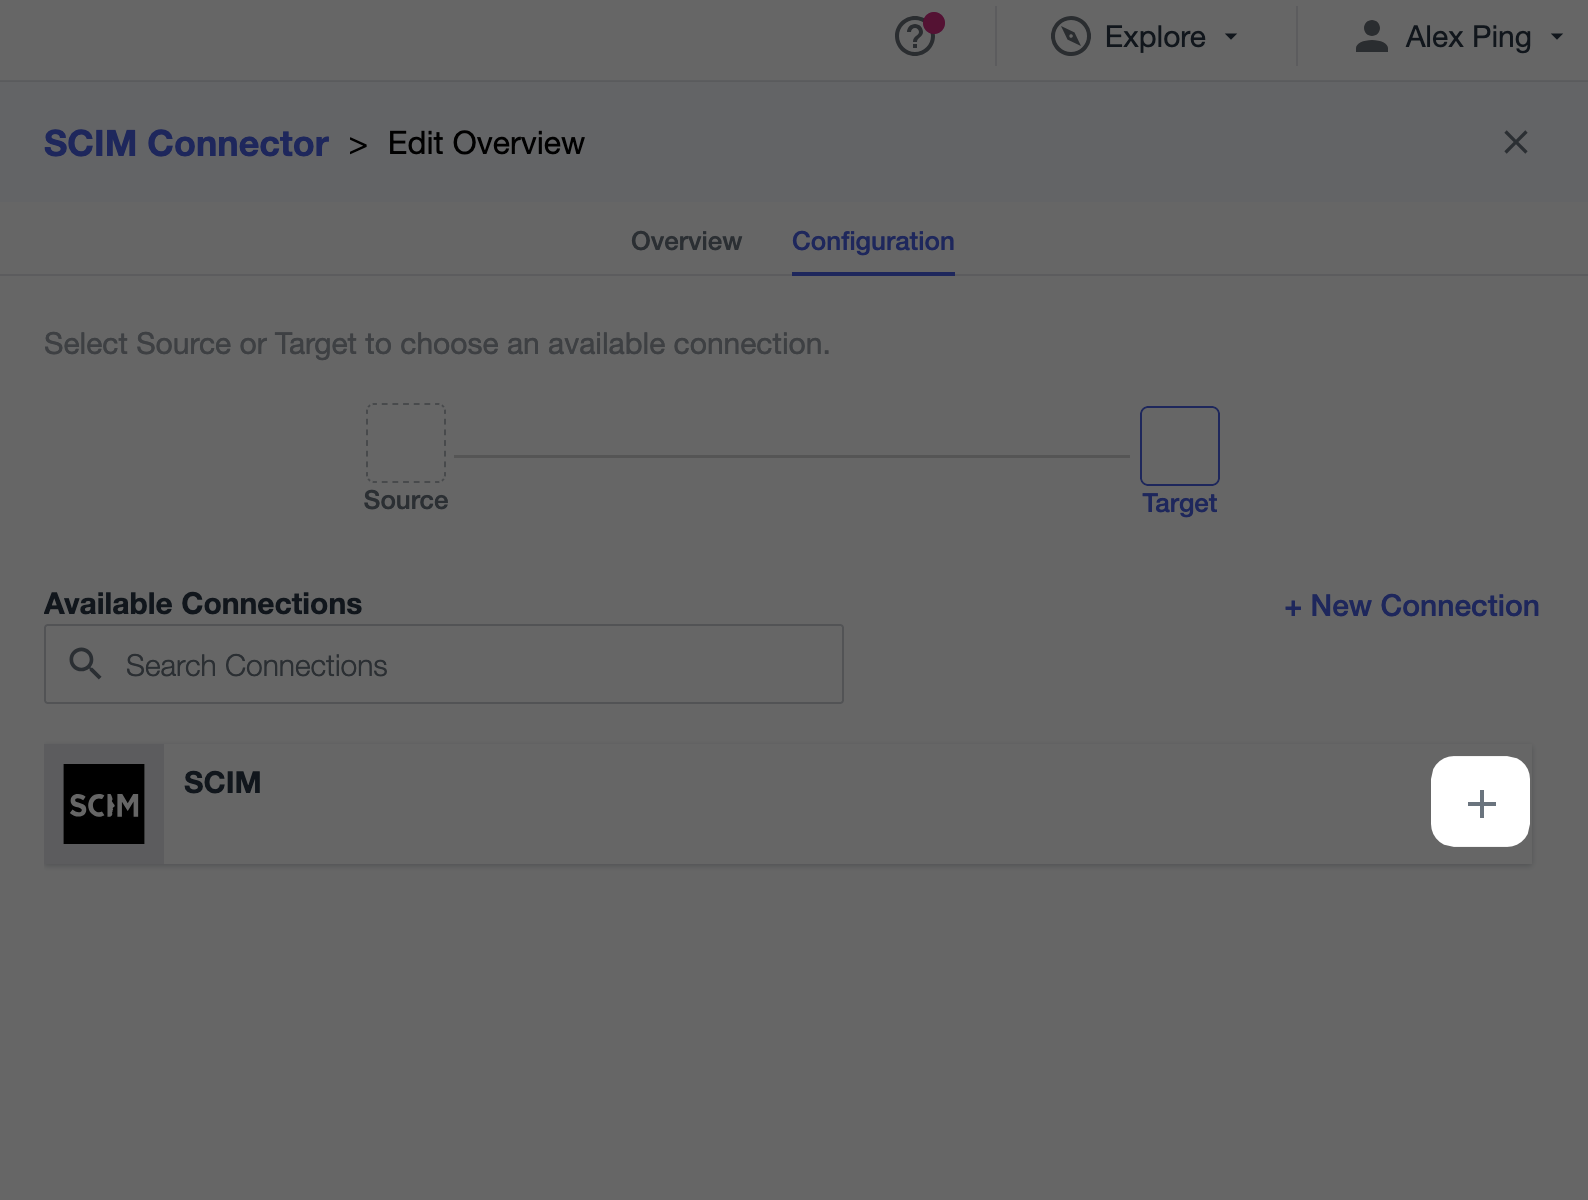
- Add the newly created SCIM Connection to the Rule by clicking the "+" icon.
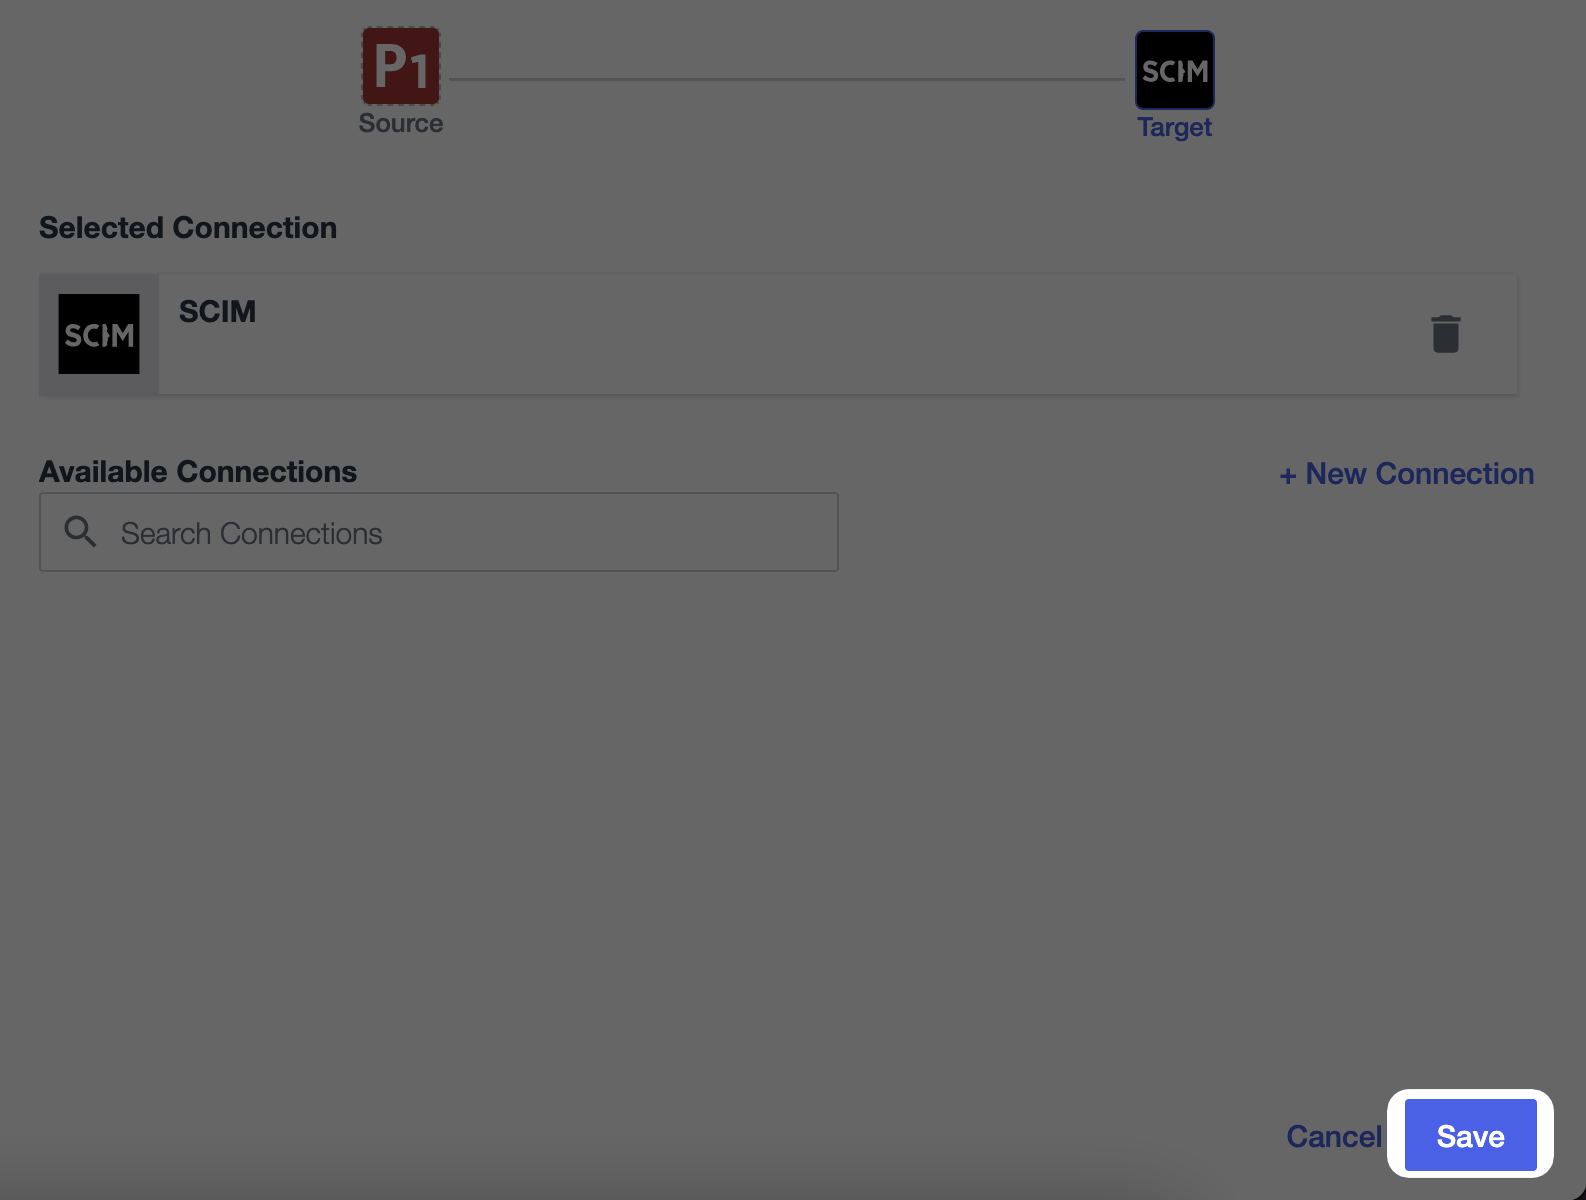
- Save
-
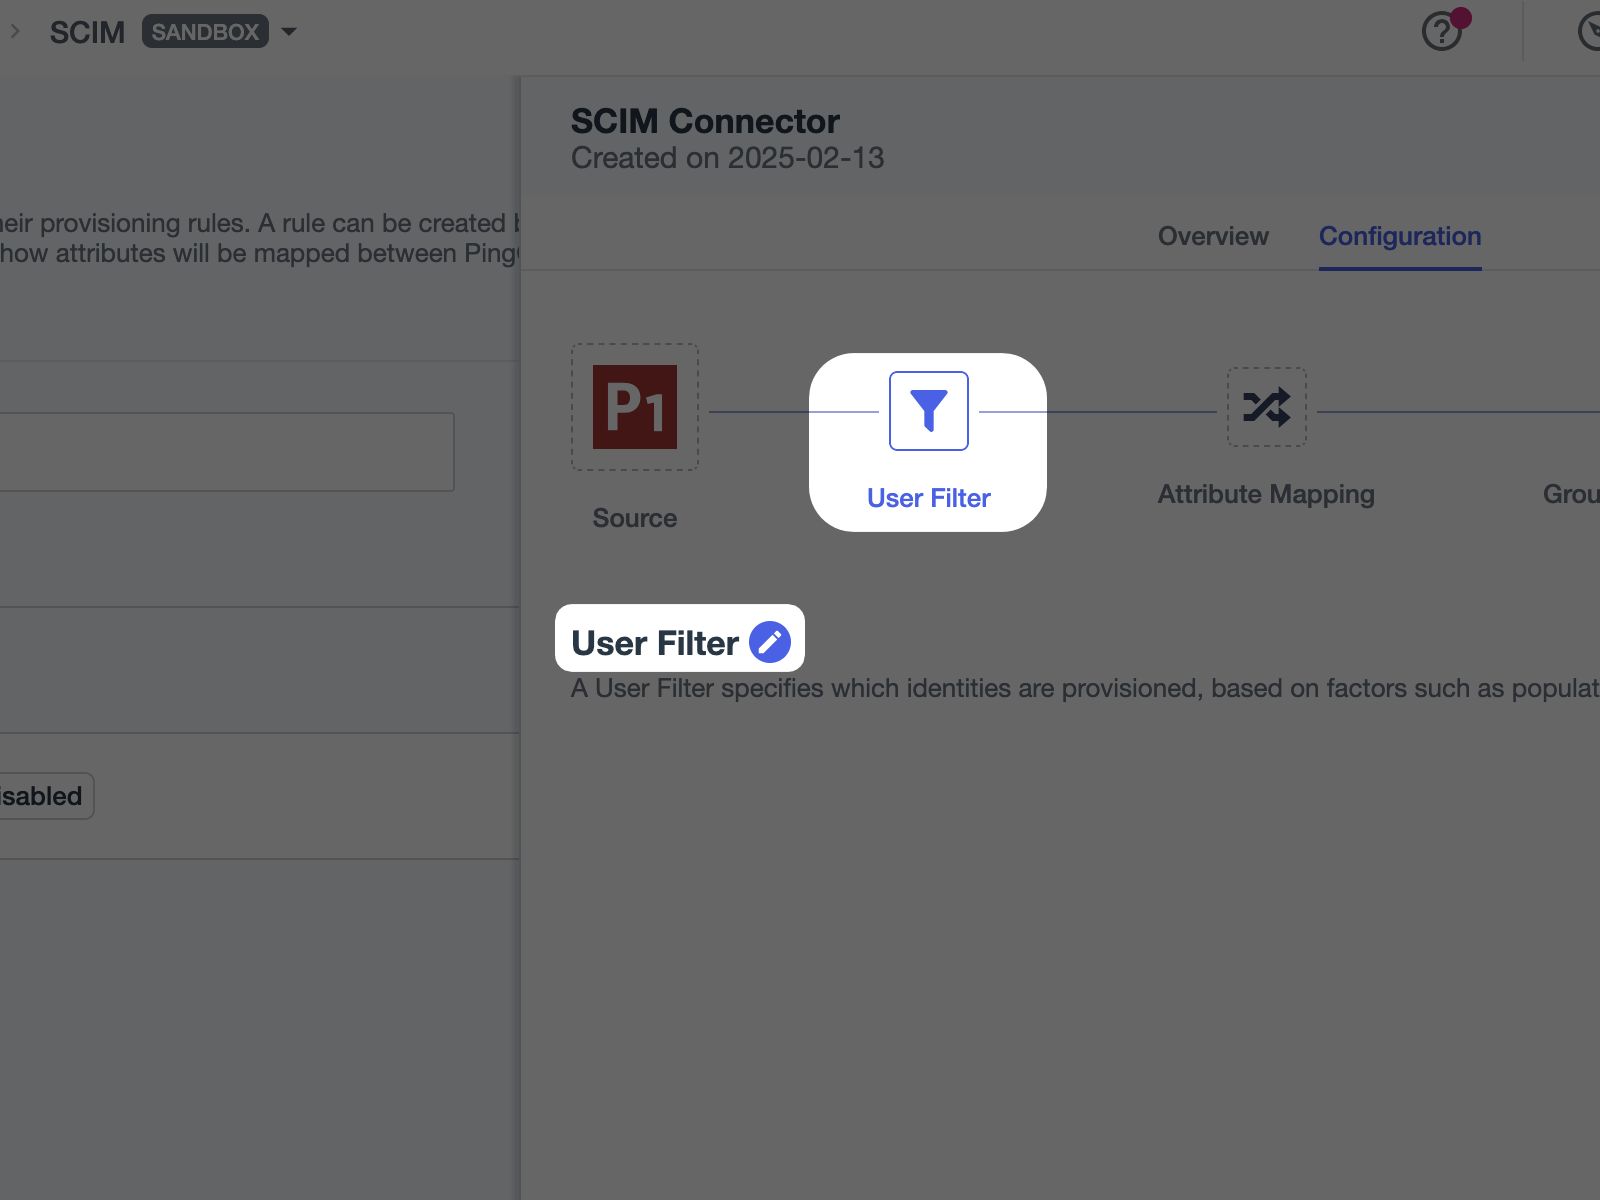
You can now edit the Configuration of the Rule
-
Start by clicking on the "User Filter" then on the pen icon
-
Add the rule you want, for example: "Enabled equals true". It will synchronize only active users. Save.
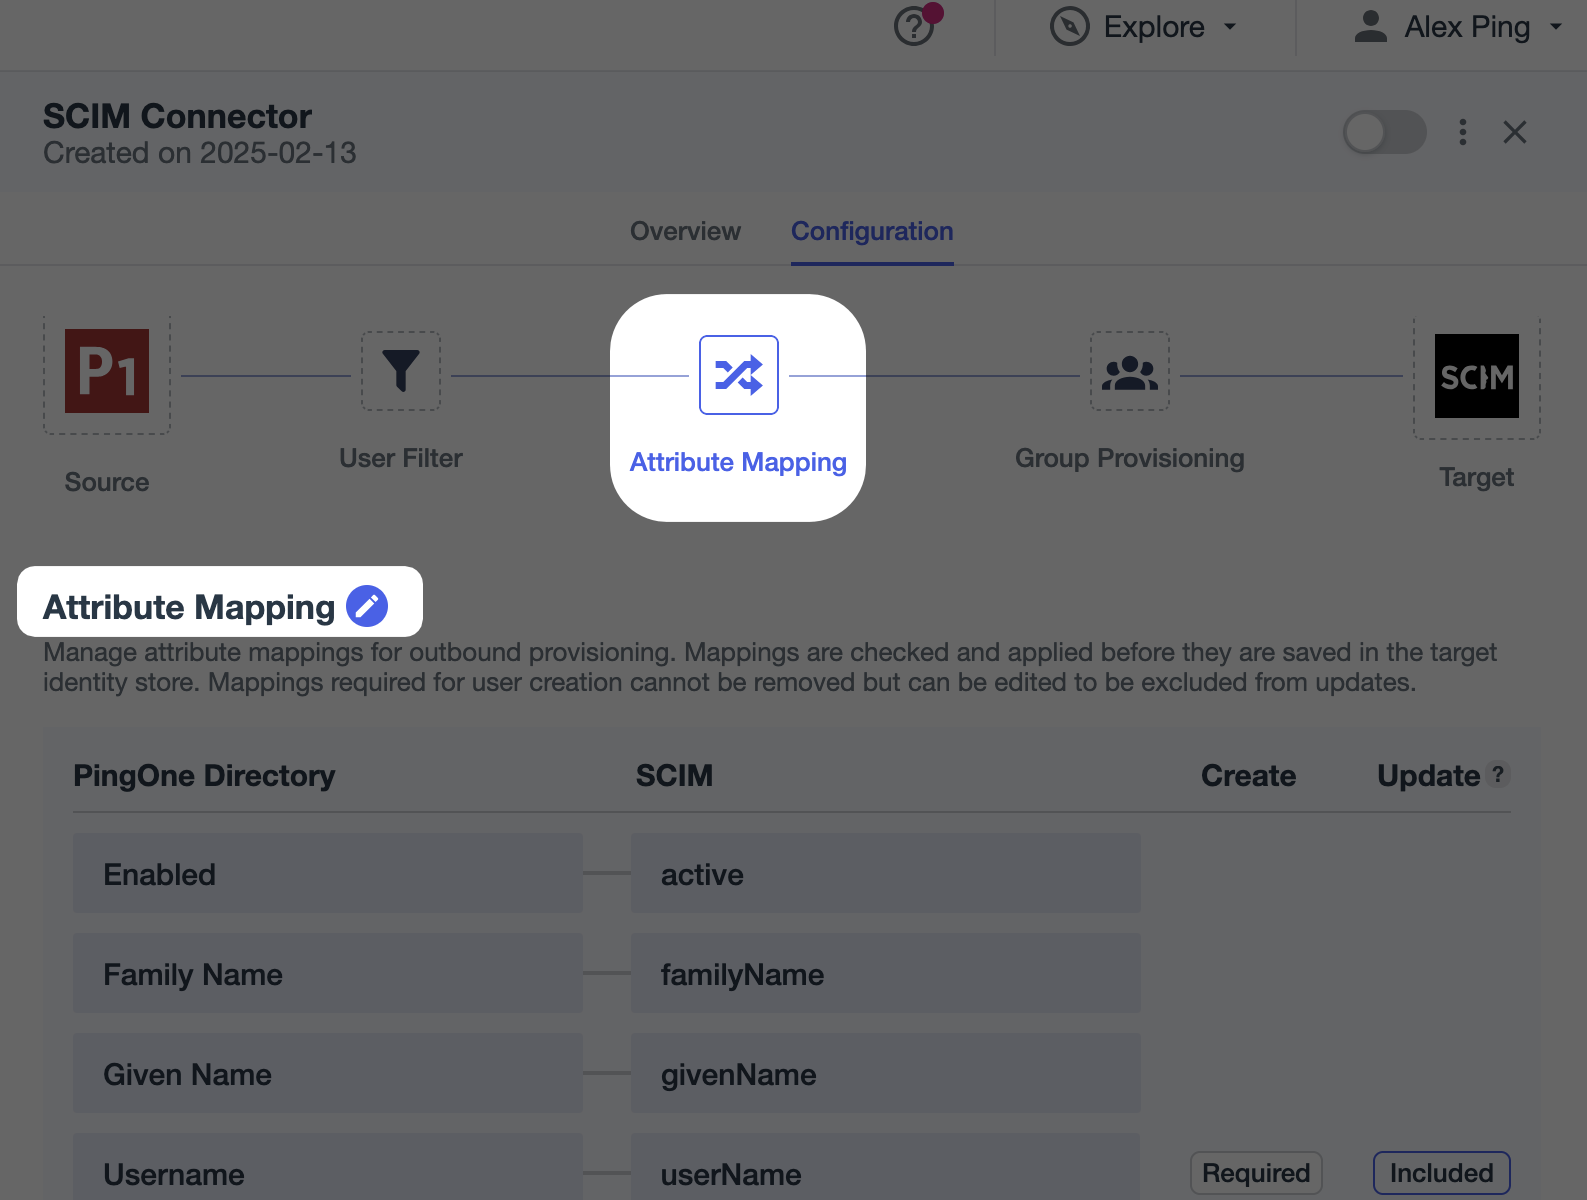
- Now click on the "Attribute Mapping" then on the pen icon
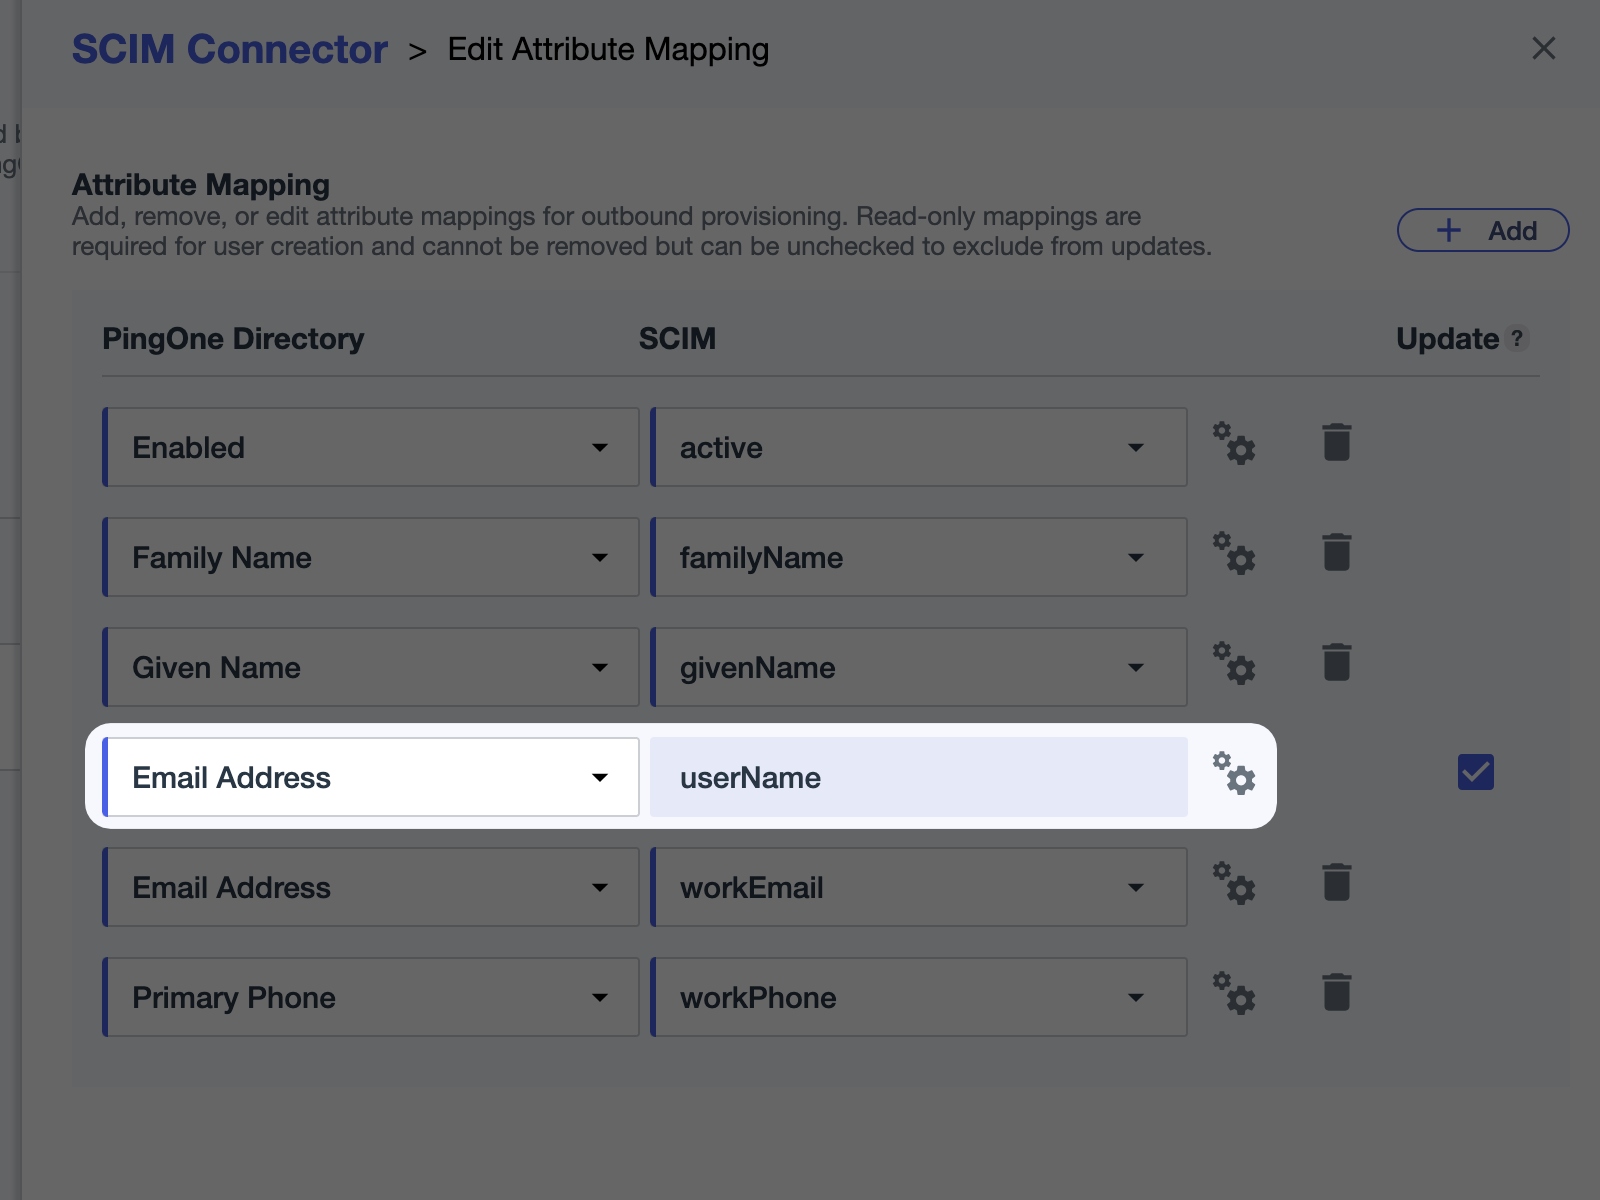
- Replace "Username" by "Email Address" for the "userName" mapping.
-
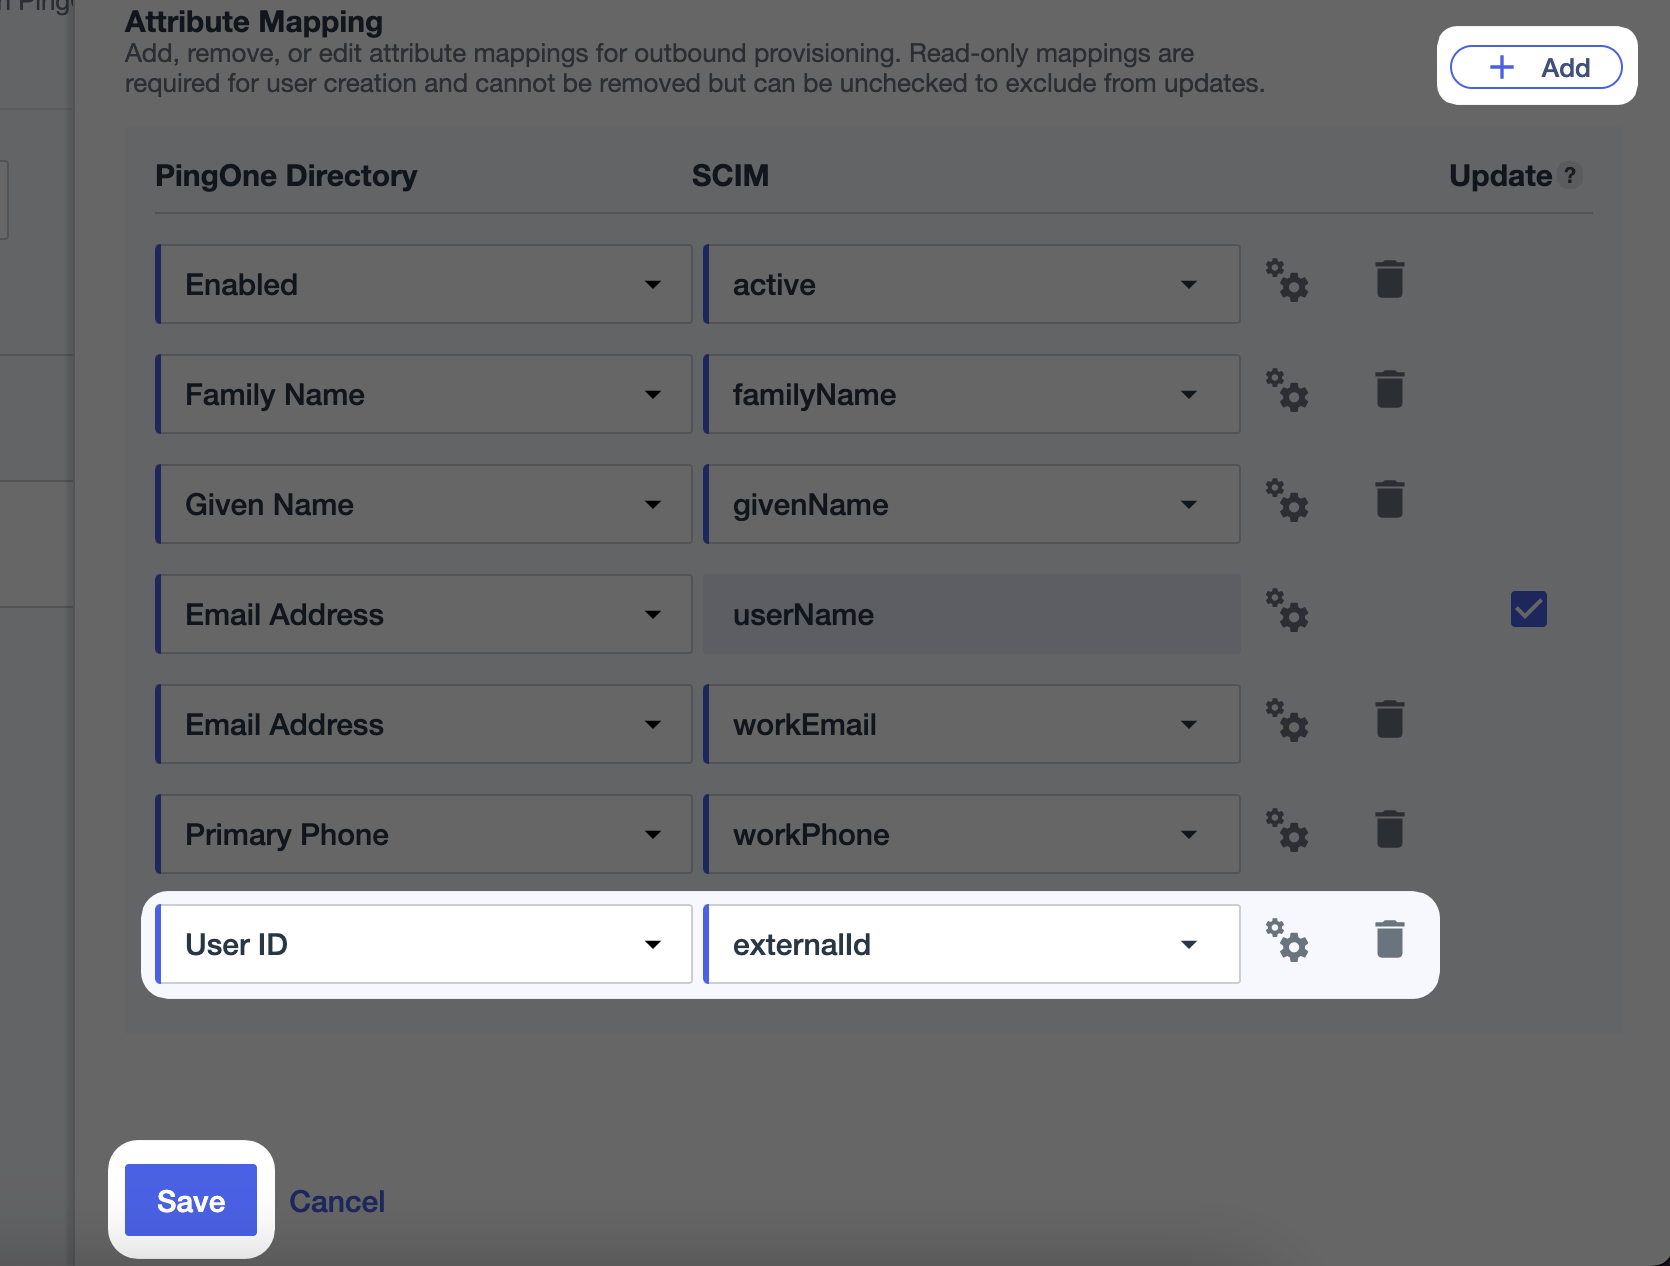
Create a new Mapping by clicking "+ Add"
-
Put "User ID" as PingOne Directory value
-
Then put "externalId" as SCIM value and Save.
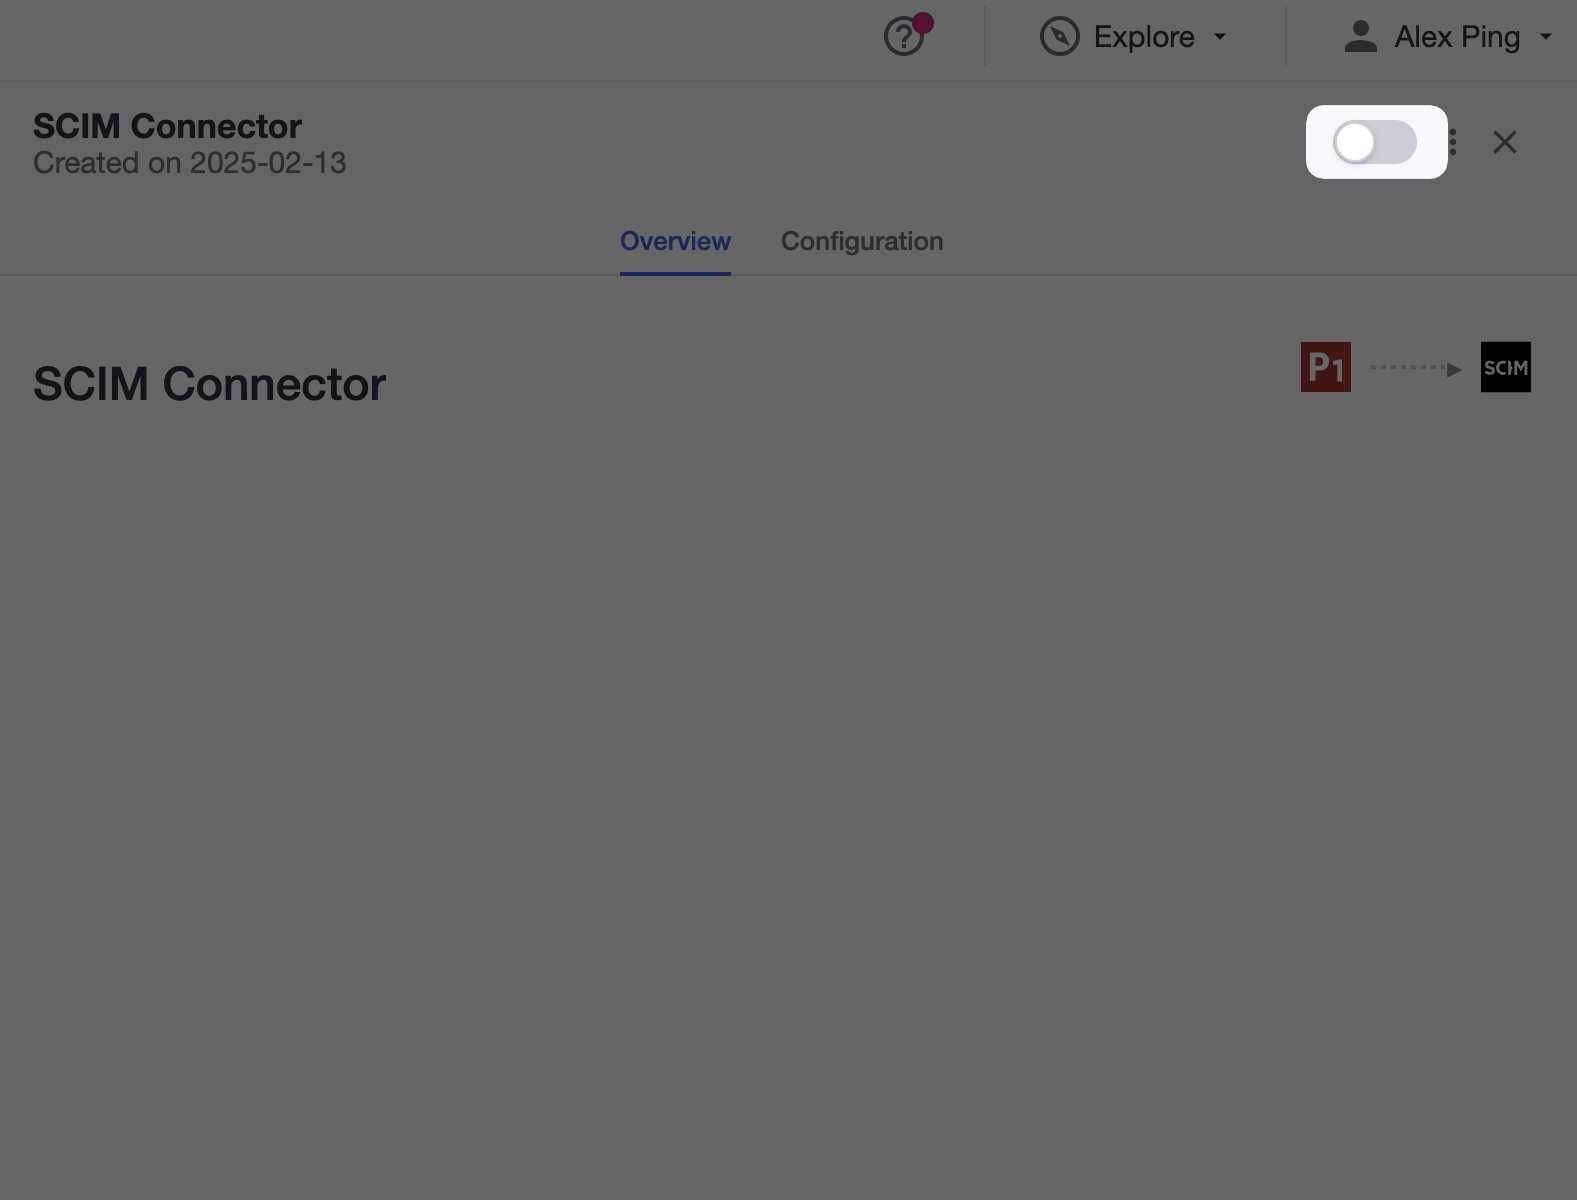
- Enable your newly created Rule
Test your app's synchronization by assigning users to this application.