IBM Security Verify
Discover step-by-step instructions on configuring a connection with IBM Security Verify. Learn how to integrate your application with IBM Security Verify for secure and streamlined SSO authentication.
How to start
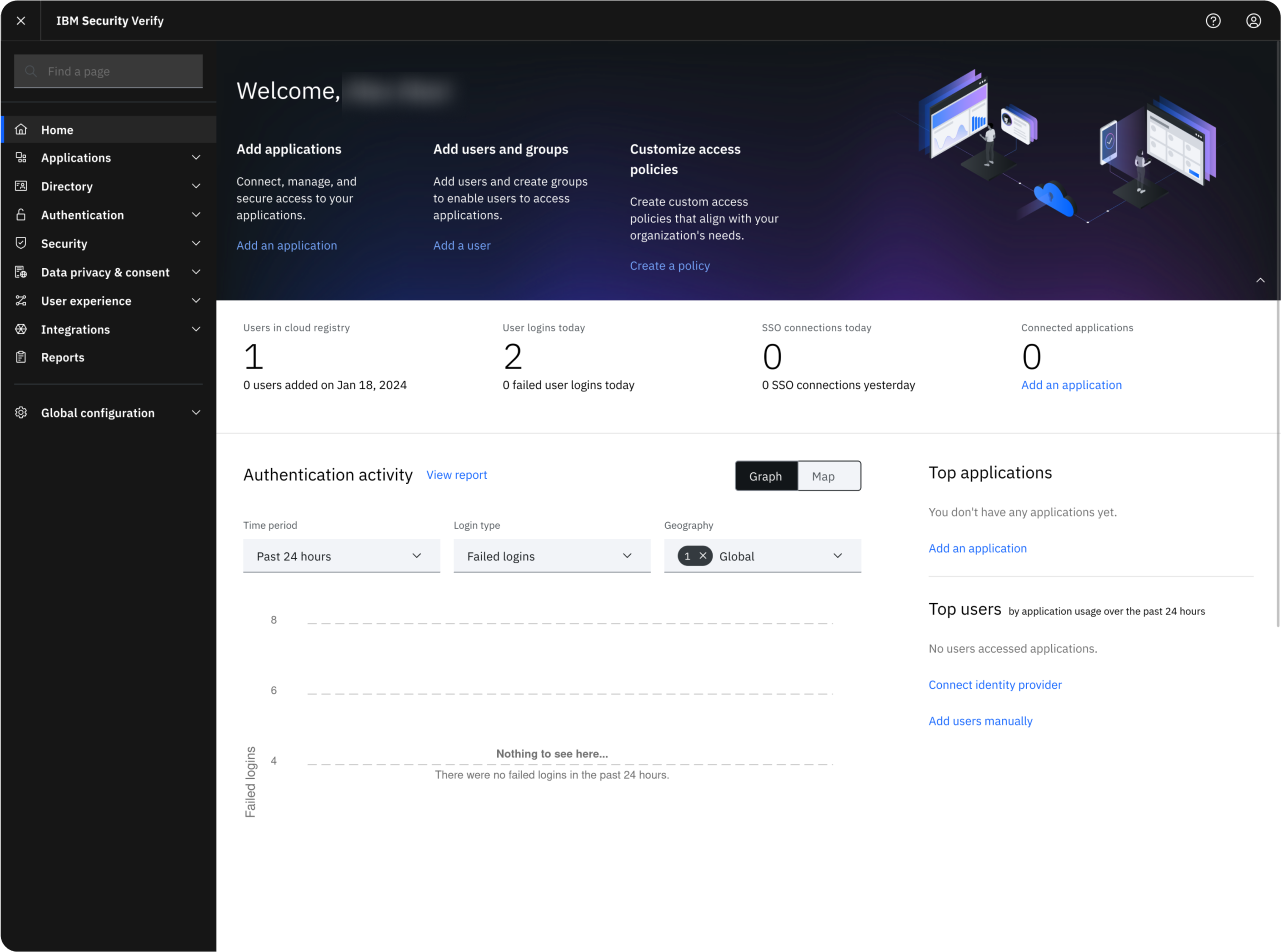
- Open https://myibm.ibm.com/dashboard and create an IBM Security Verify.
- You can also go directly to: https://your-company.verify.ibm.com if you already have one
Certificate
- Download certificate on the right side of this screen
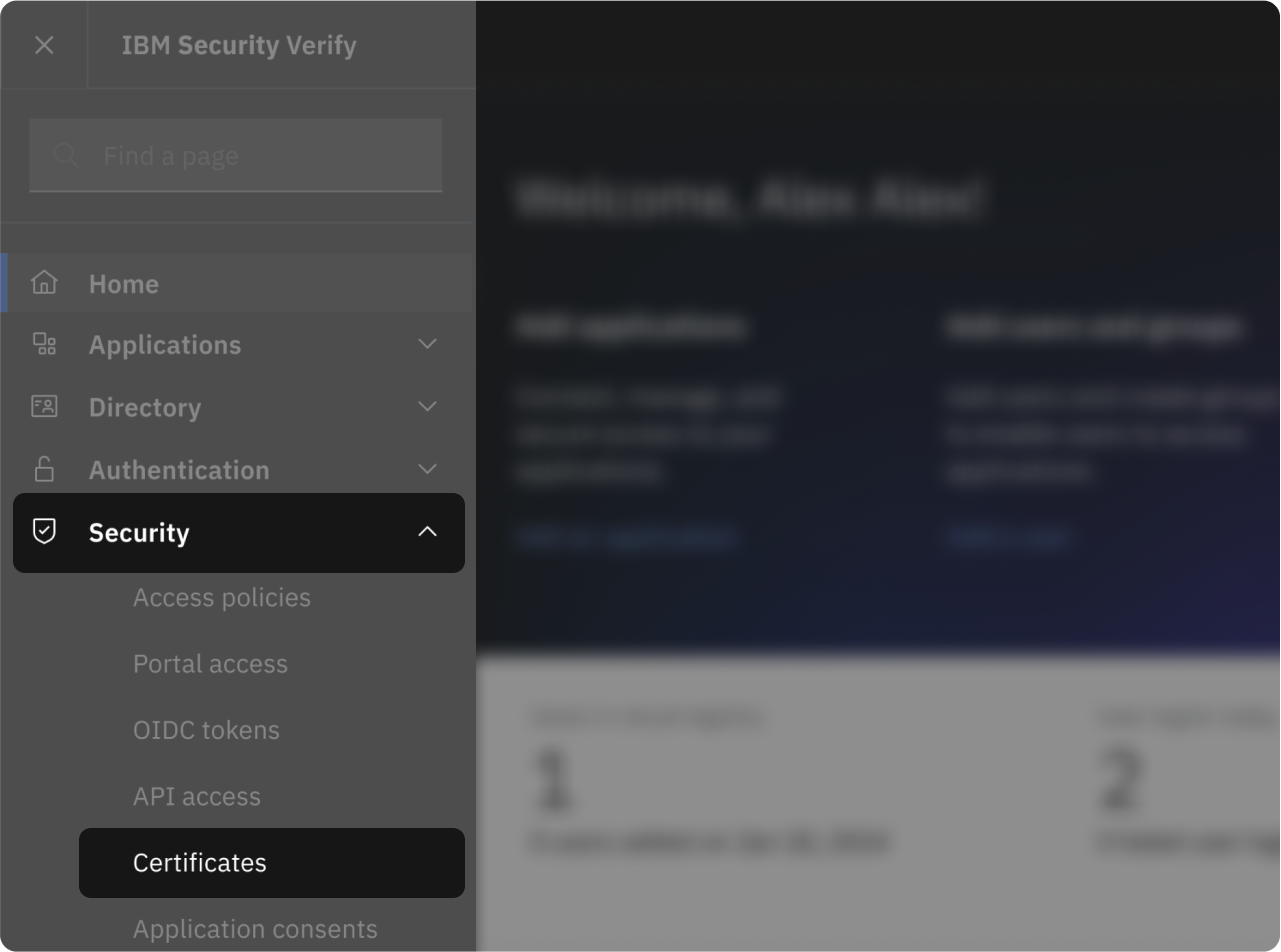
- Then on IBM SV, access "Security" > "Certificates" section
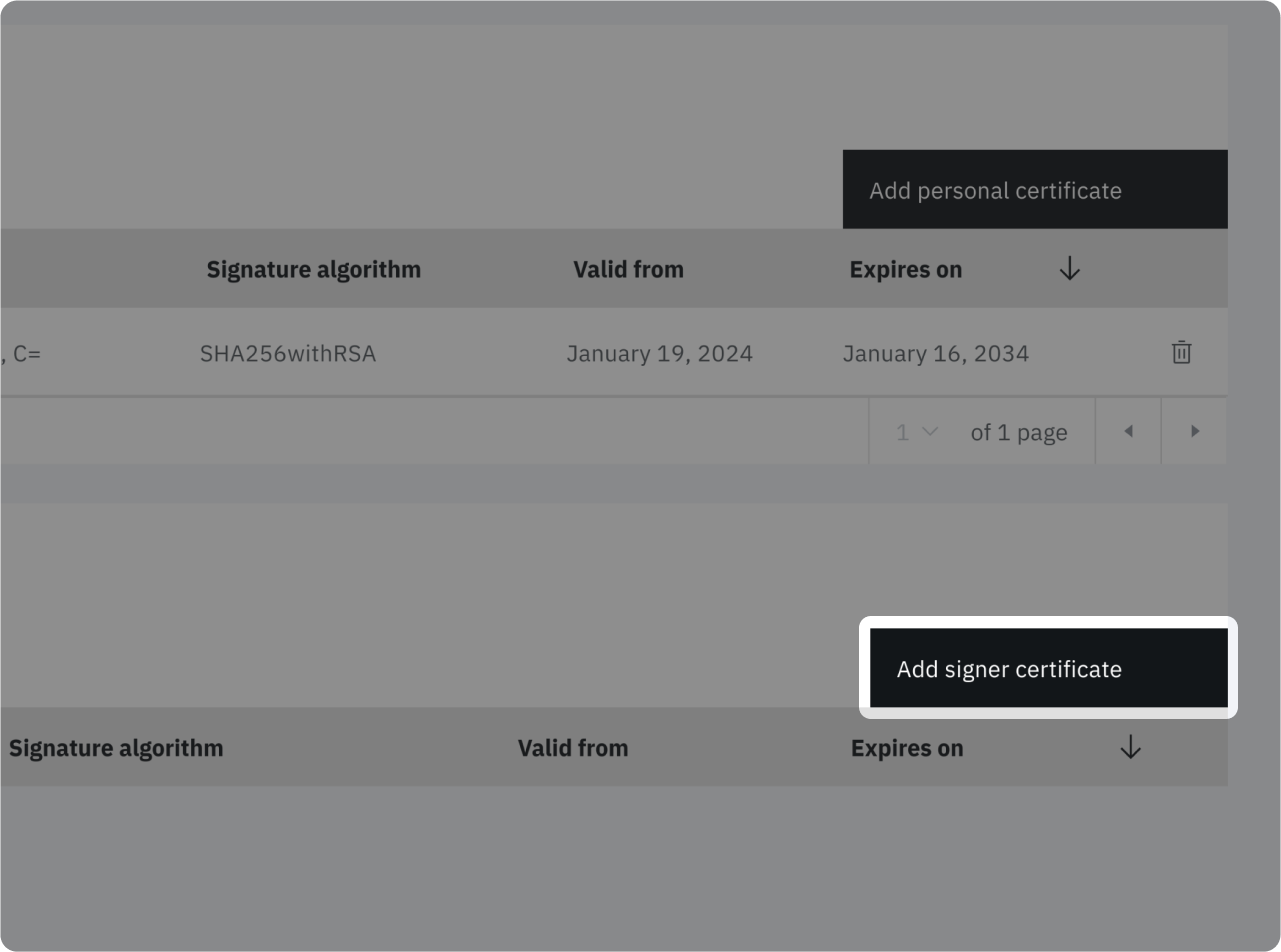
Click on "Add signer certificate"
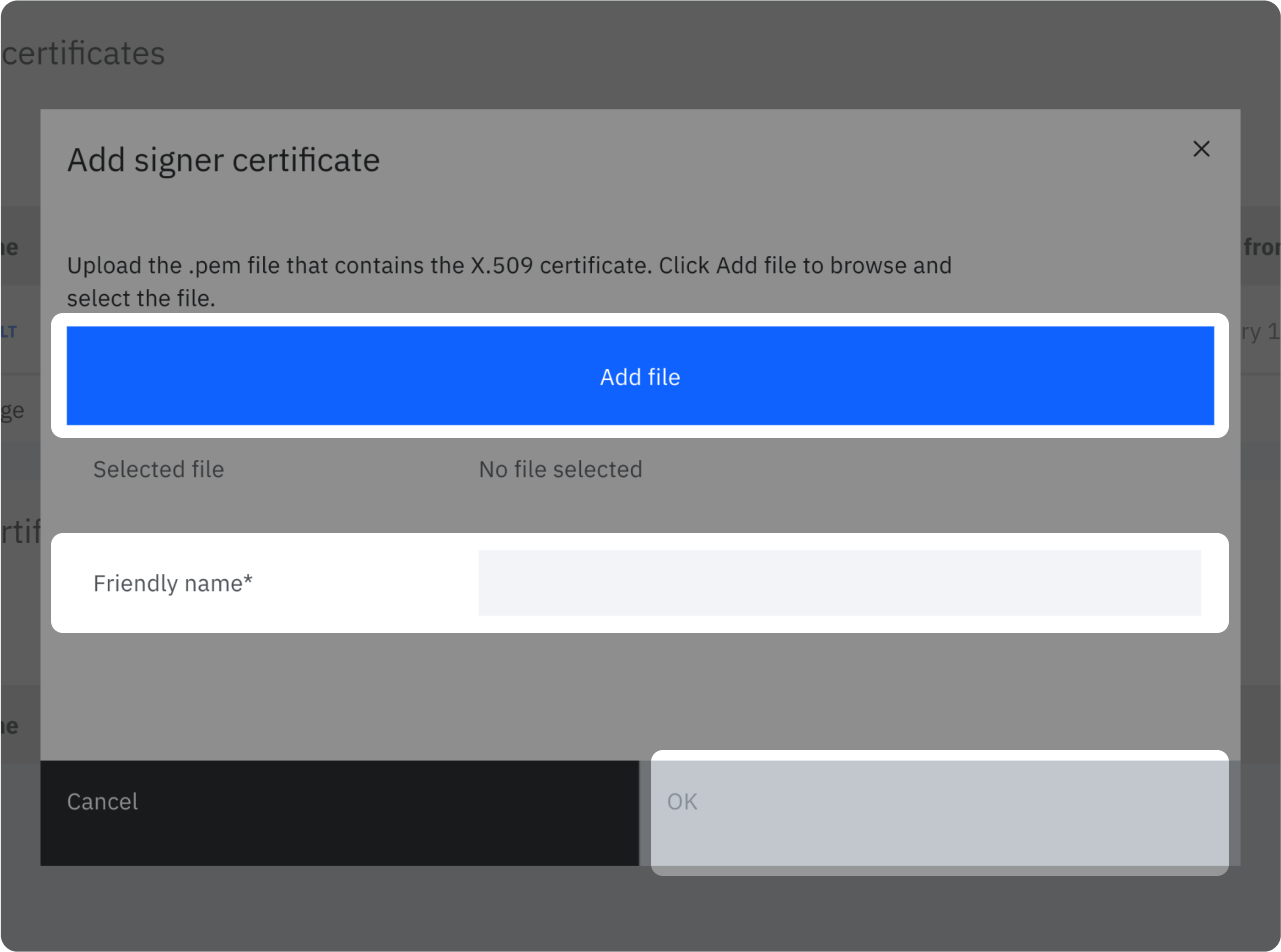
- In the popup click on "Add a file"
- Choose a friendly name such as "cryptr_certificate"
- Click on "OK"
Declare an application
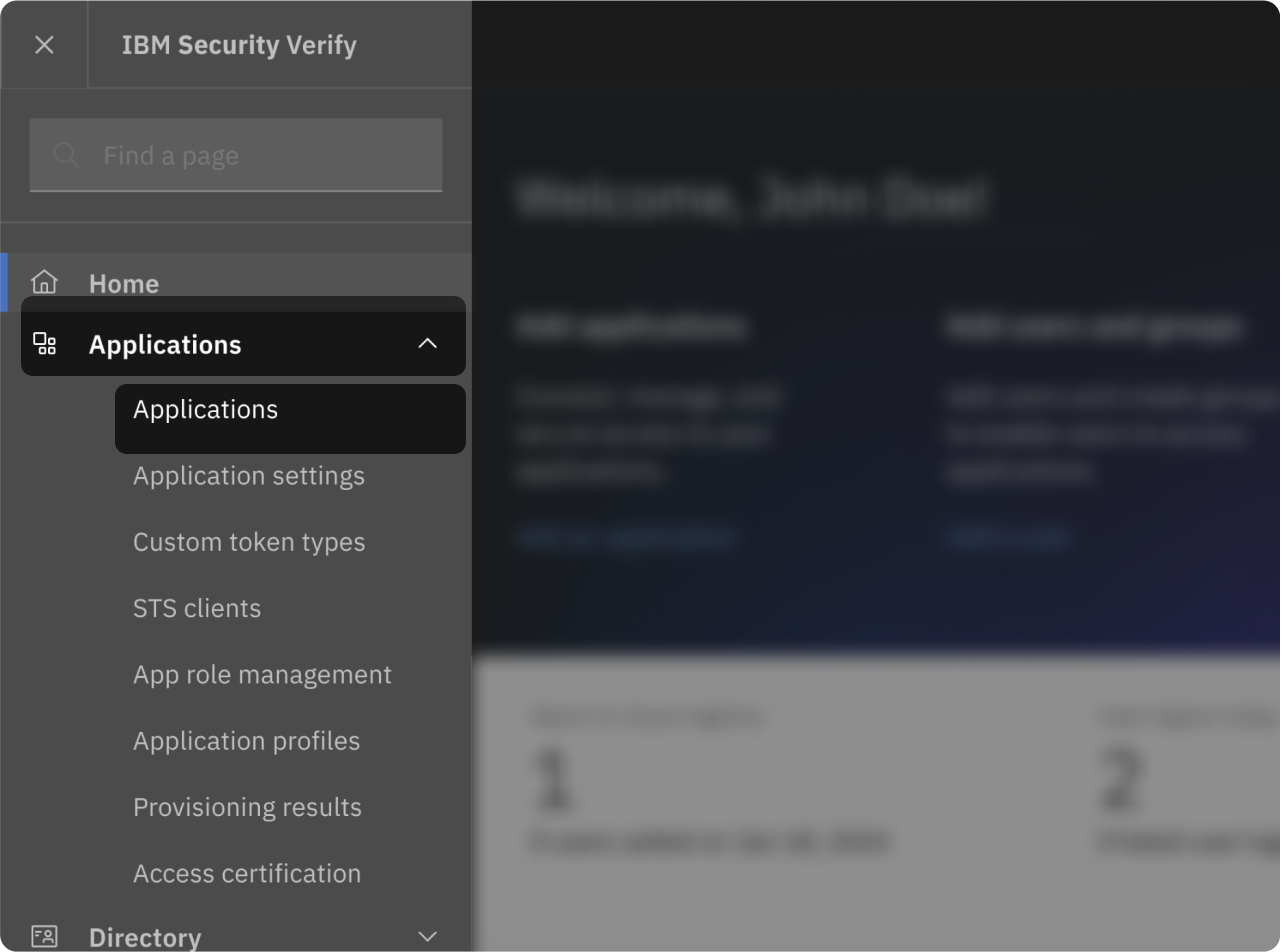
Now, go into "Applications" > "Applications". To create a new one
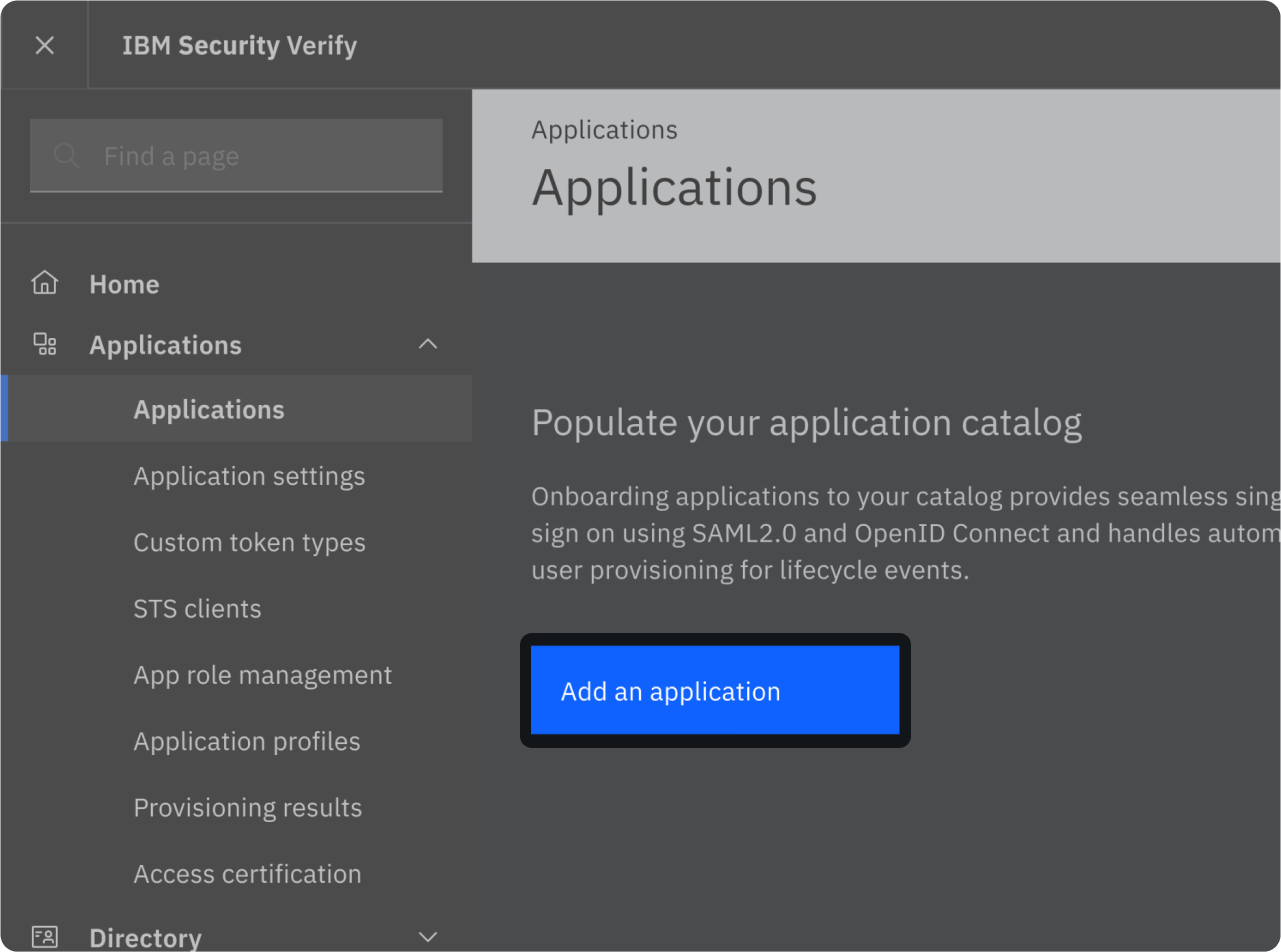
Click on "Add an application"
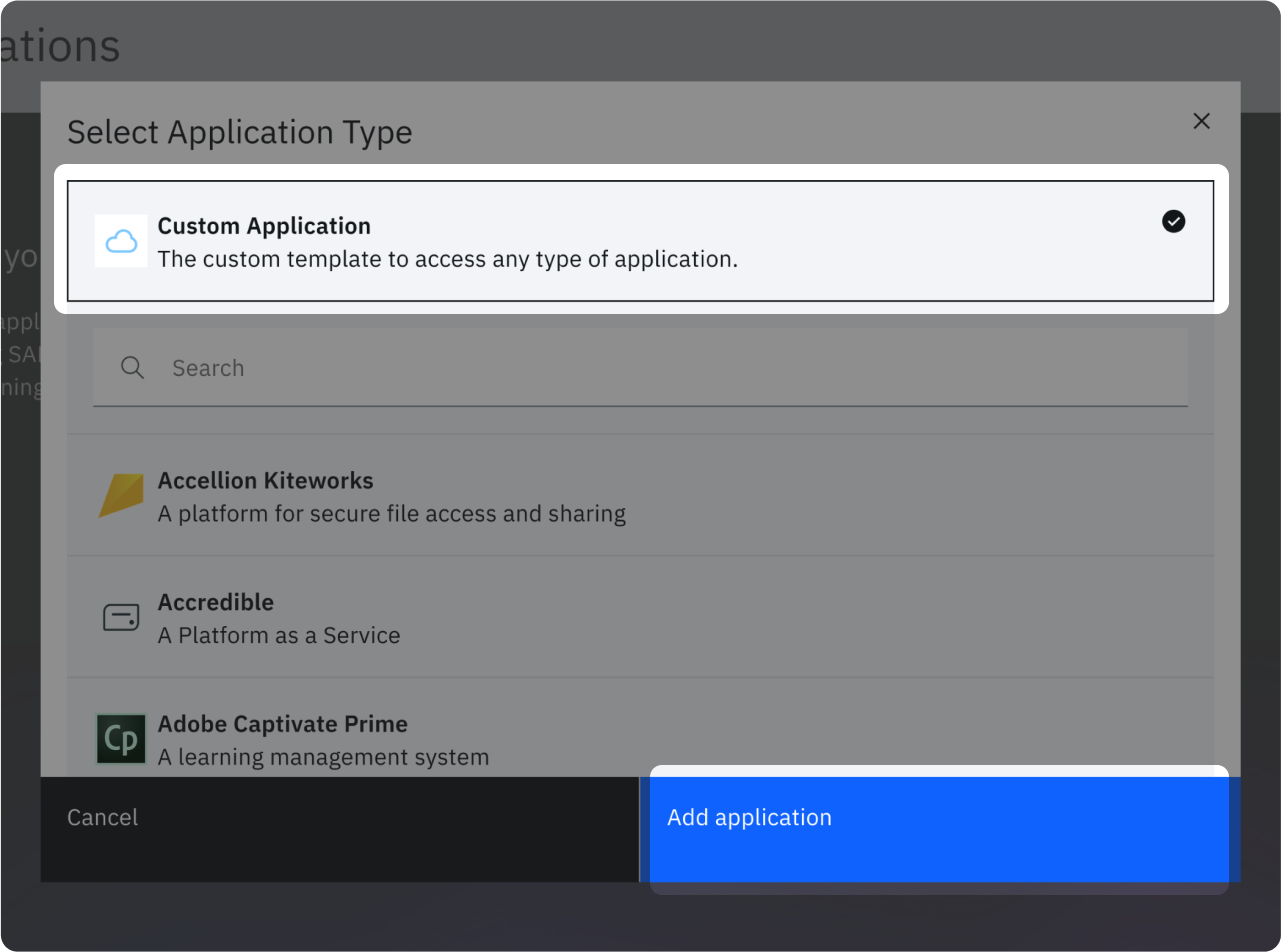
- In the popup click on "Custom Application",
- Click on "Add application"
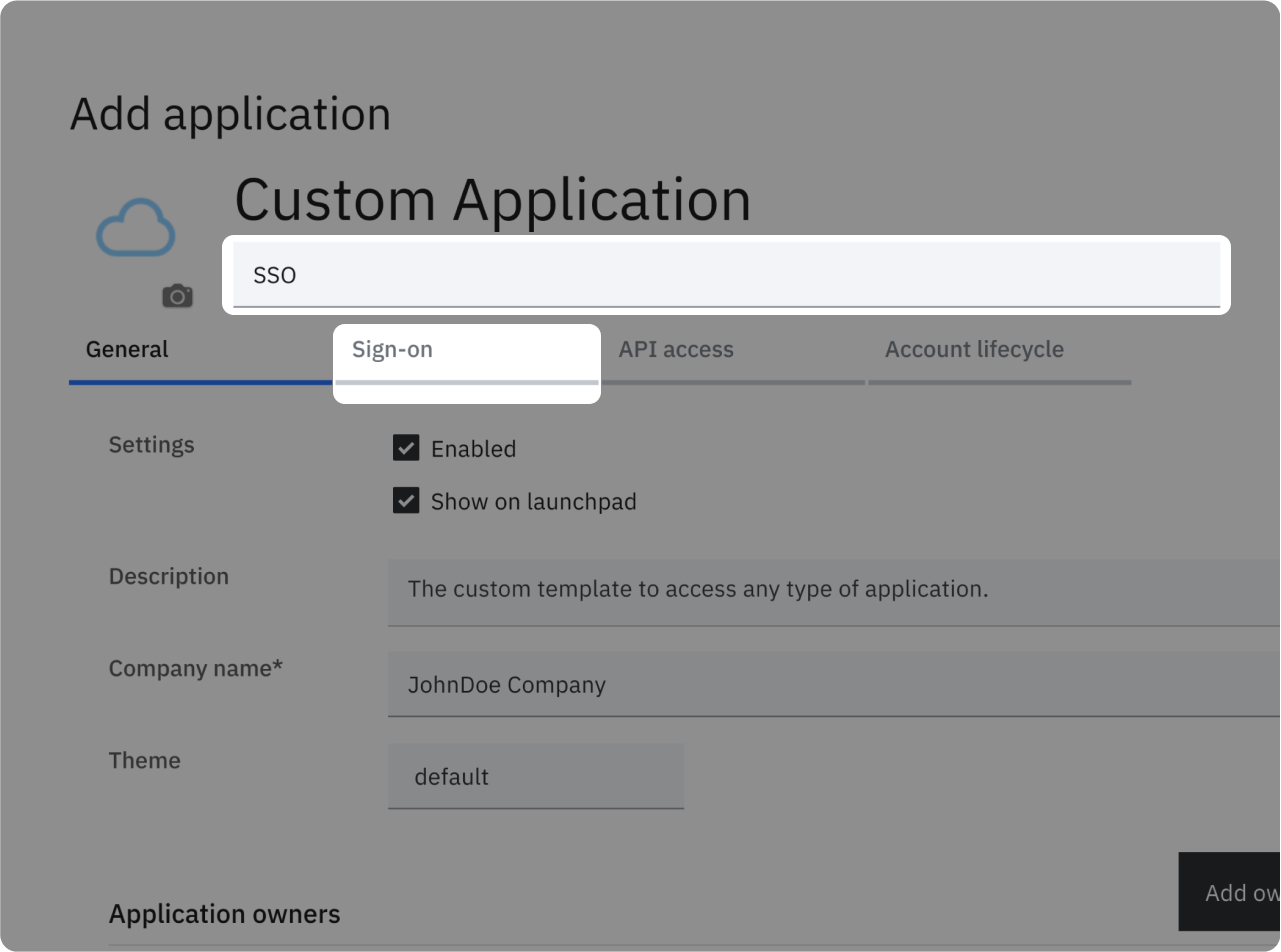
- Type a name and Company name
- Go to "Sign-on" tab
SAML configuration
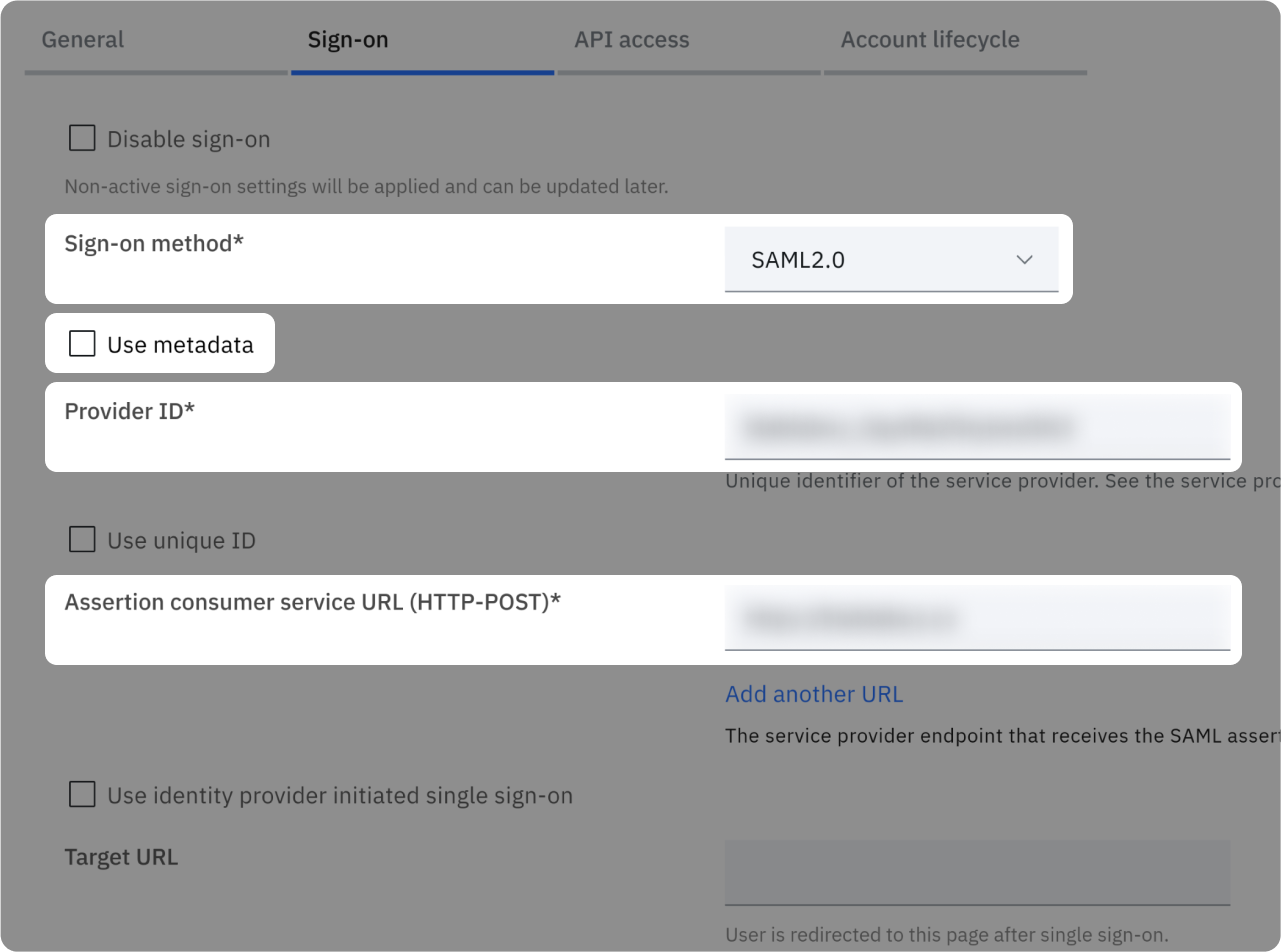
- Ensure "Sign-on method" is "SAML 2.0" and uncheck "Use metadata"
- In "Provider ID" paste "Provider ID" value present on the right side of this screen 👉
- In "Assertion consumer service URL (HTTP-POST)*" paste the corresponding value present on the right side of this screen 👉
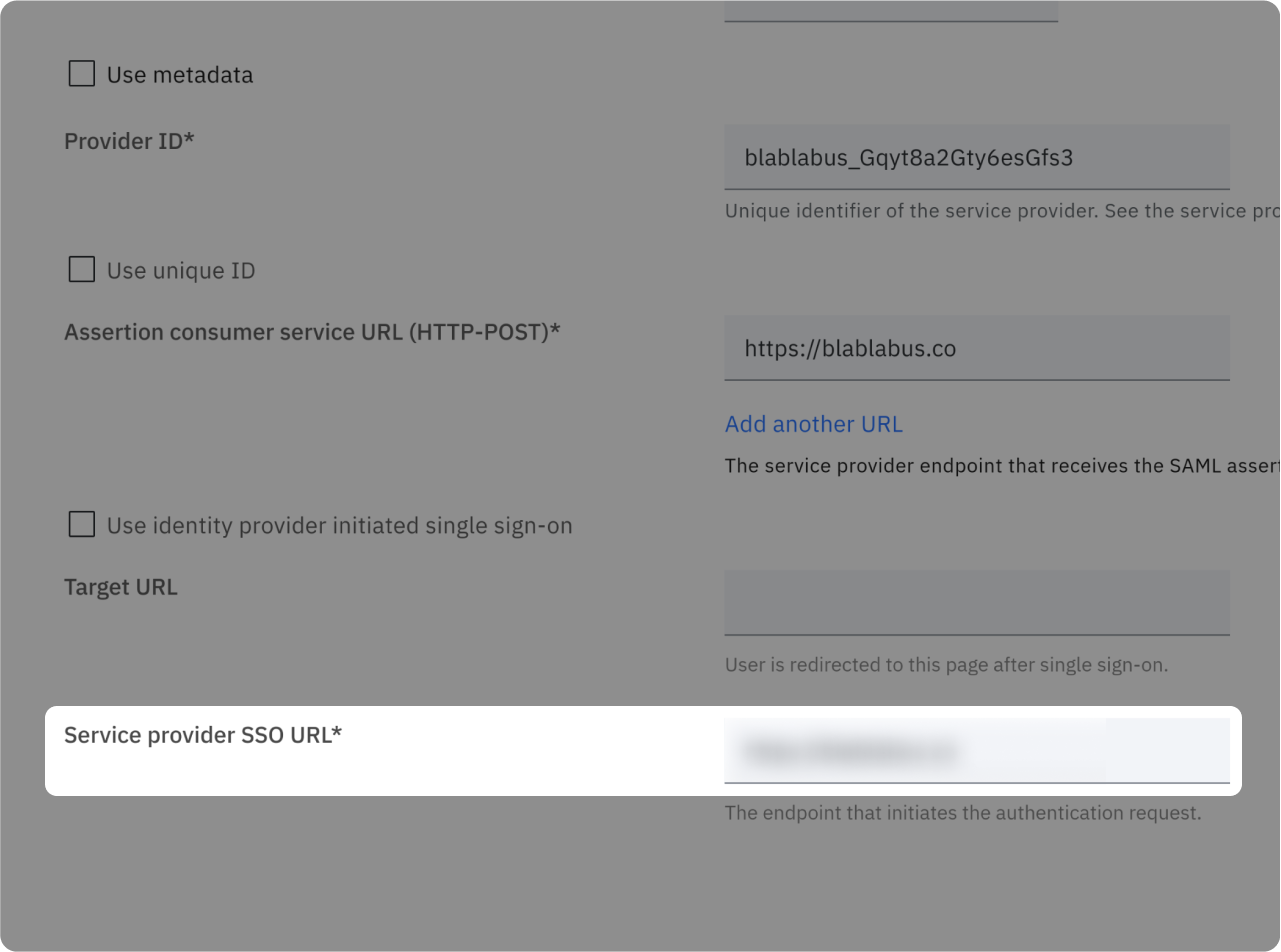
In "Service provider SSO URL" paste the corresponding value present on the right side of this screen 👉
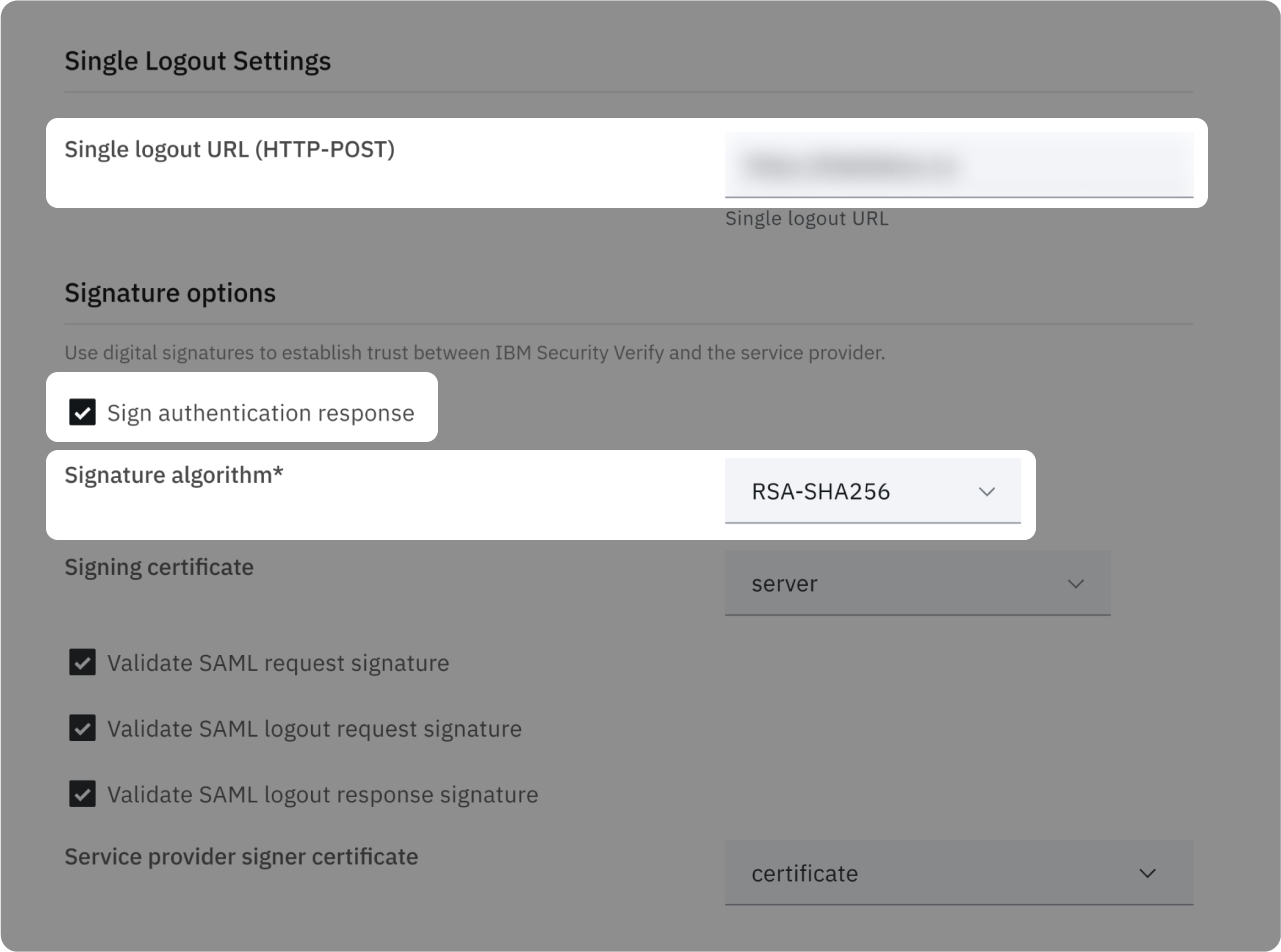
- In "Single logout URL (HTTP-POST)" paste the corresponding value present on the right side of this screen 👉
- Check "Sign authentication response"
- Set "Signature algorithm" to "RSA-SHA256"
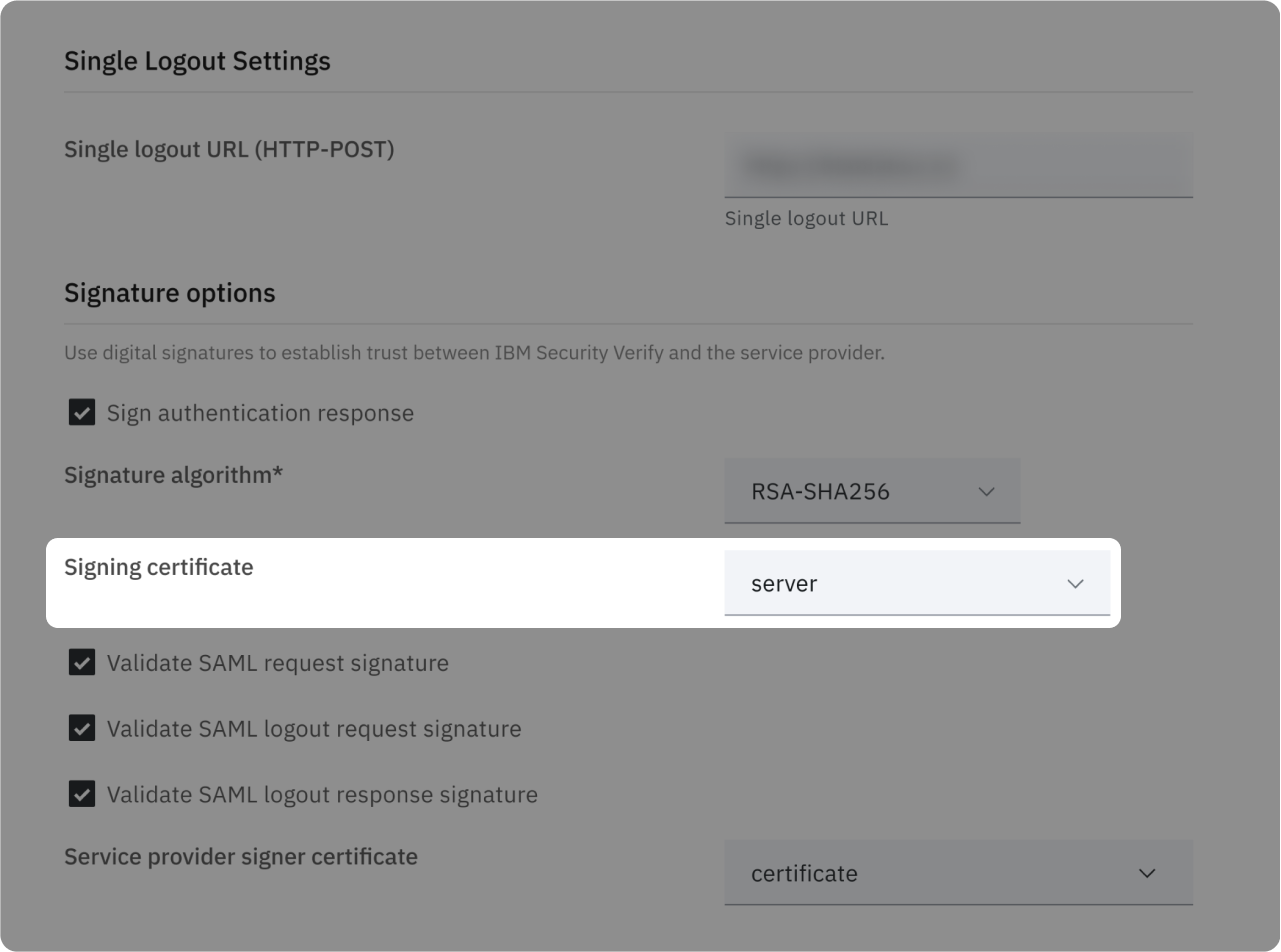
Choose your "Signing certificate"
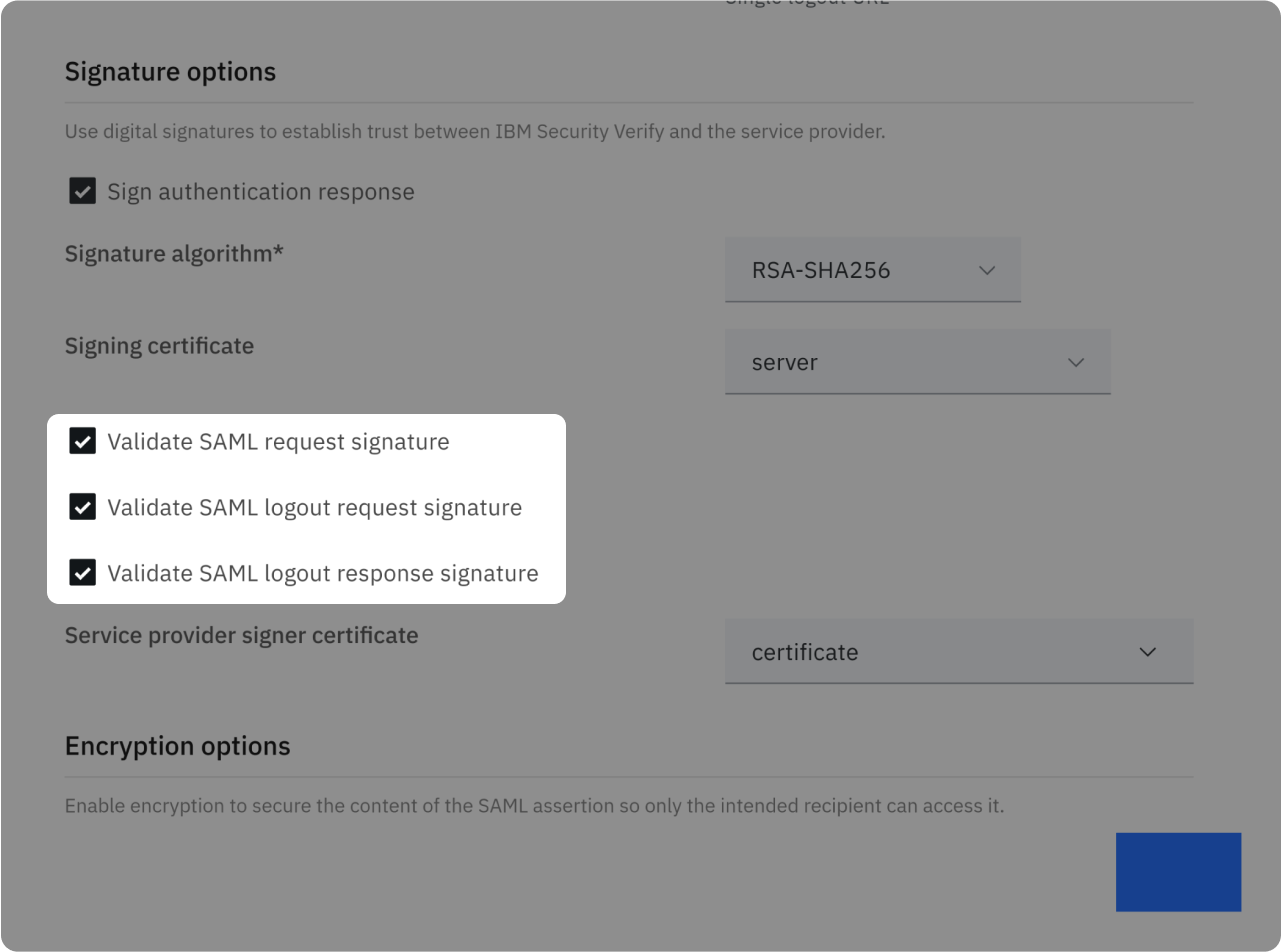
- Check "Validate SAML request signature"
- Check "Validate SAML logout request signature"
- Check "Validate SAML logout response signature"
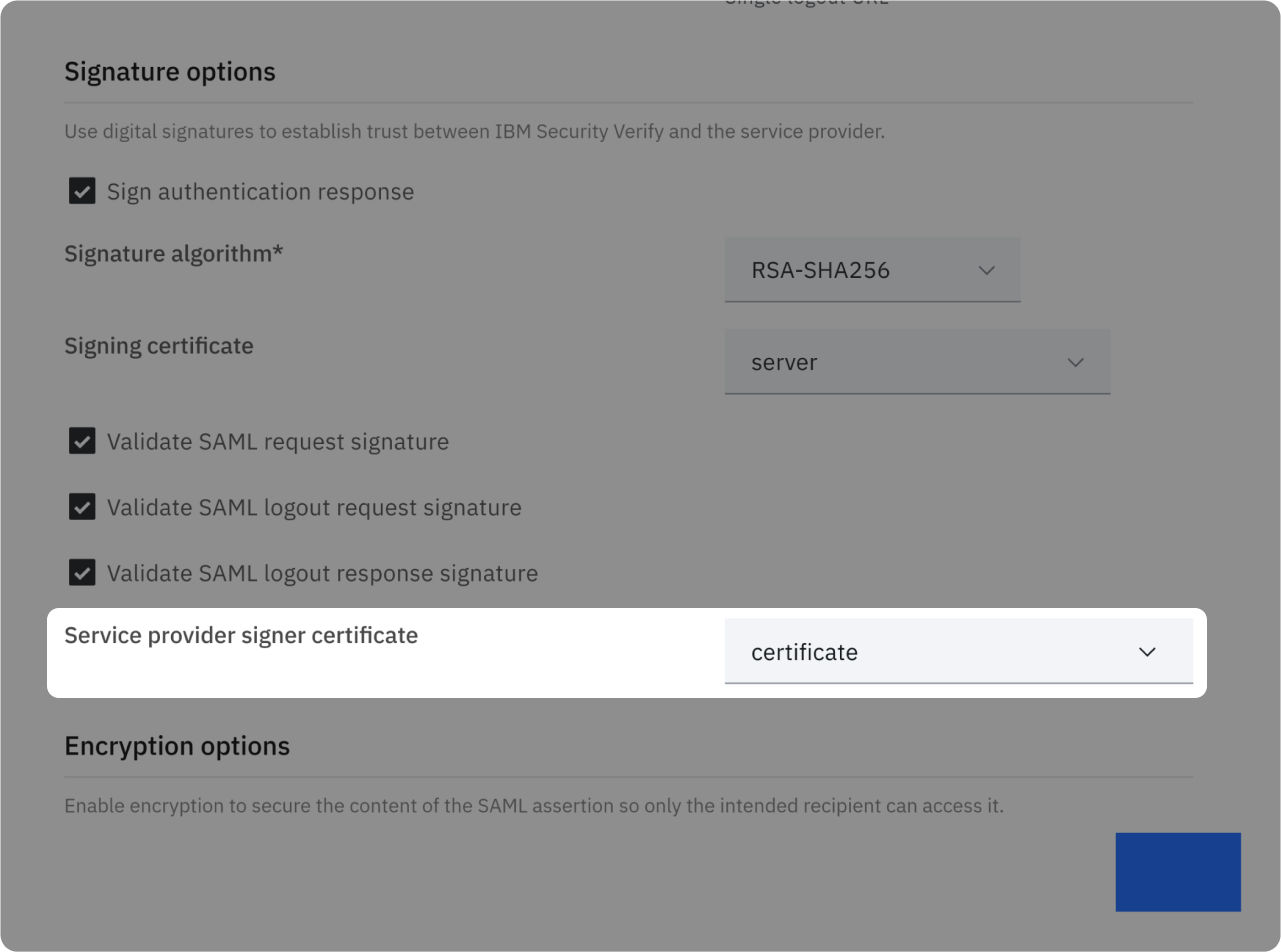
In "Service provider signer certificate", select the previously uploaded certificate
Attributes Mapping
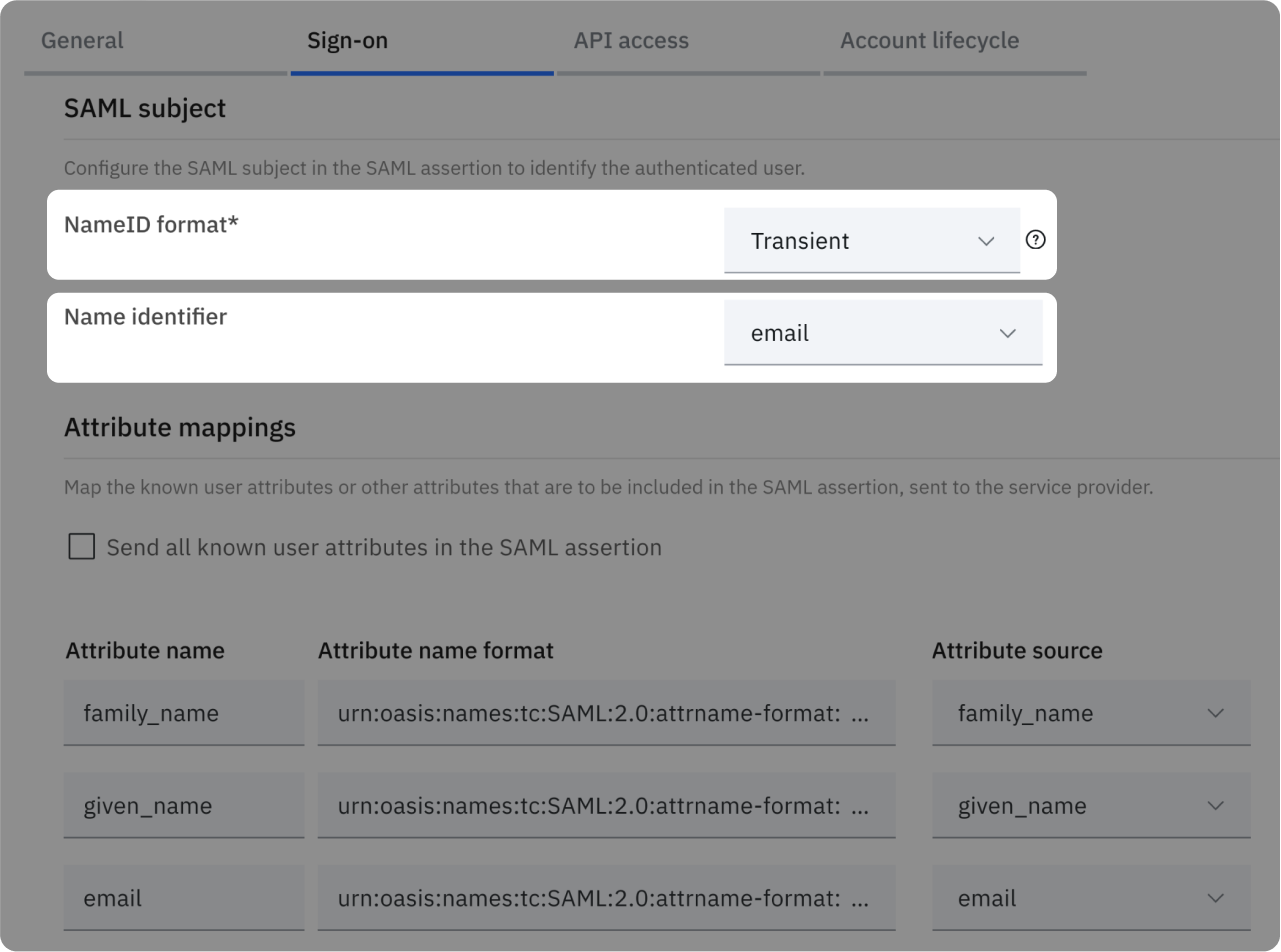
- Select "Transient" as "NameID Format"
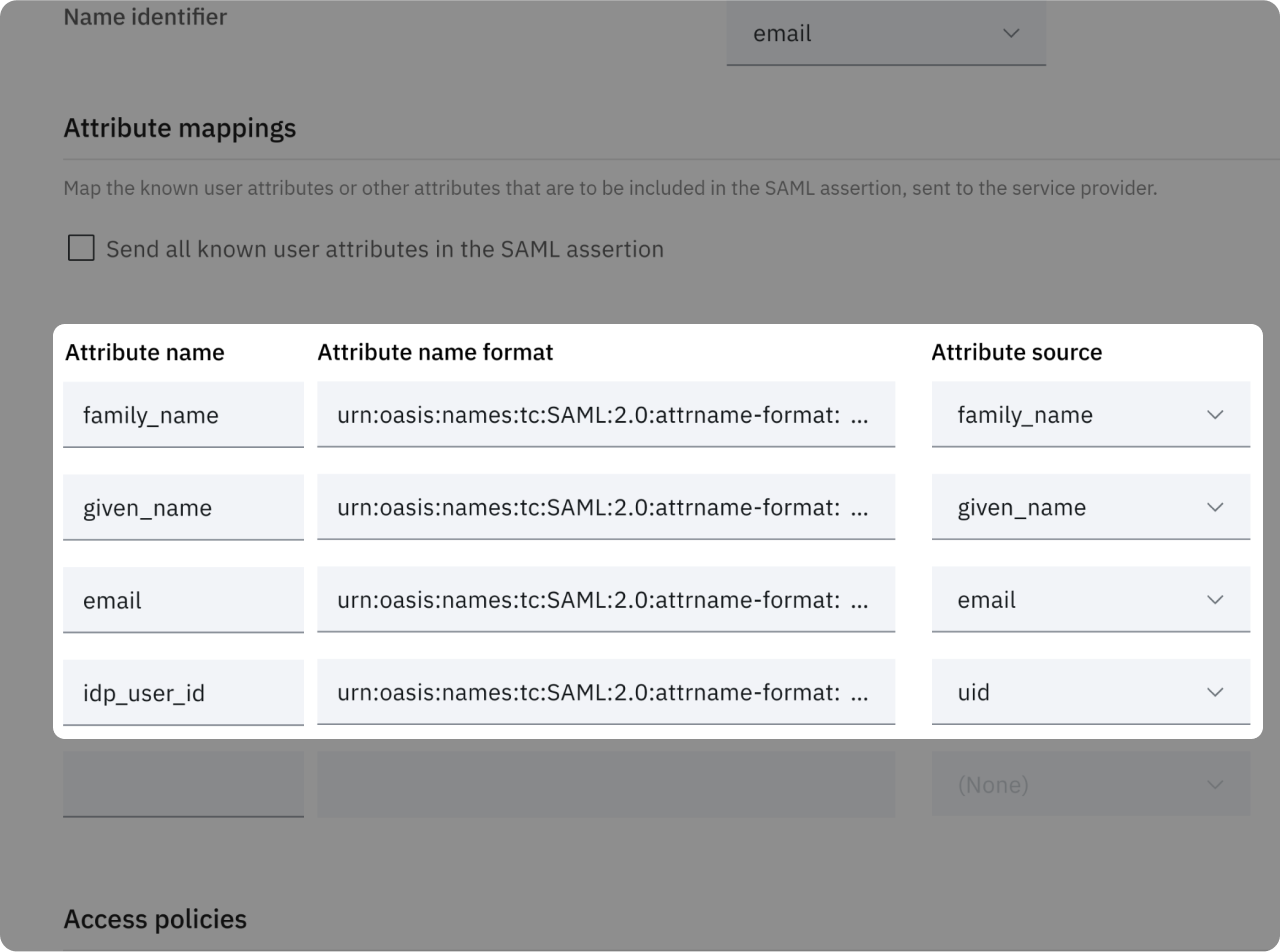
- Select "email" as "Name identifier"
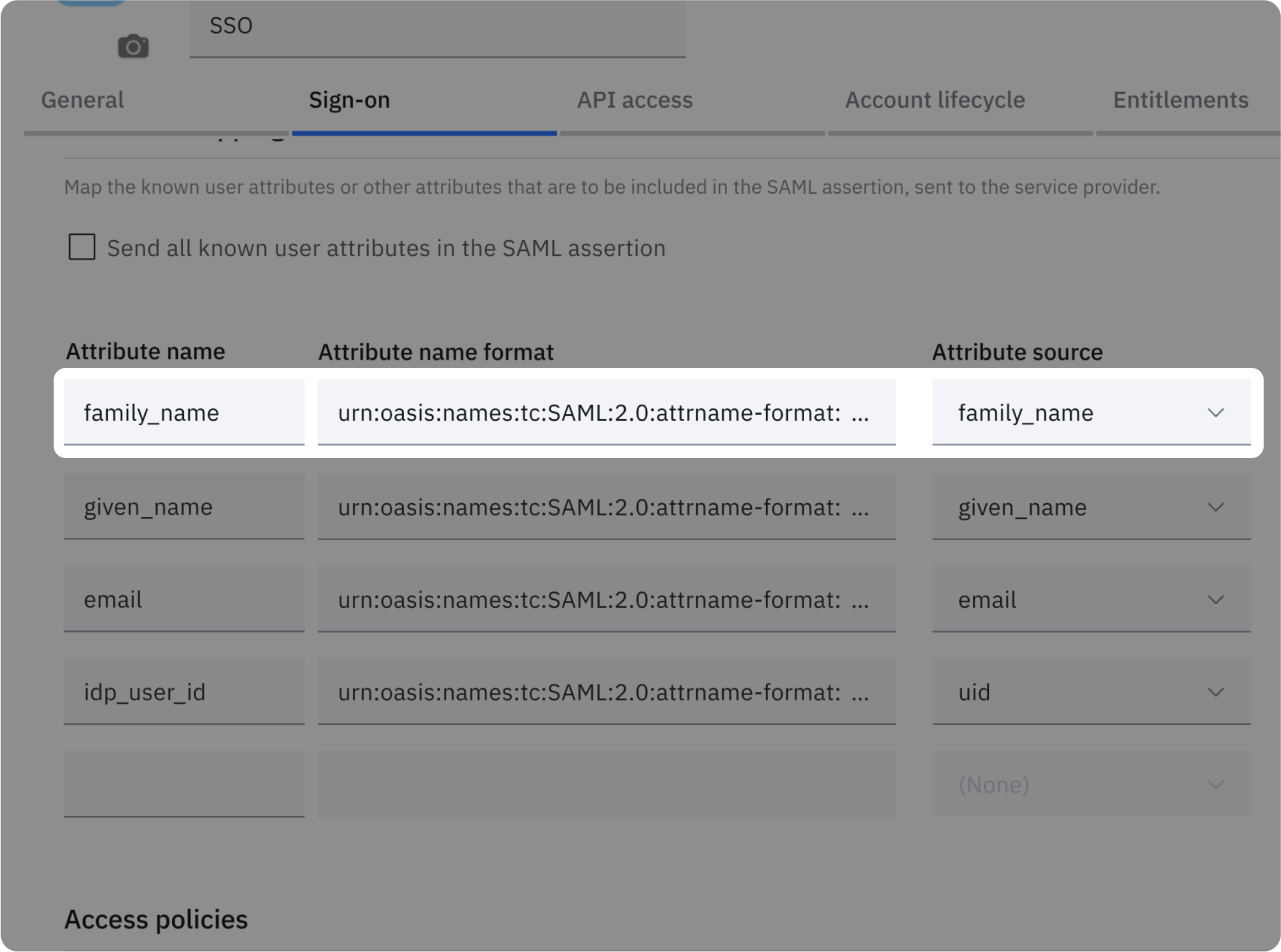
- Attribute name: family_name
- Attribute name format: urn...basic
- Attribute source: family_name
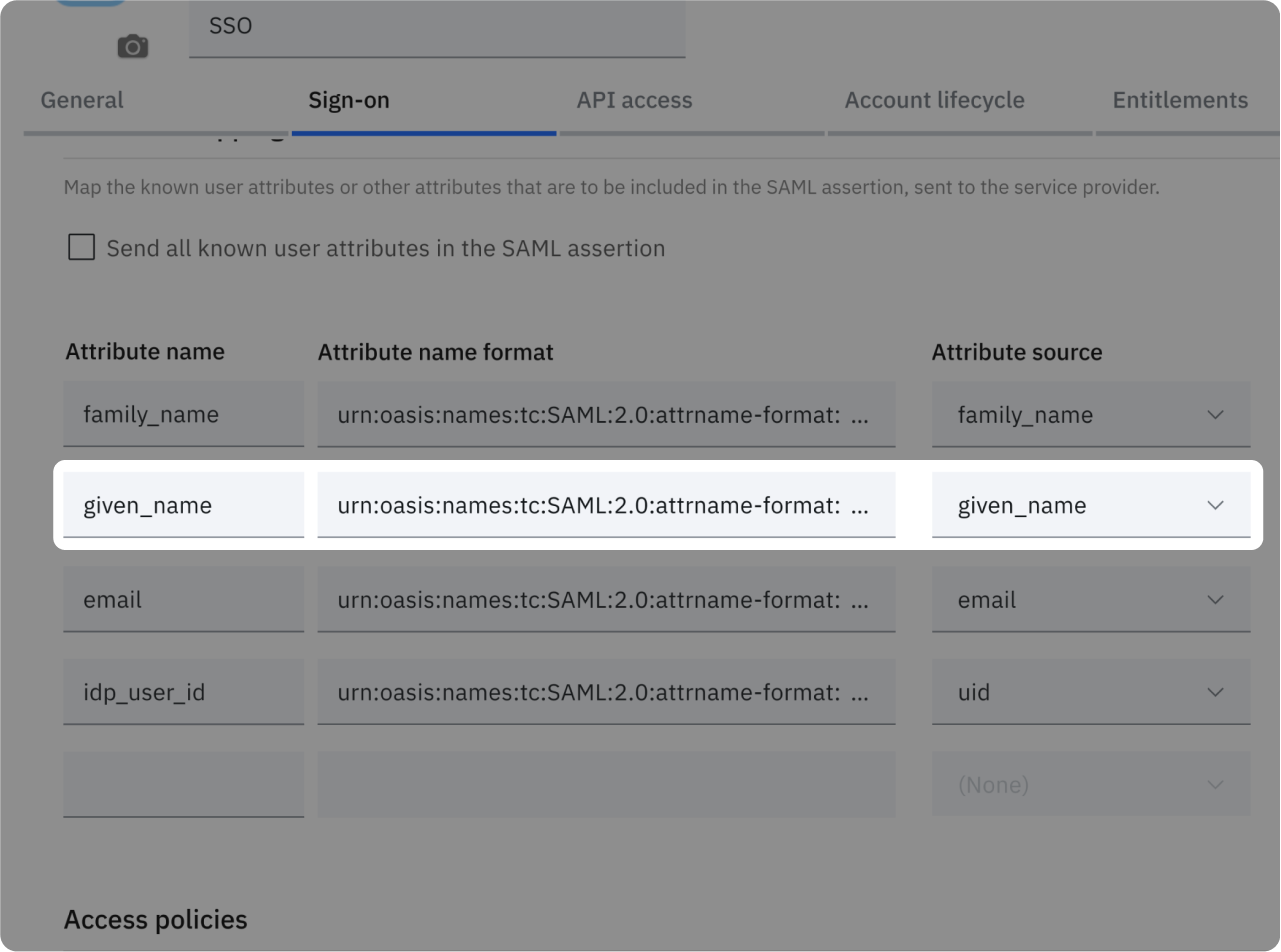
- Attribute name: given_name
- Attribute name format: urn...basic
- Attribute source: given_name
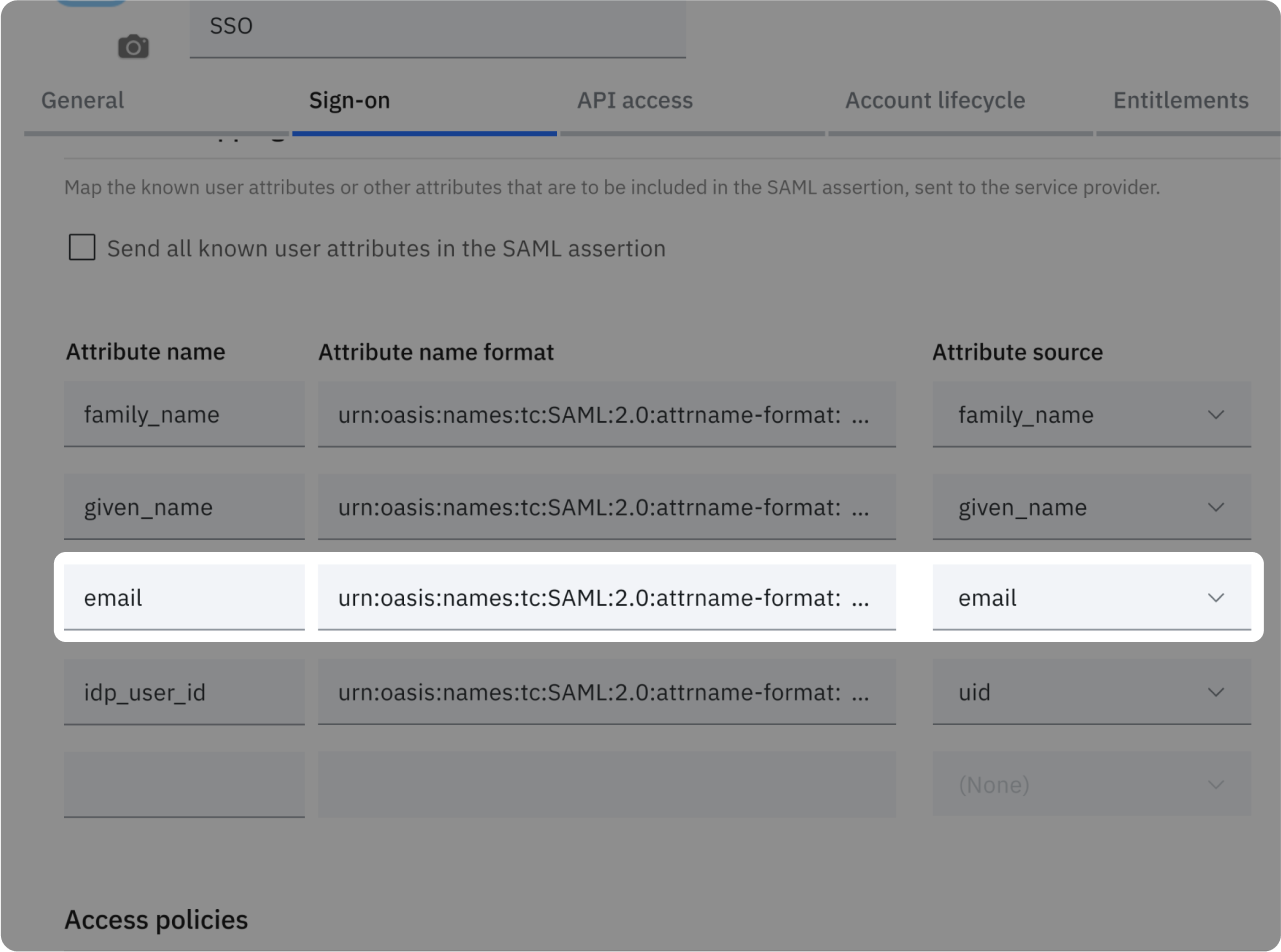
- Attribute name: email
- Attribute name format: urn...basic
- Attribute source: email
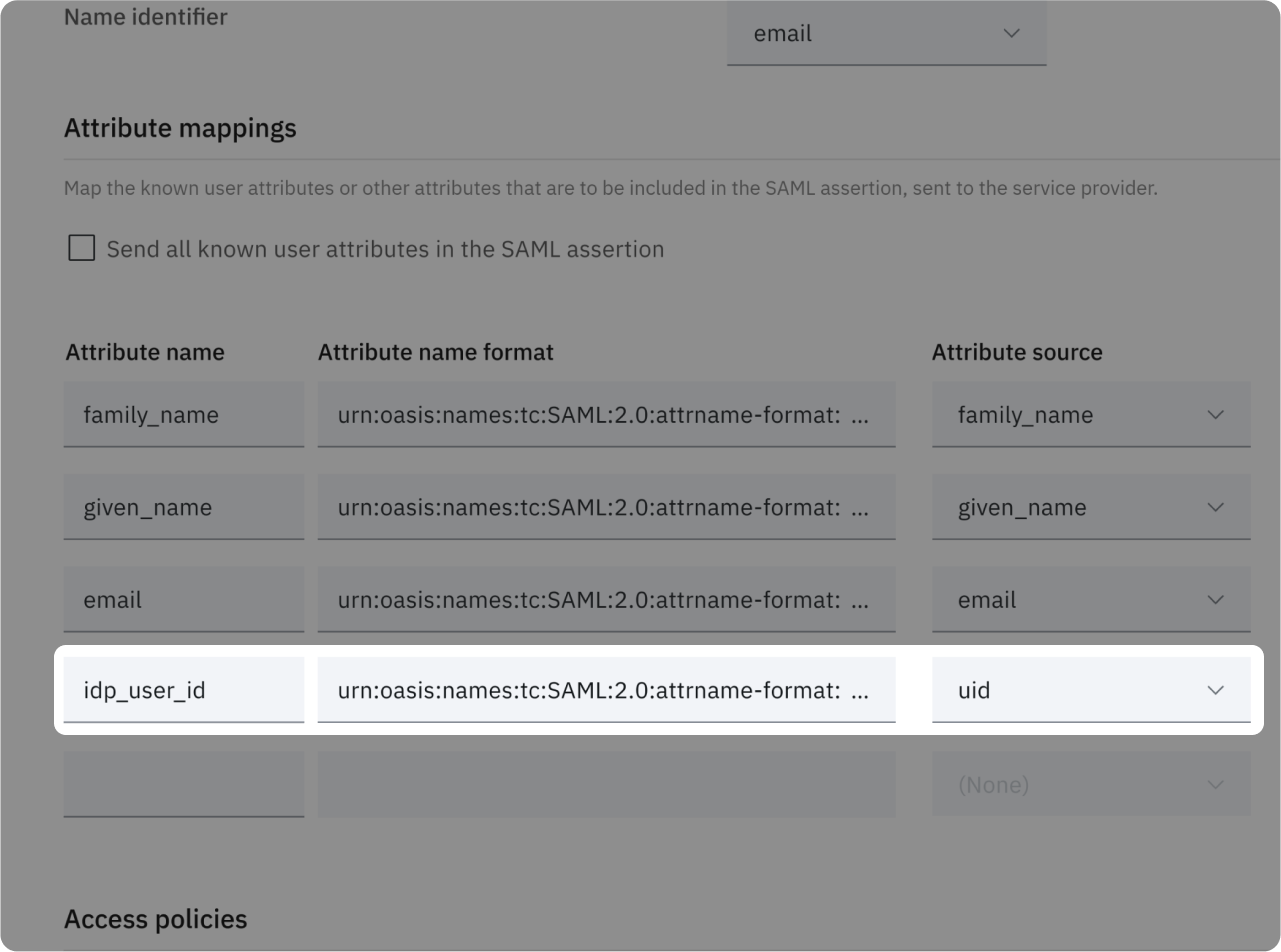
- Attribute name: idp_user_id
- Attribute name format: urn...basic
- Attribute source: uid
XML Metadata file
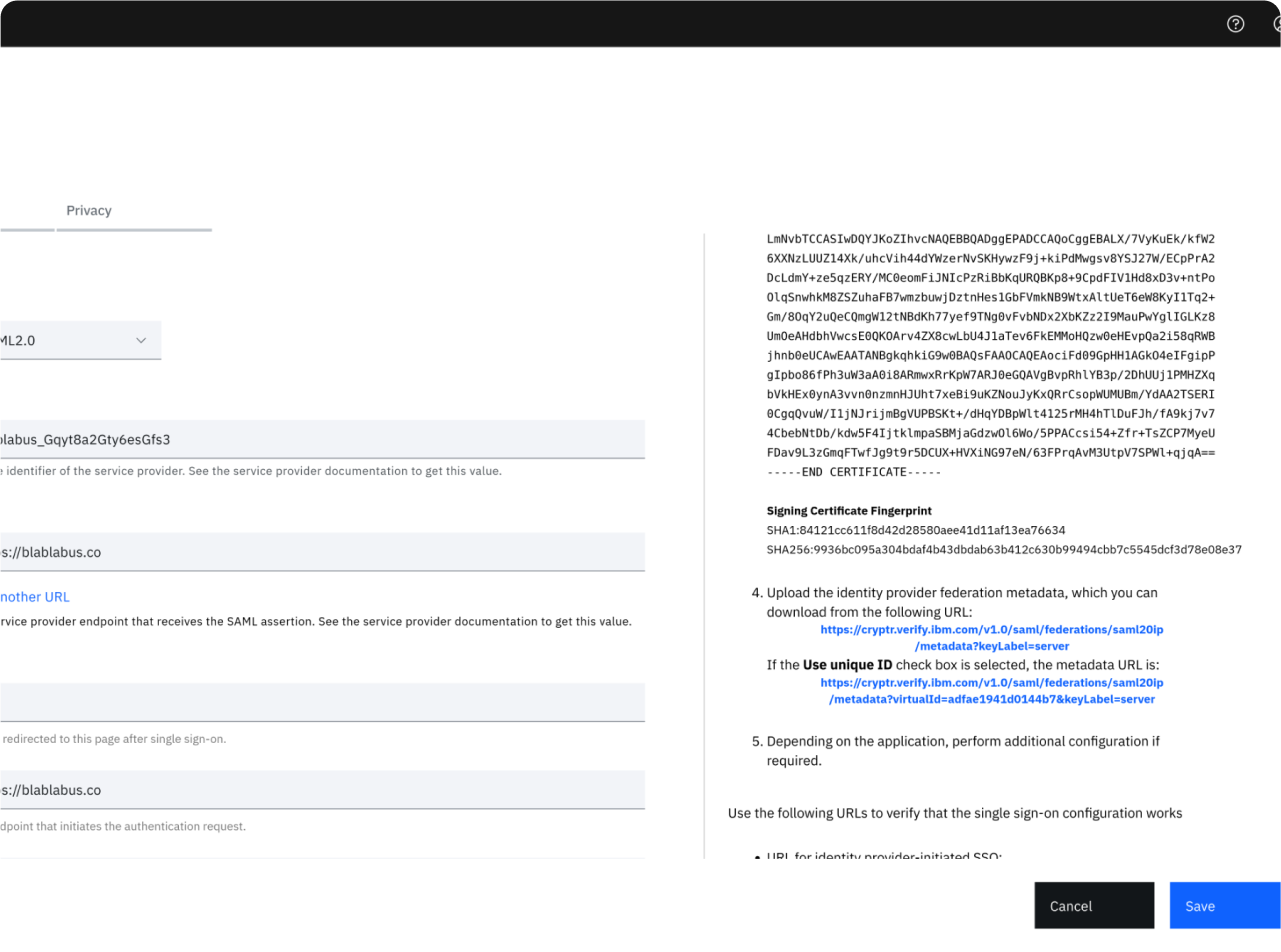
- Download your metadata accessible on the right side of your "Sign-on" Tab in IBM SV.
- 💡 Link should look like company.verify.ibm.com/v1.0/saml/federations/saml20ip/metadata.
- Save your app settings.
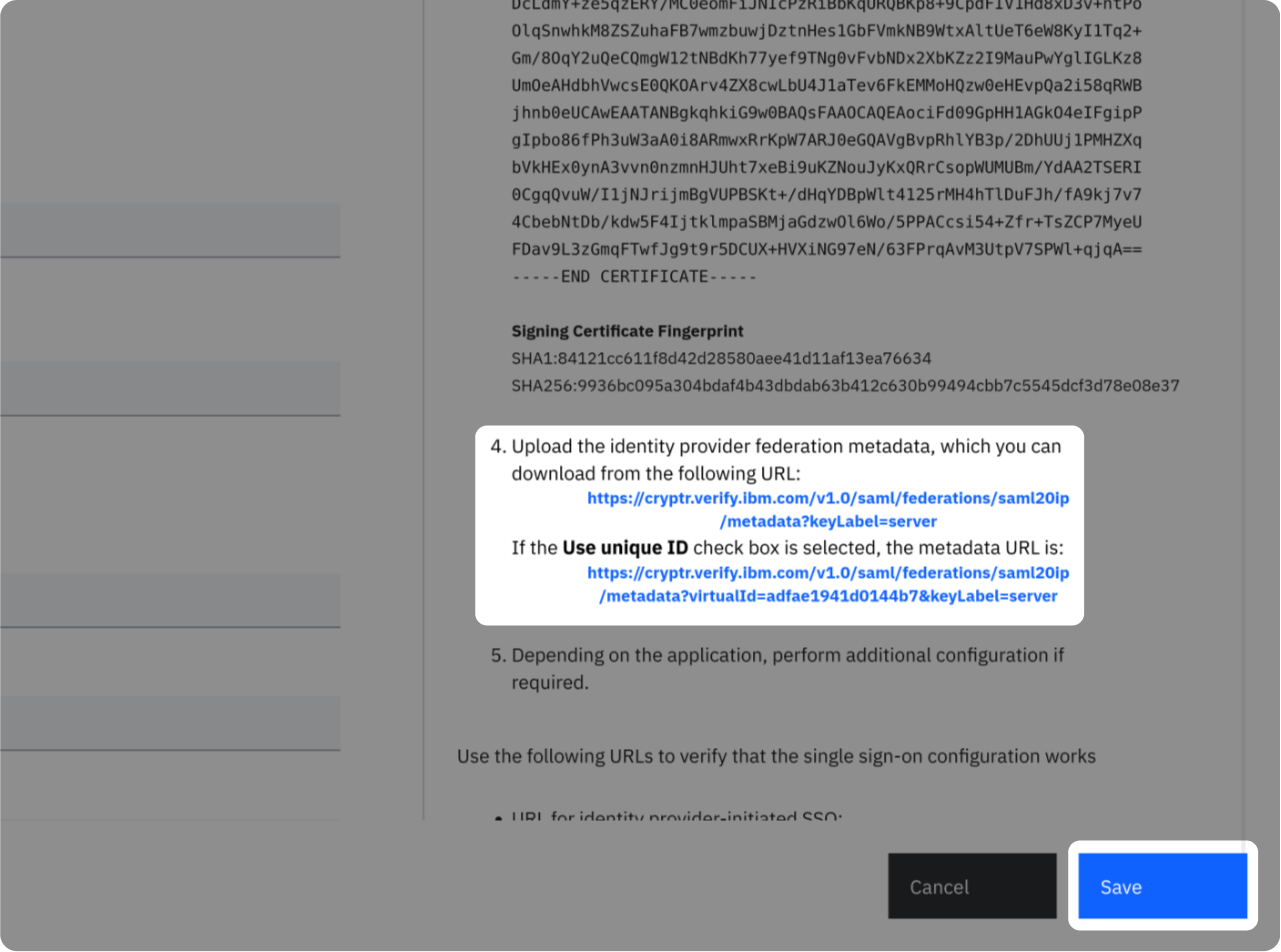
Drop your downloaded XML metadata
Add Users to your application
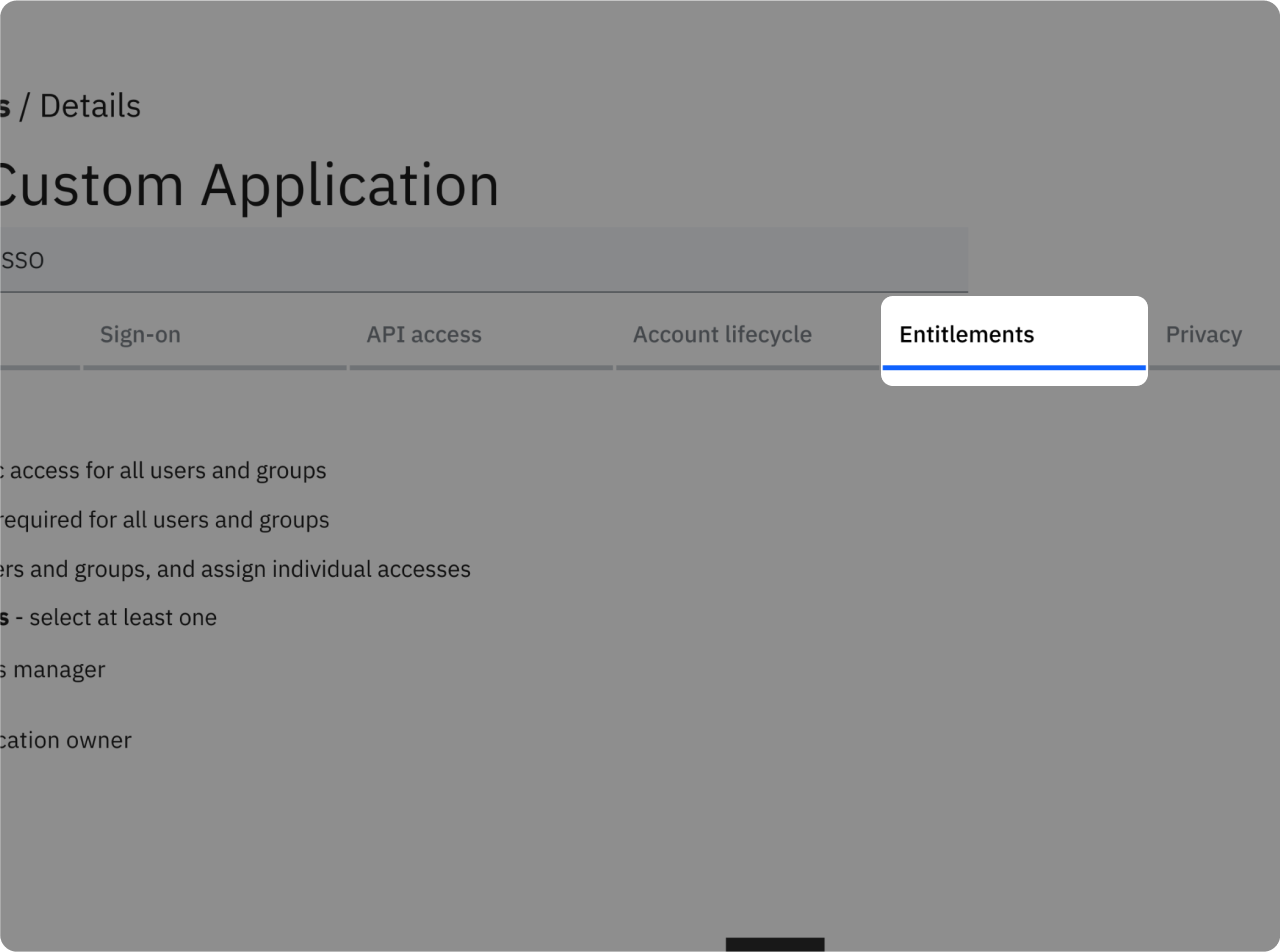
- Go back to your application setting
- Access the "Entitlements" Tab
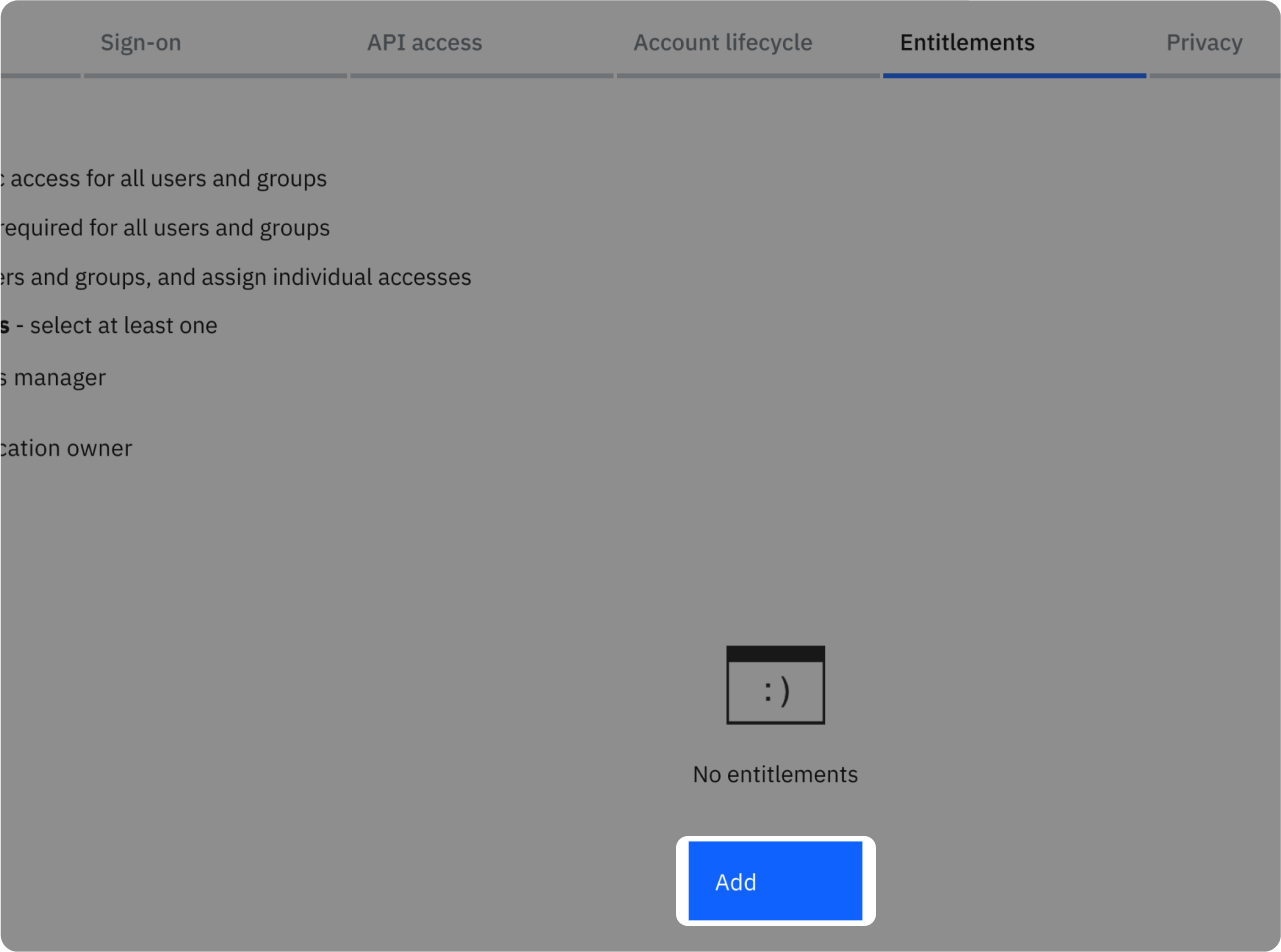
Click on "Add"
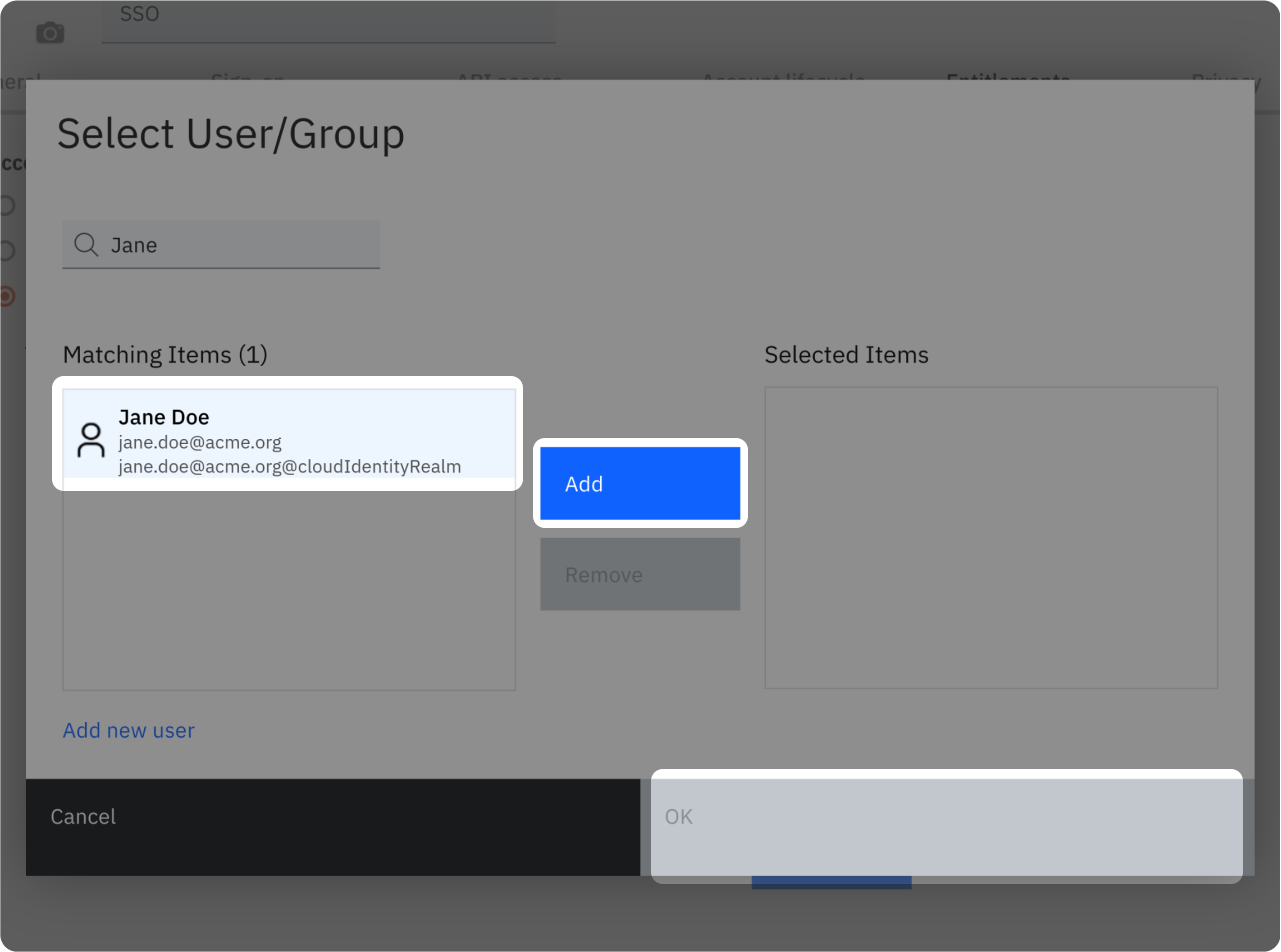
- Select the users that you want to add to your application.
- Click on "Add"
- Click on "OK"
Test SSO login
Test SSO login