Azure AD
Discover step-by-step instructions on configuring a Directory Sync with Azure AD. Learn how to integrate your application with Azure AD.
How to start
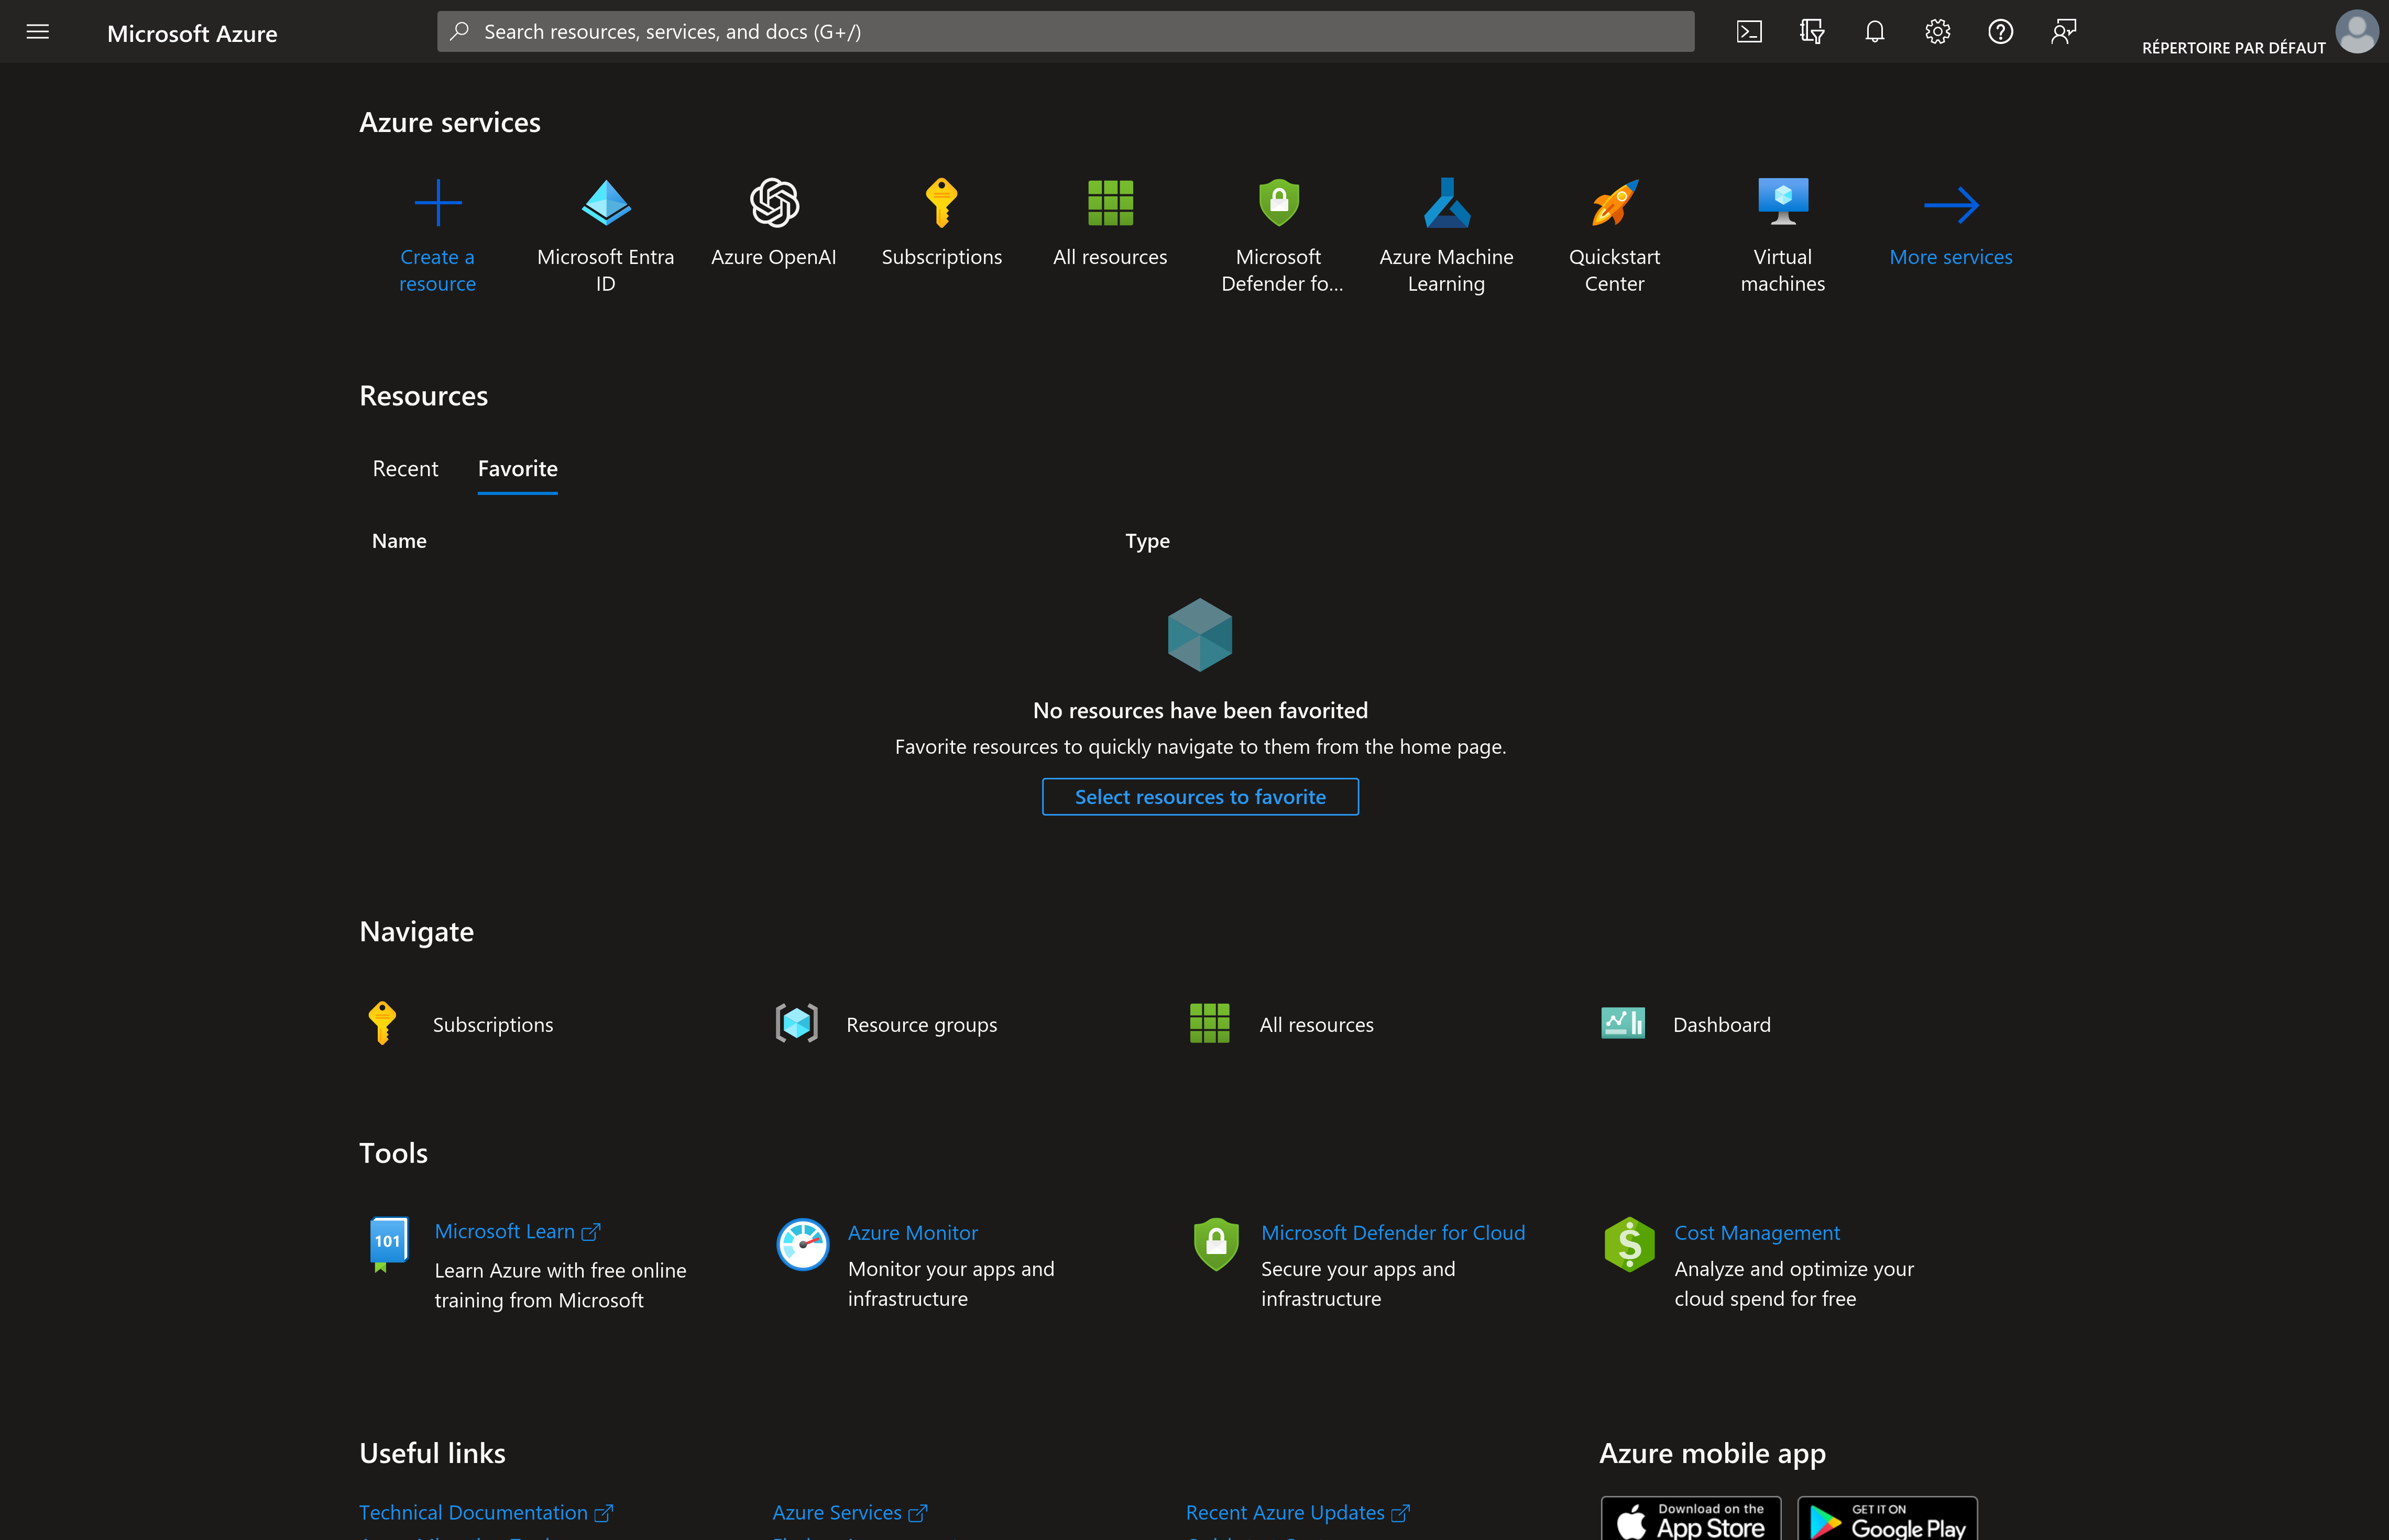
Open portal.azure.com
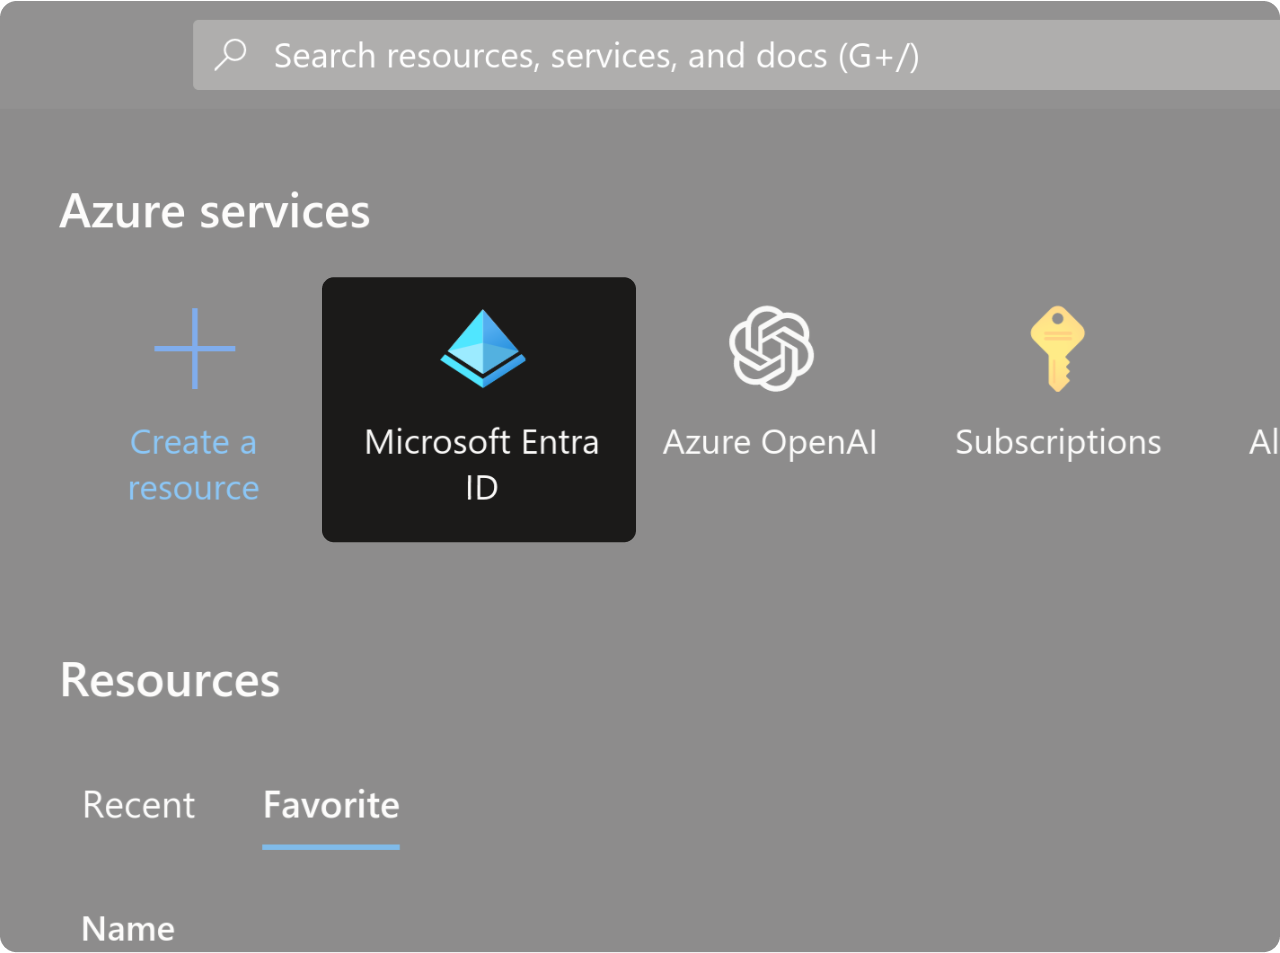
Click on "Microsoft Entra ID"
Declare an application
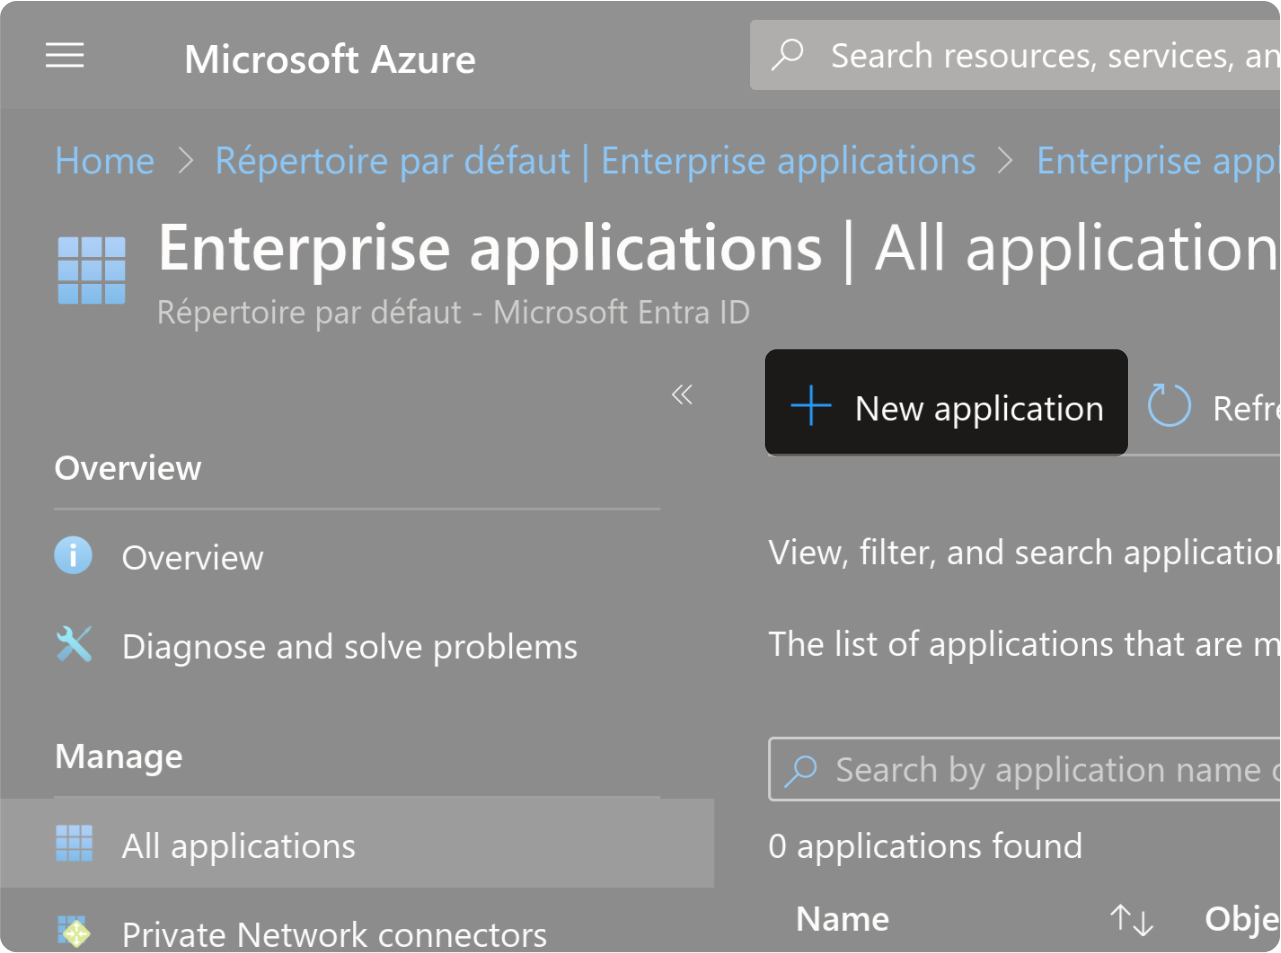
Click on "Enterprise applications" in the left sidebar.
Then, on the new screen, click on "New application."
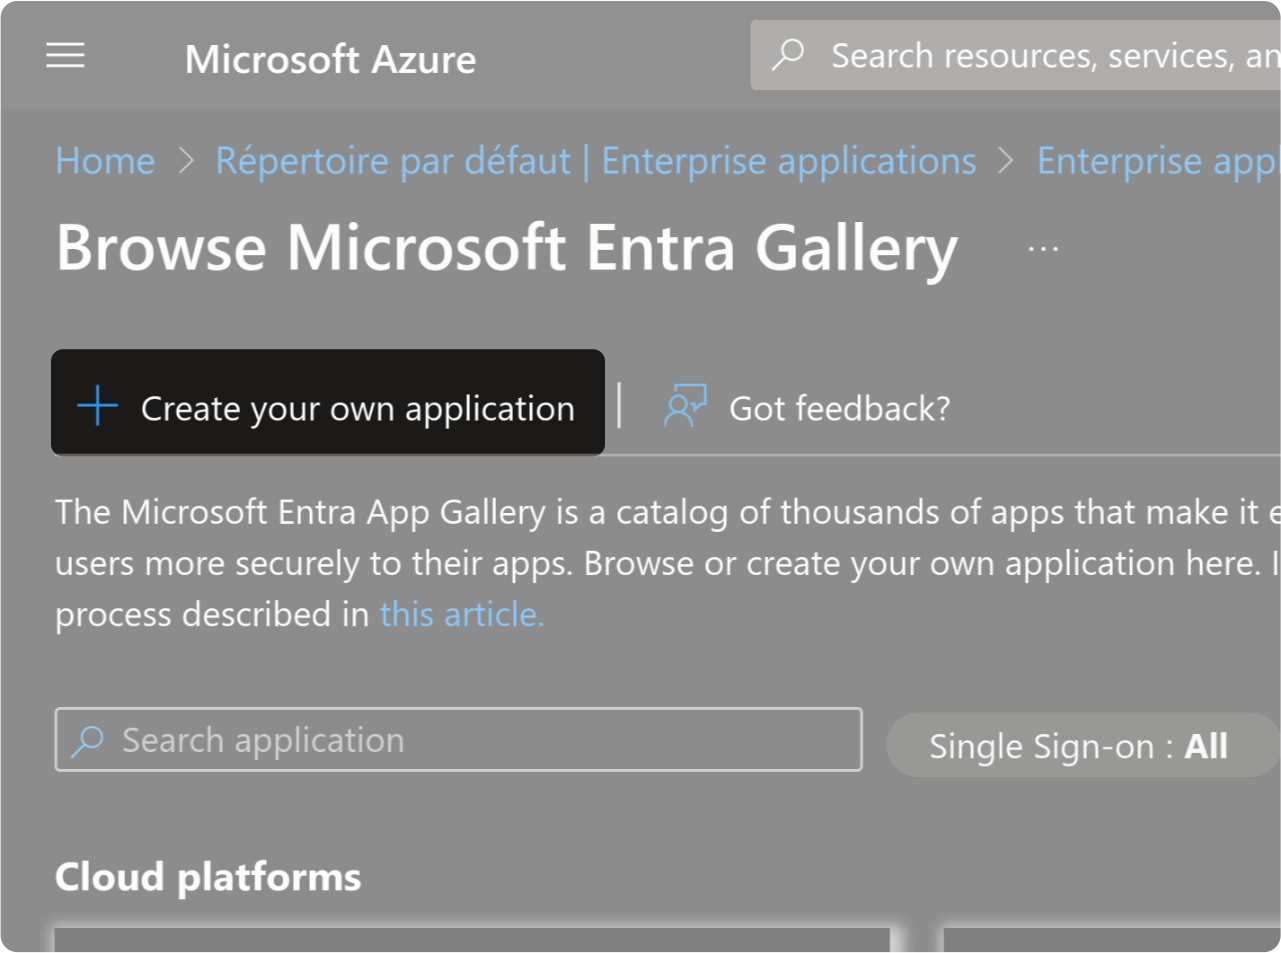
Click on "Create your own application."
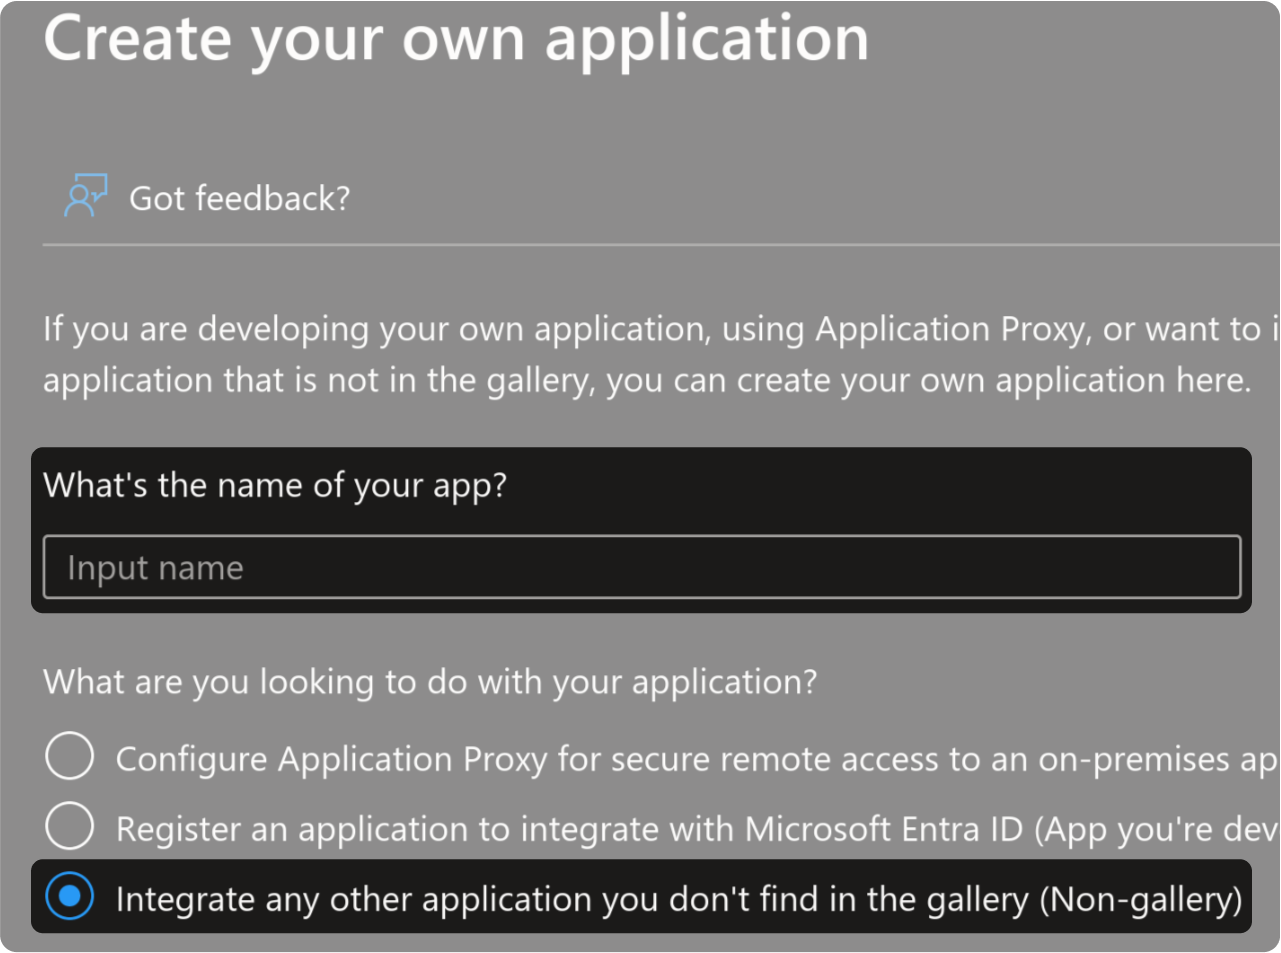
- Choose a name for your app.
- Select "Integrate any other application you don’t find in the gallery (Non-Gallery)."
- Click on "Create"
Configure your application with the supplied identification elements
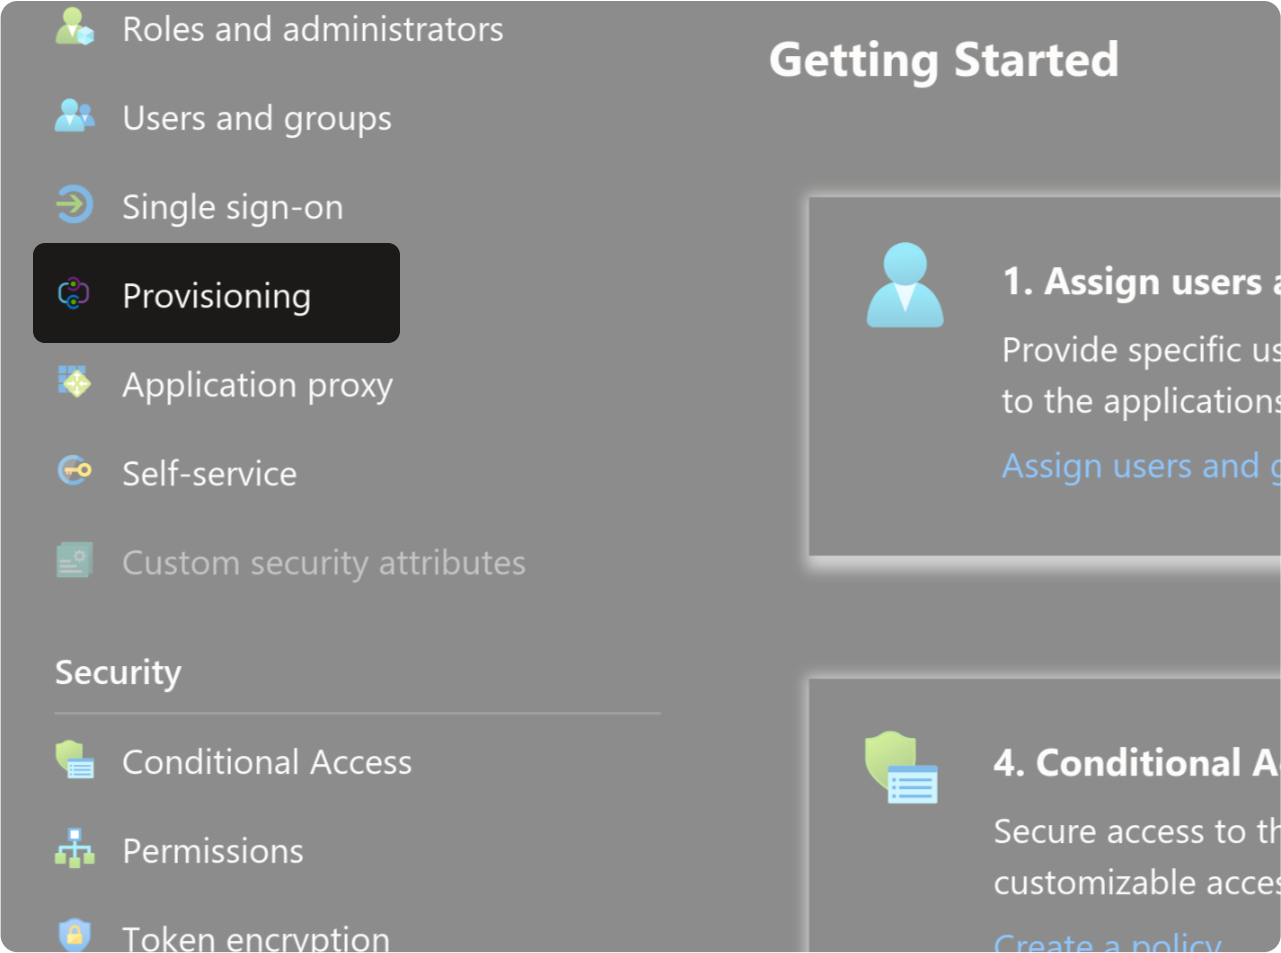
Go to the "Provisioning" section.
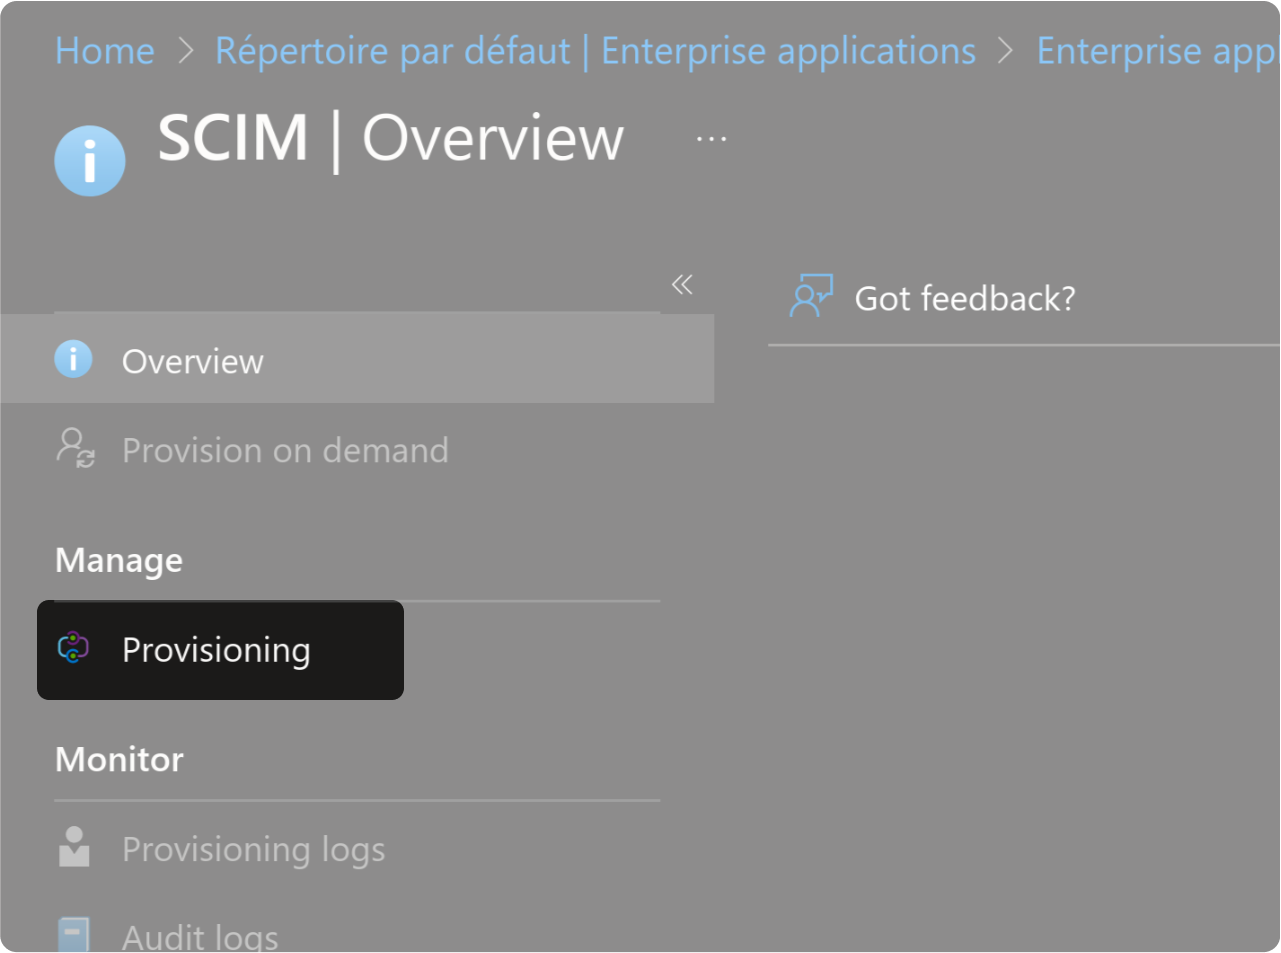
In the new window, select "Provisioning" again.
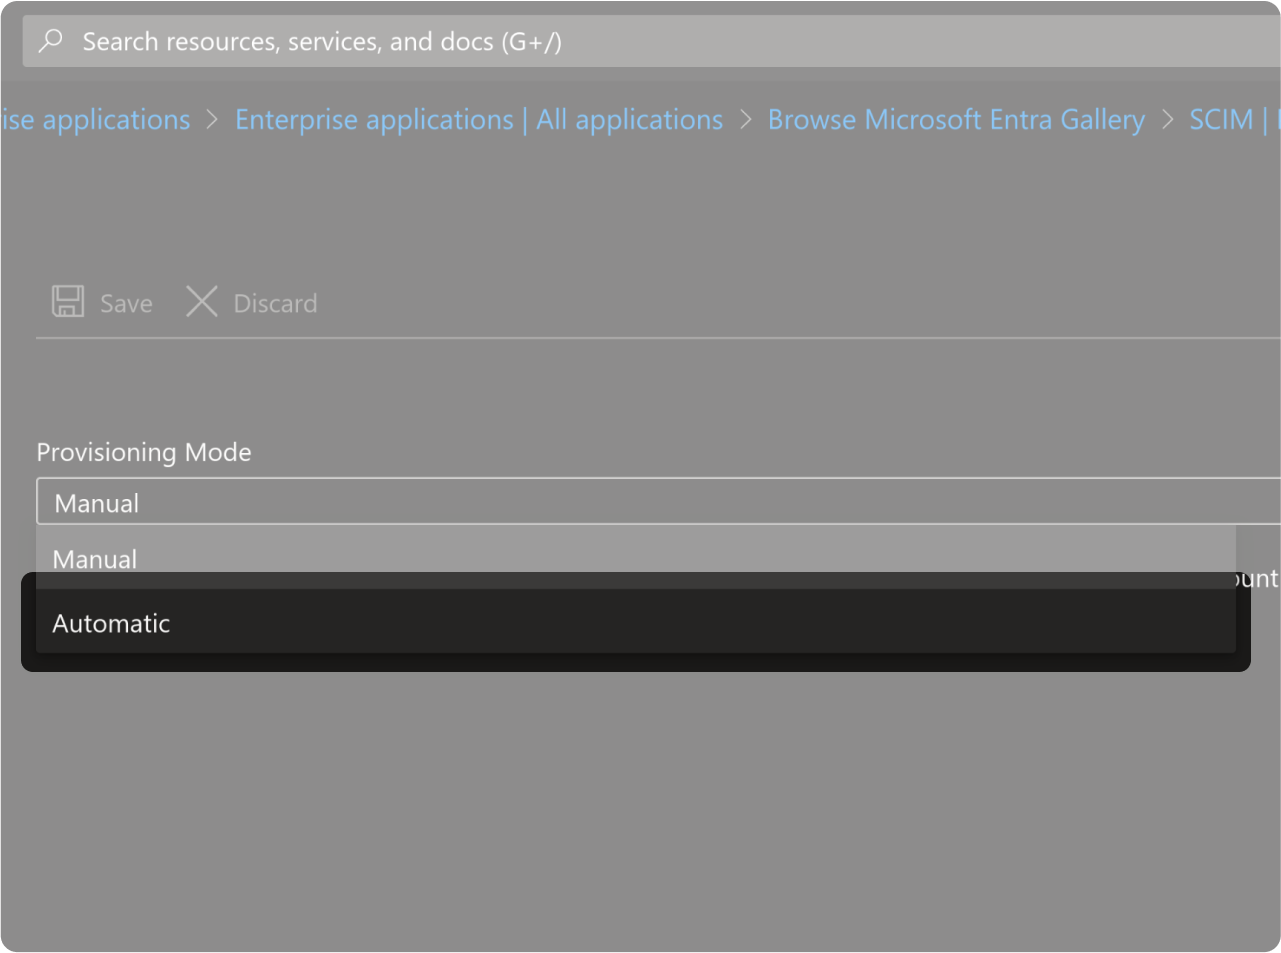
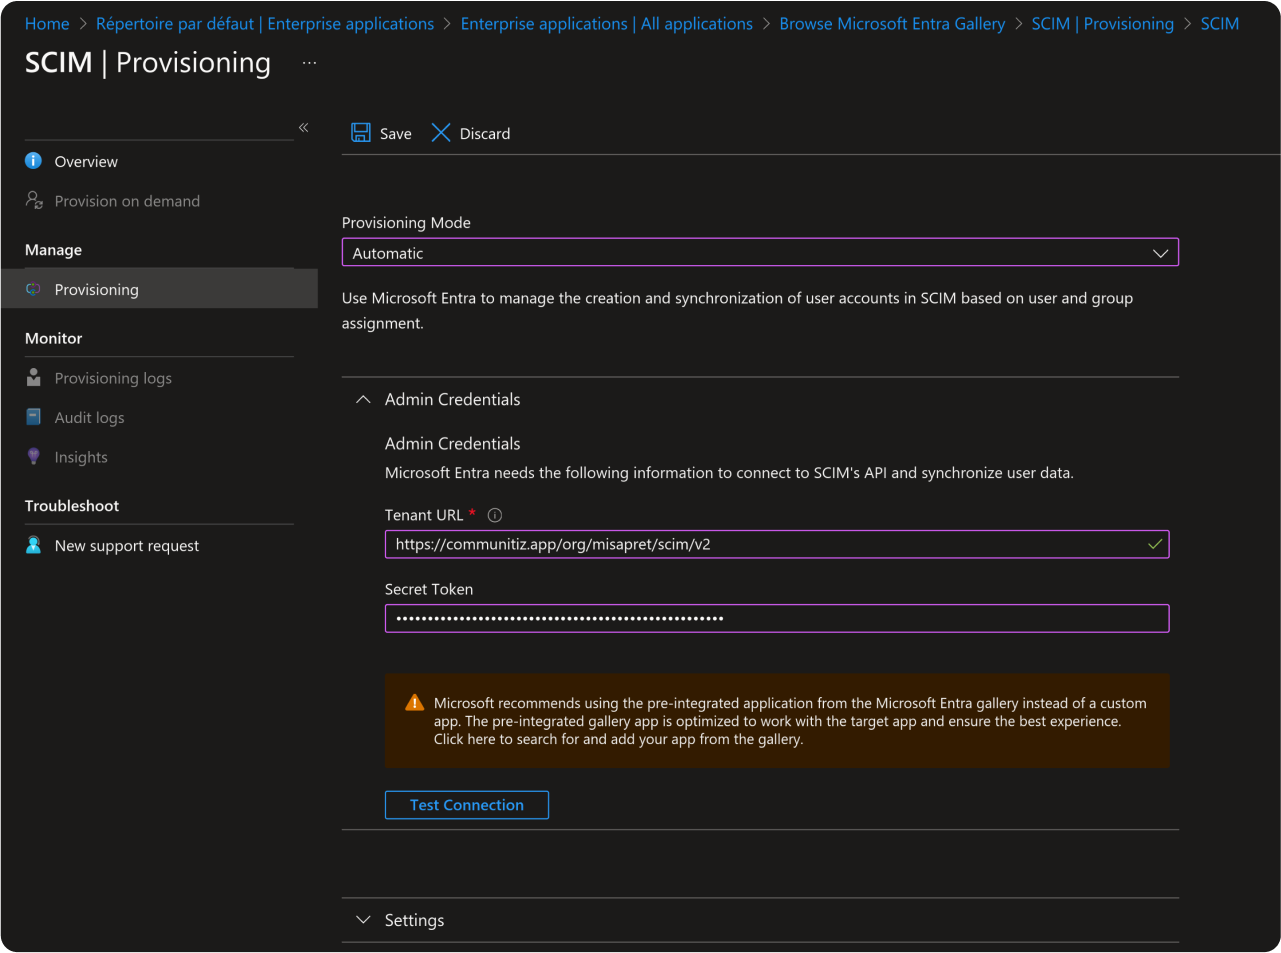
In the "Provisioning Mode" menu, select "Automatic."
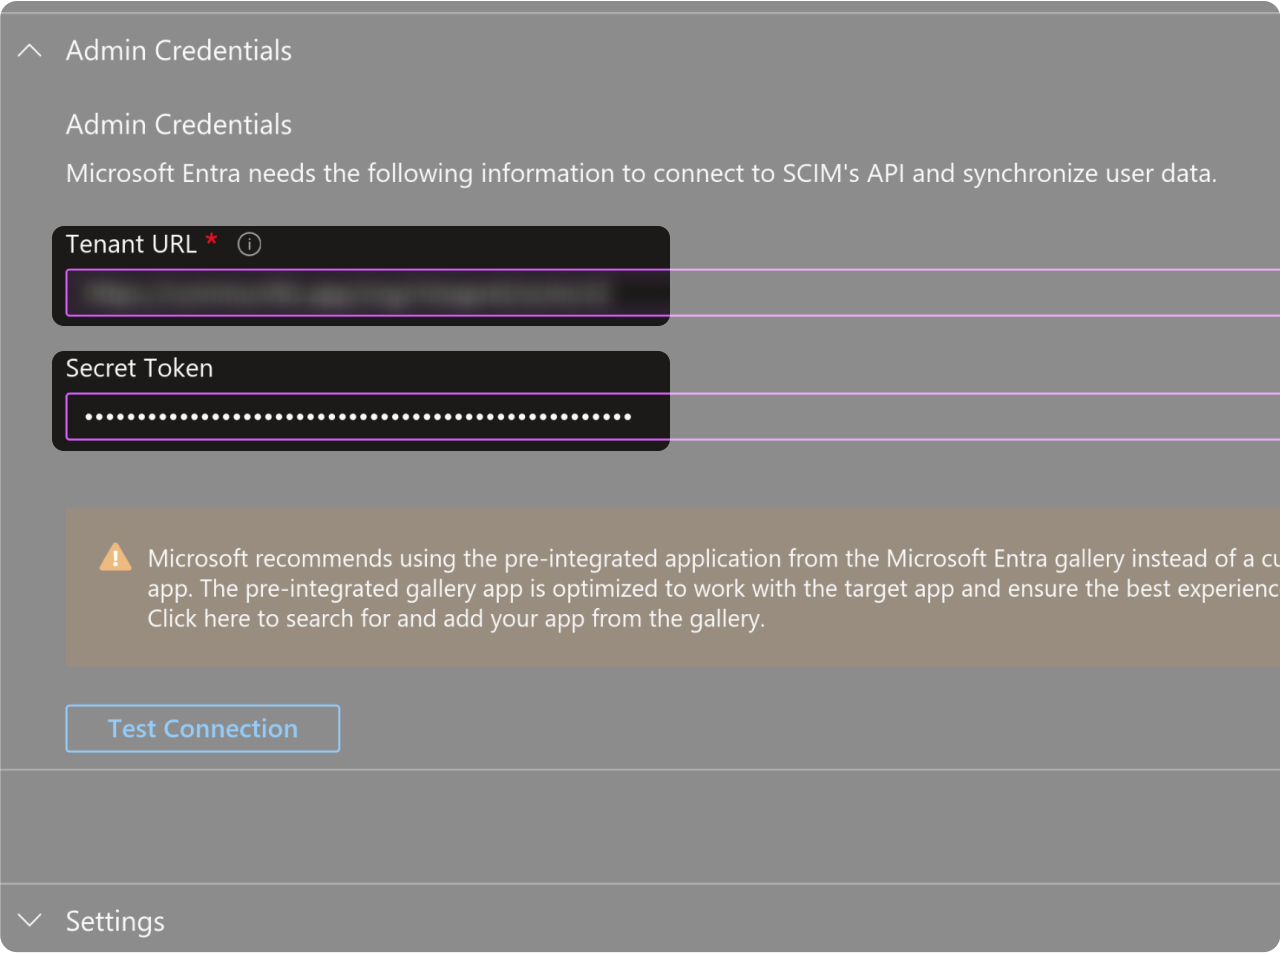
In Admin Credentials, fill in the following
-
In the "Tenant URL" field, paste the "SCIM Endpoint" value that you find on the right side of this tutorial 👉
-
In the "Secret Token" field, paste the "Secret Token" value that you find on the right side of this tutorial 👉
Edit Mappings

Click on "Attribute mapping (Preview)" in the left sidebar.

Click on "Provision Microsoft Entra ID Users".
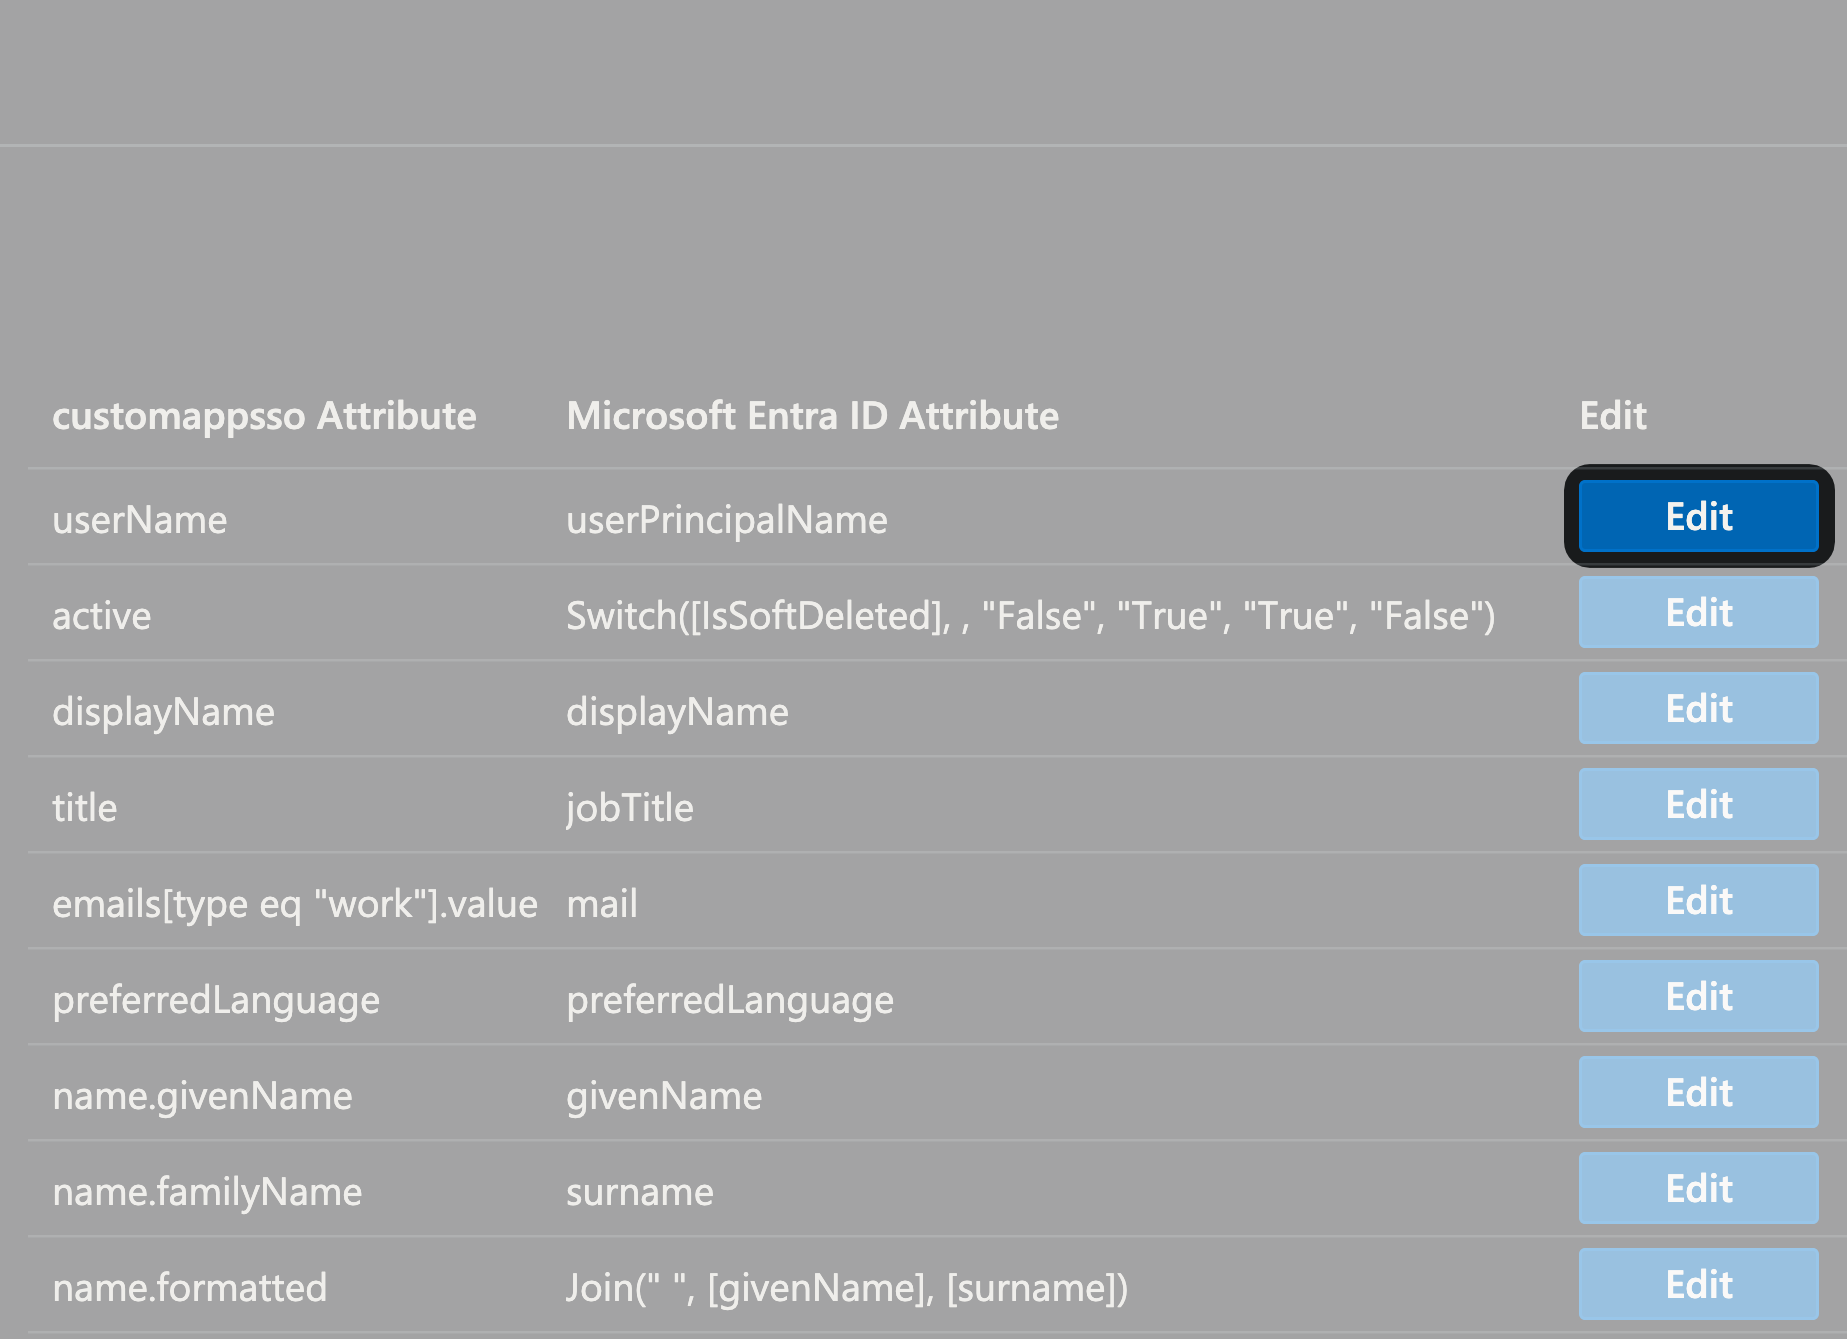
Click on "Edit" at the right of the "userName" attribute.
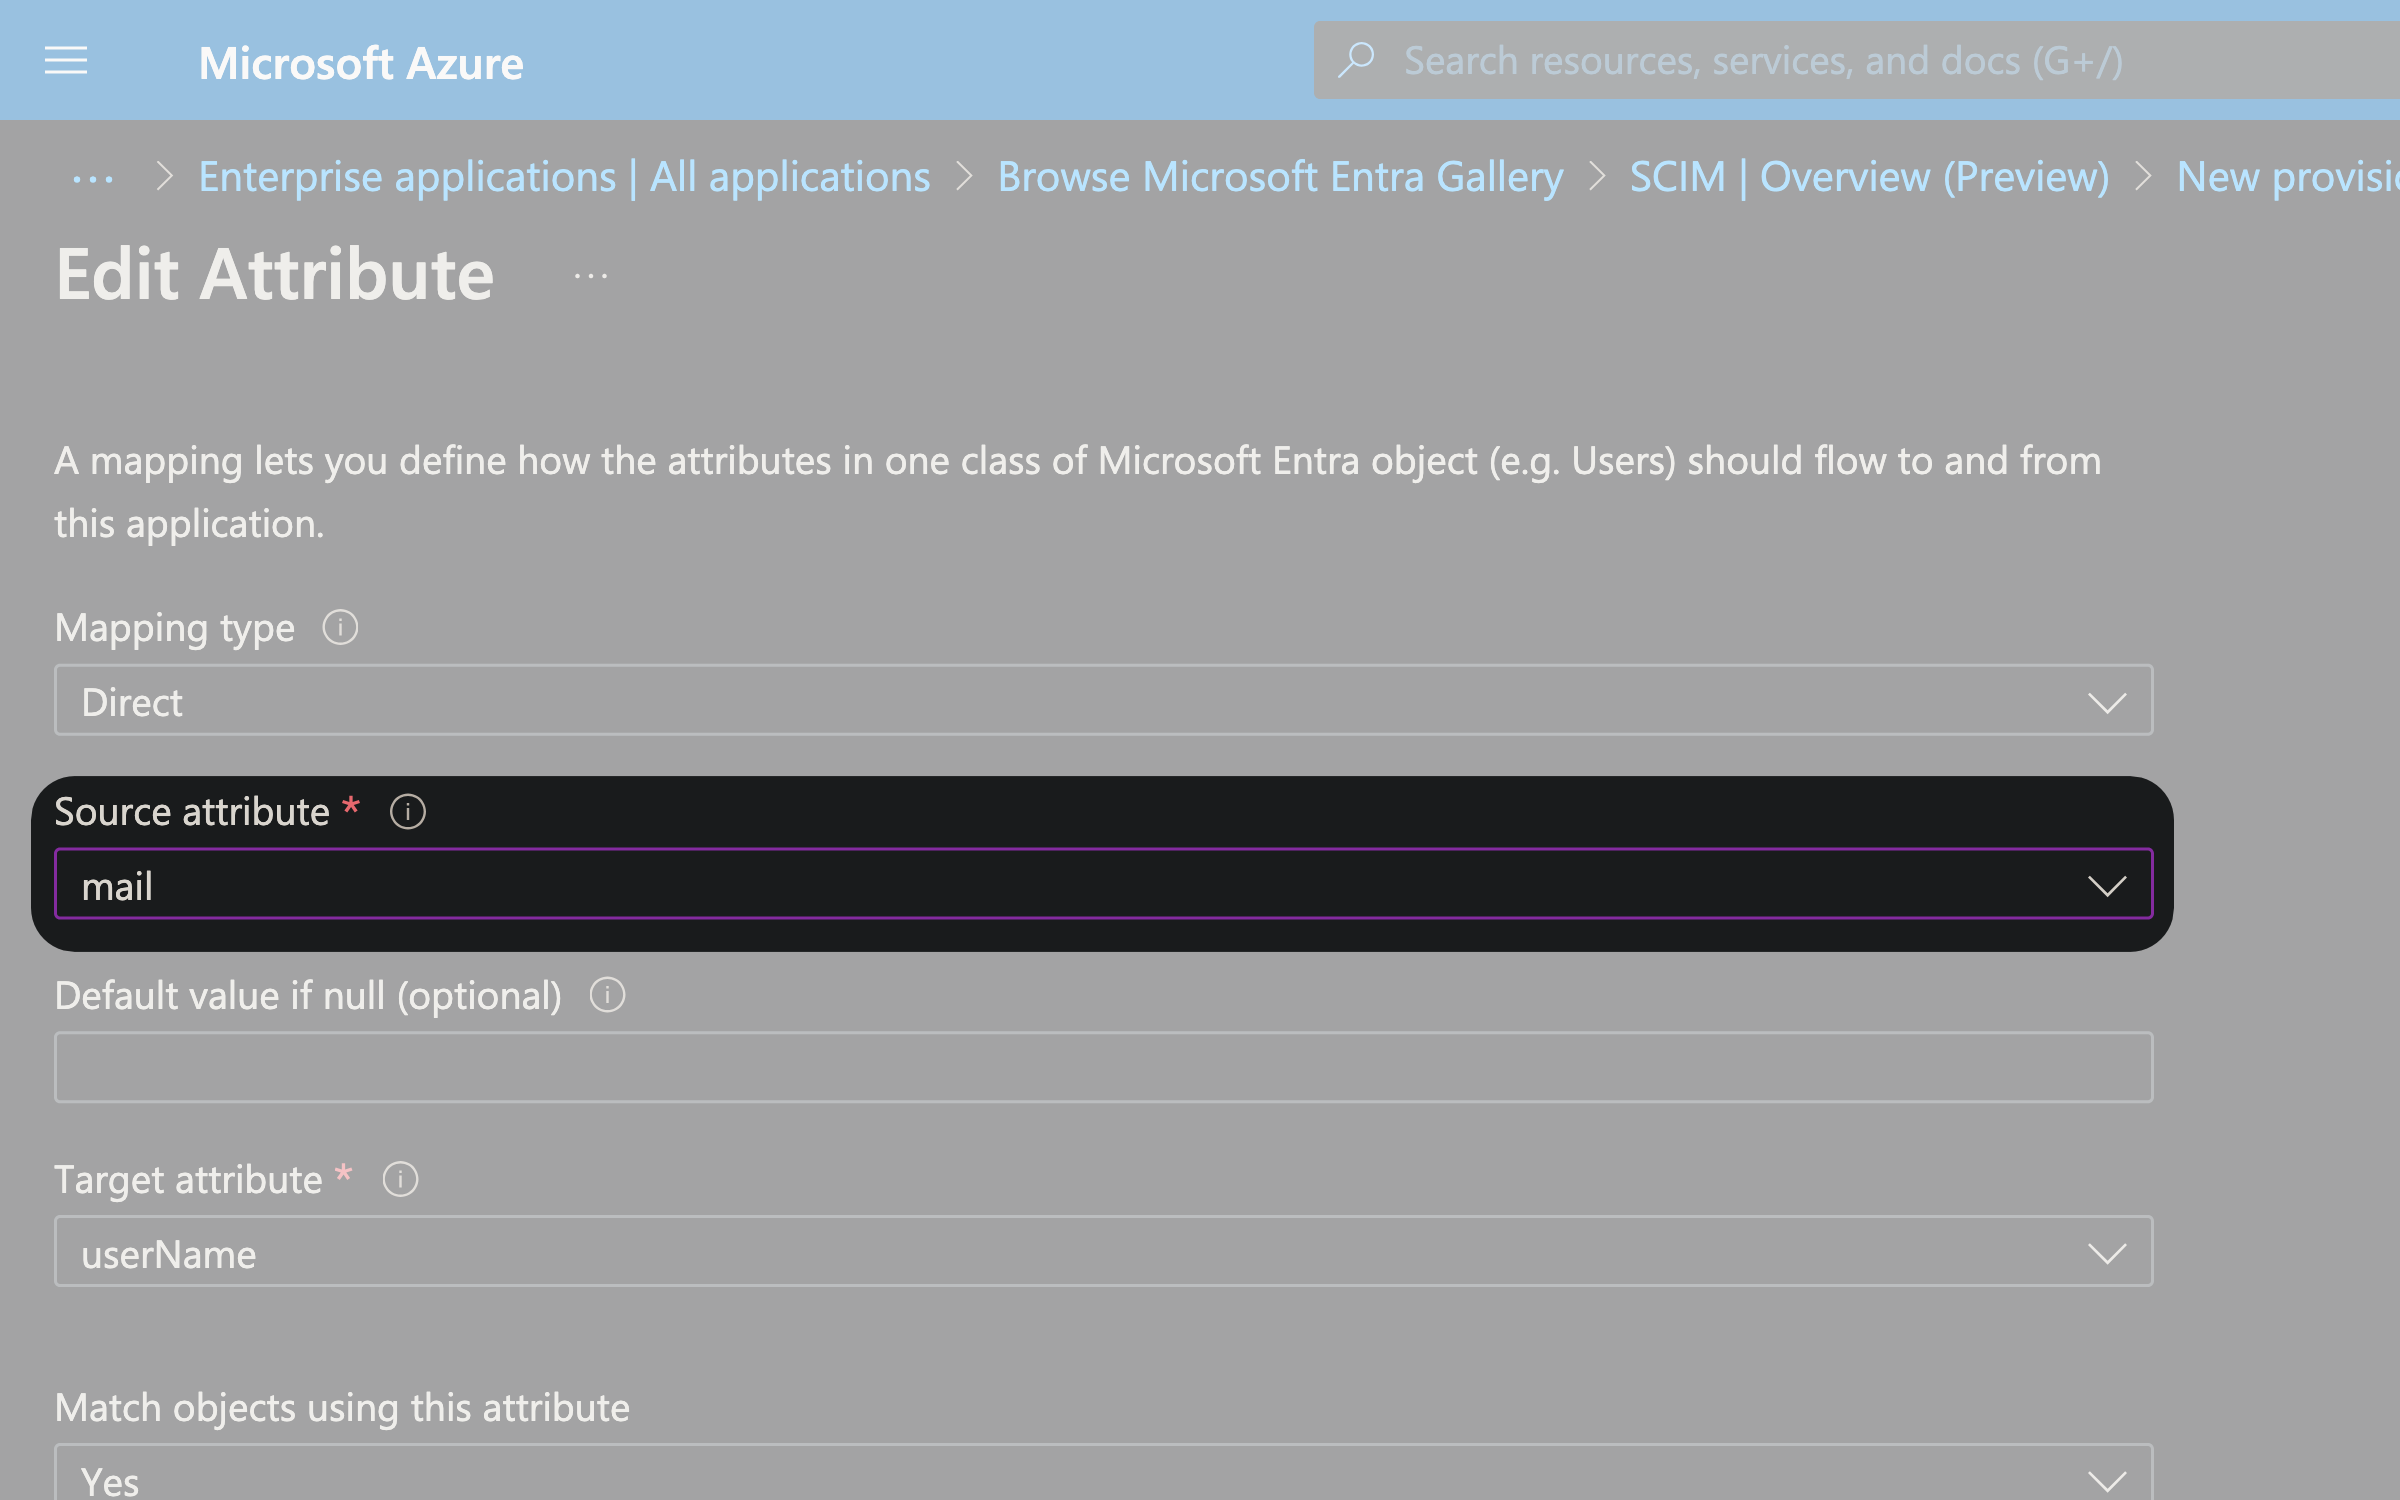
- In "Source attribute" replace "userPrincipalName" by "mail".
- Click on "Ok" at the bottom.
- NOTE: We need to receive the emails that users use. So depending on your AD this could be the UPN or the mail.
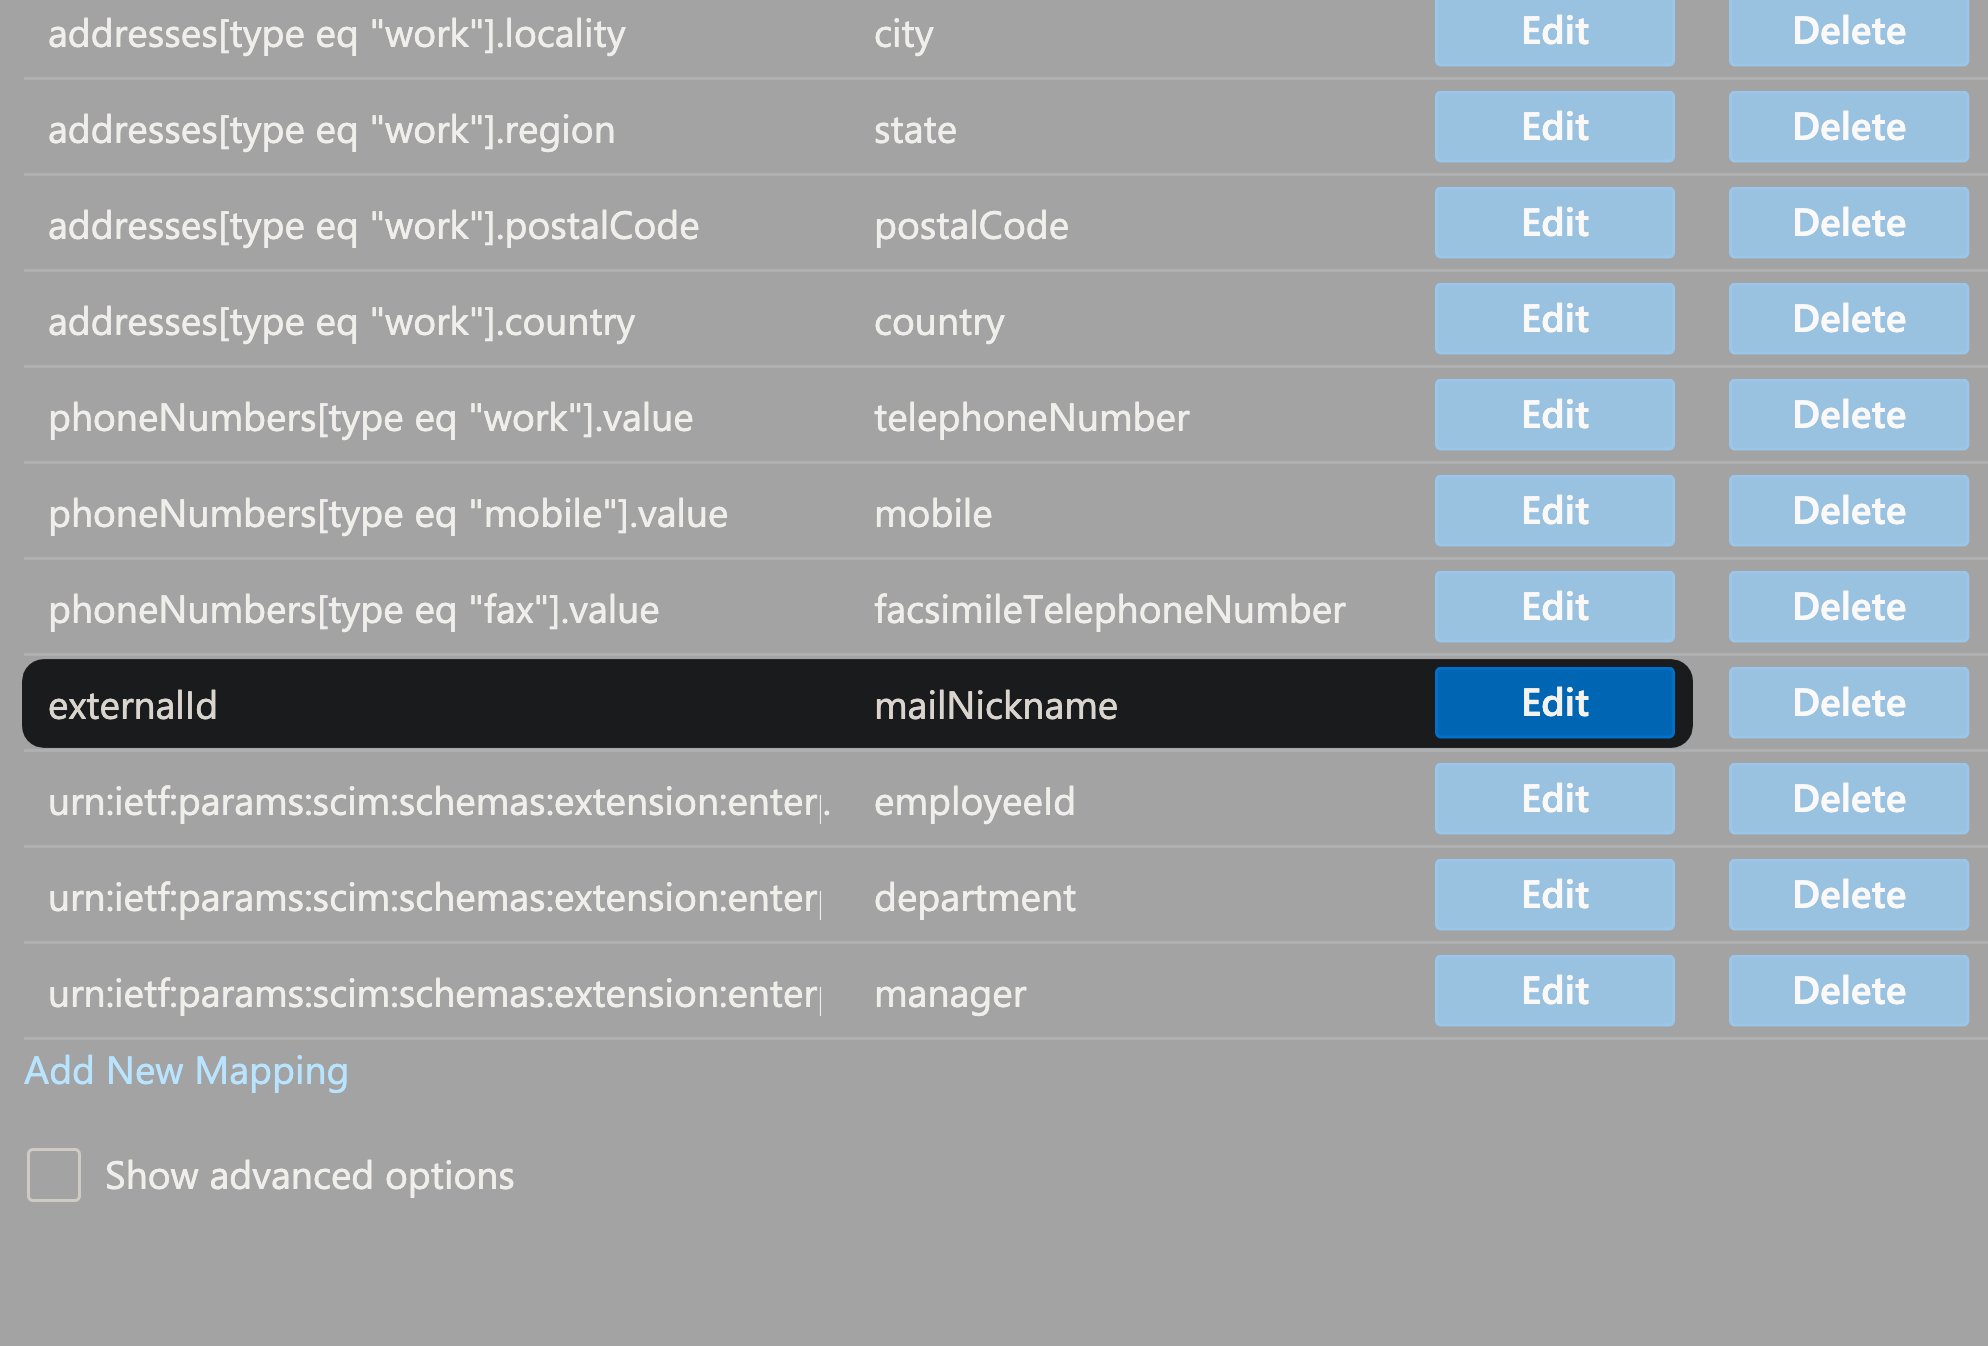
Now edit the external ID mapping by clicking "Edit" at the right of "externalId" attribute.
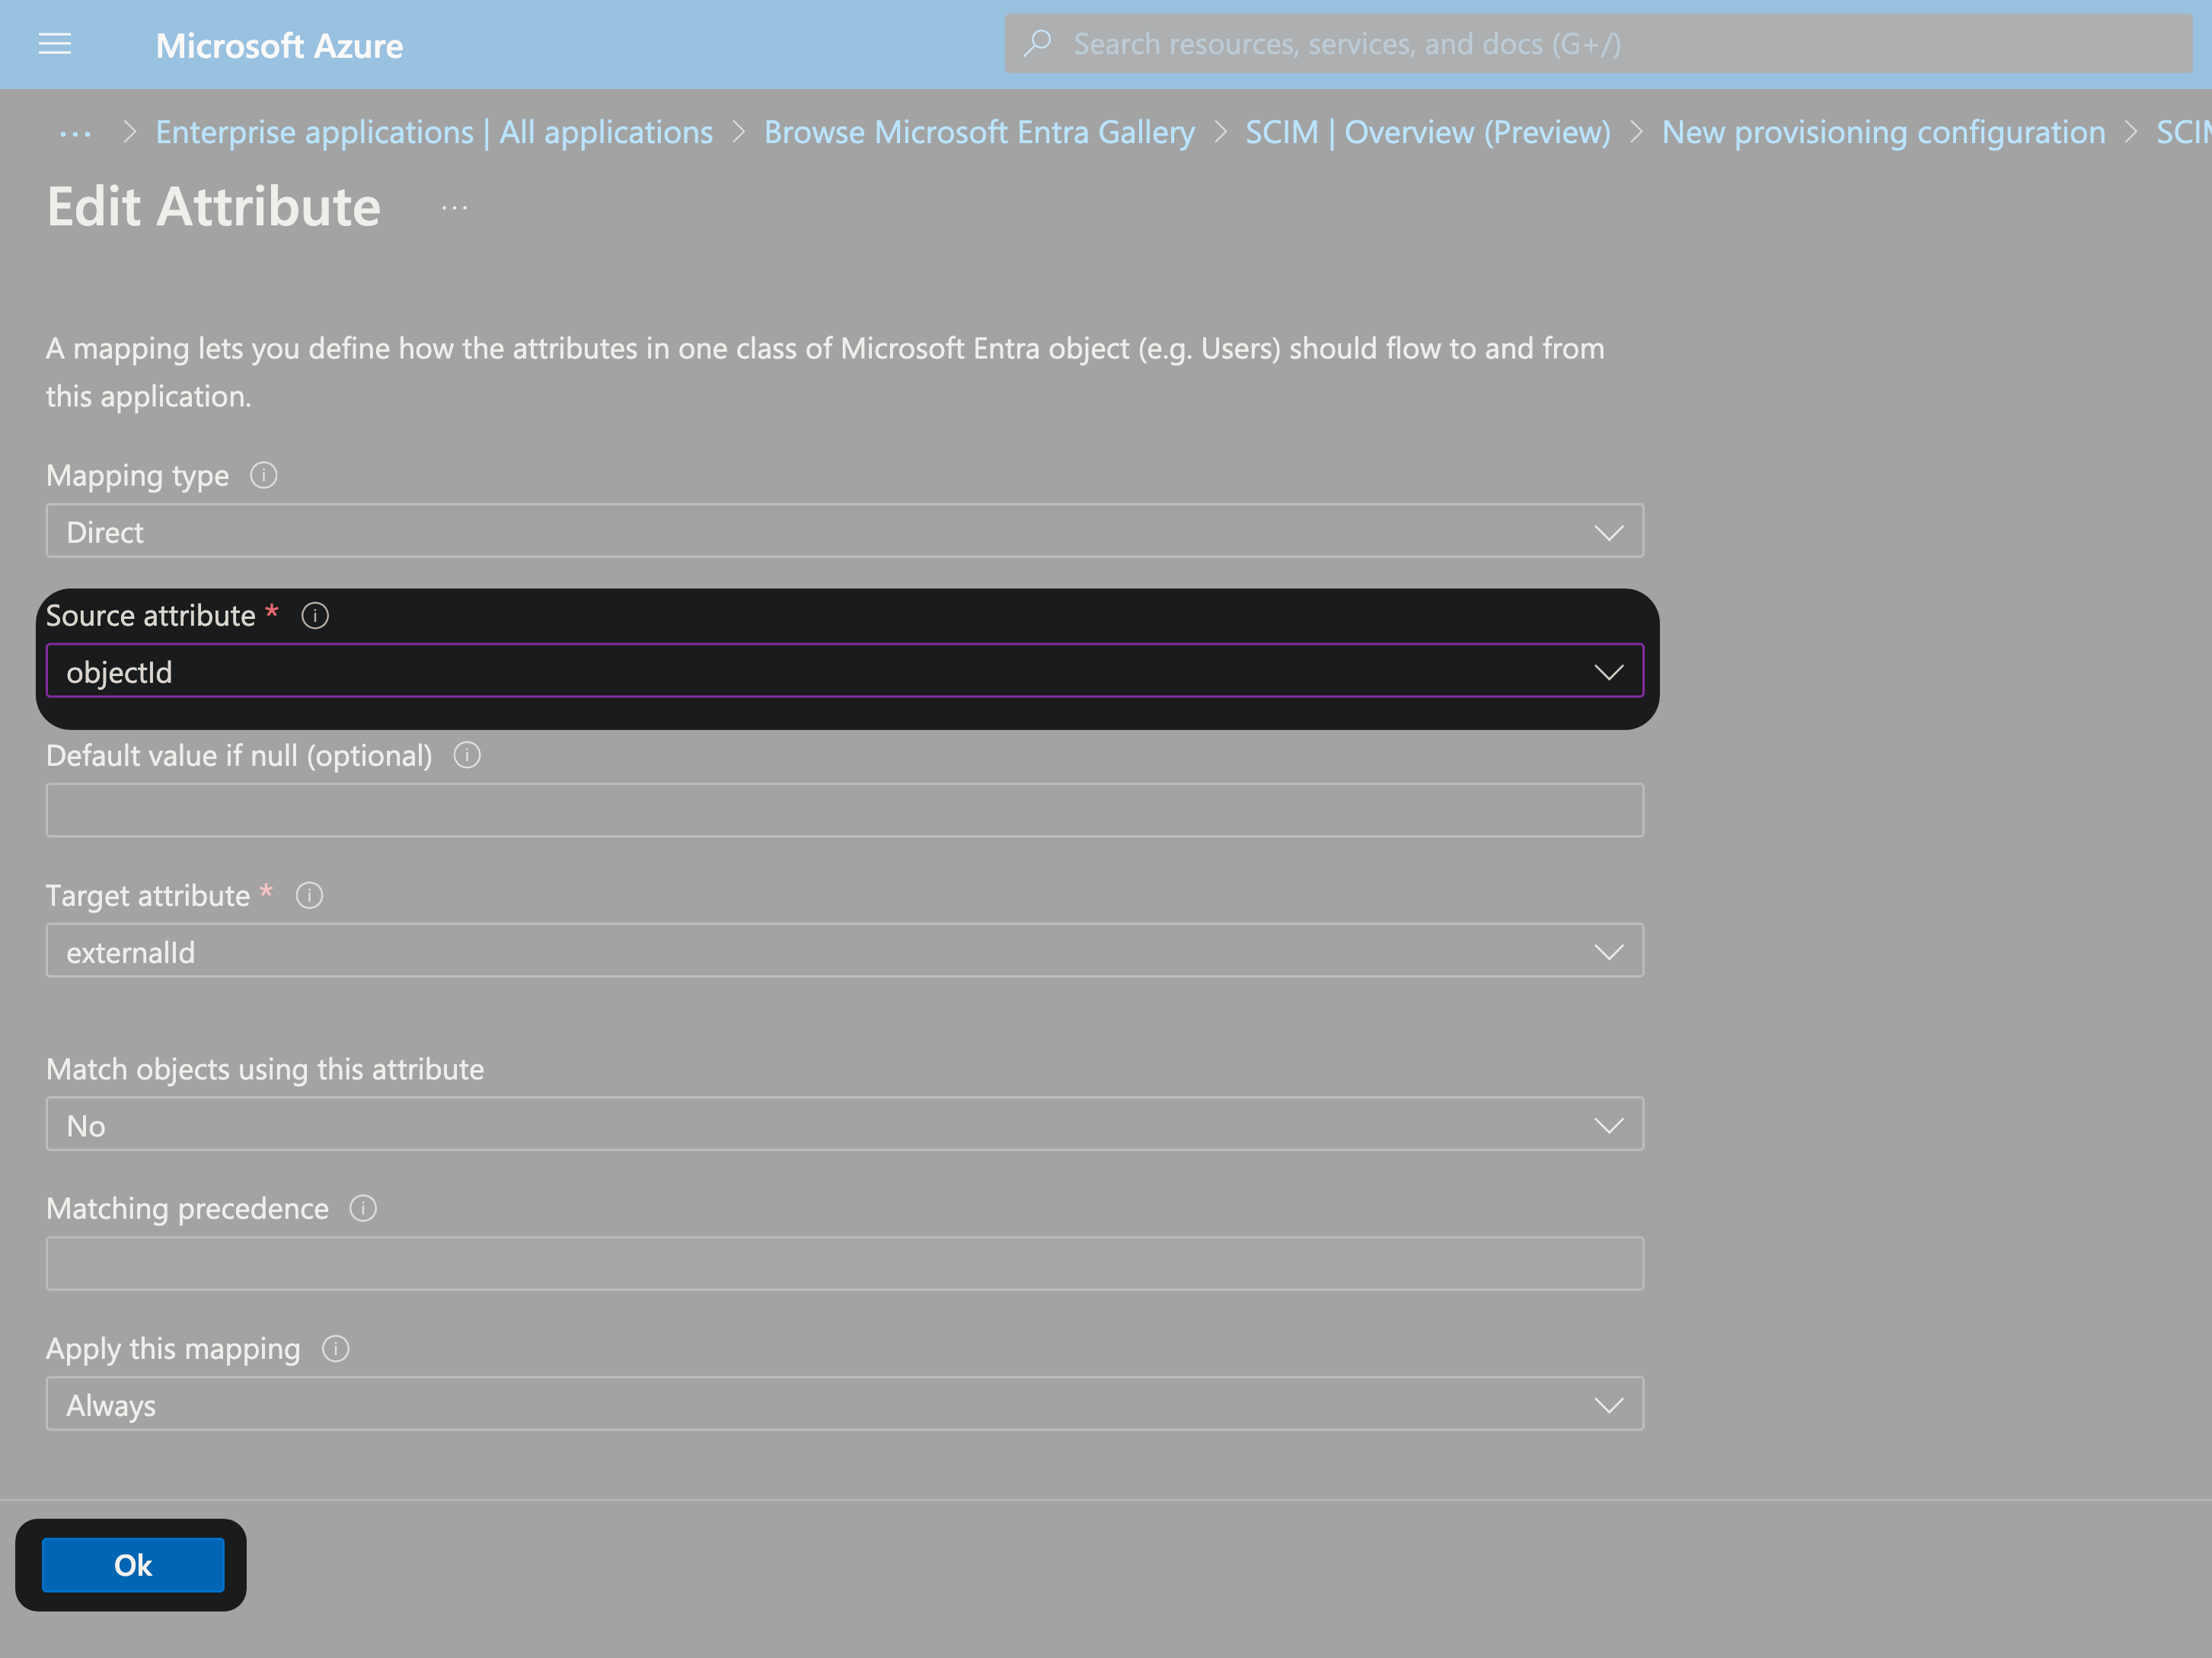
- In "Source attribute" replace "mailNickname" by "objectId".
- Click on "Ok" at the bottom.
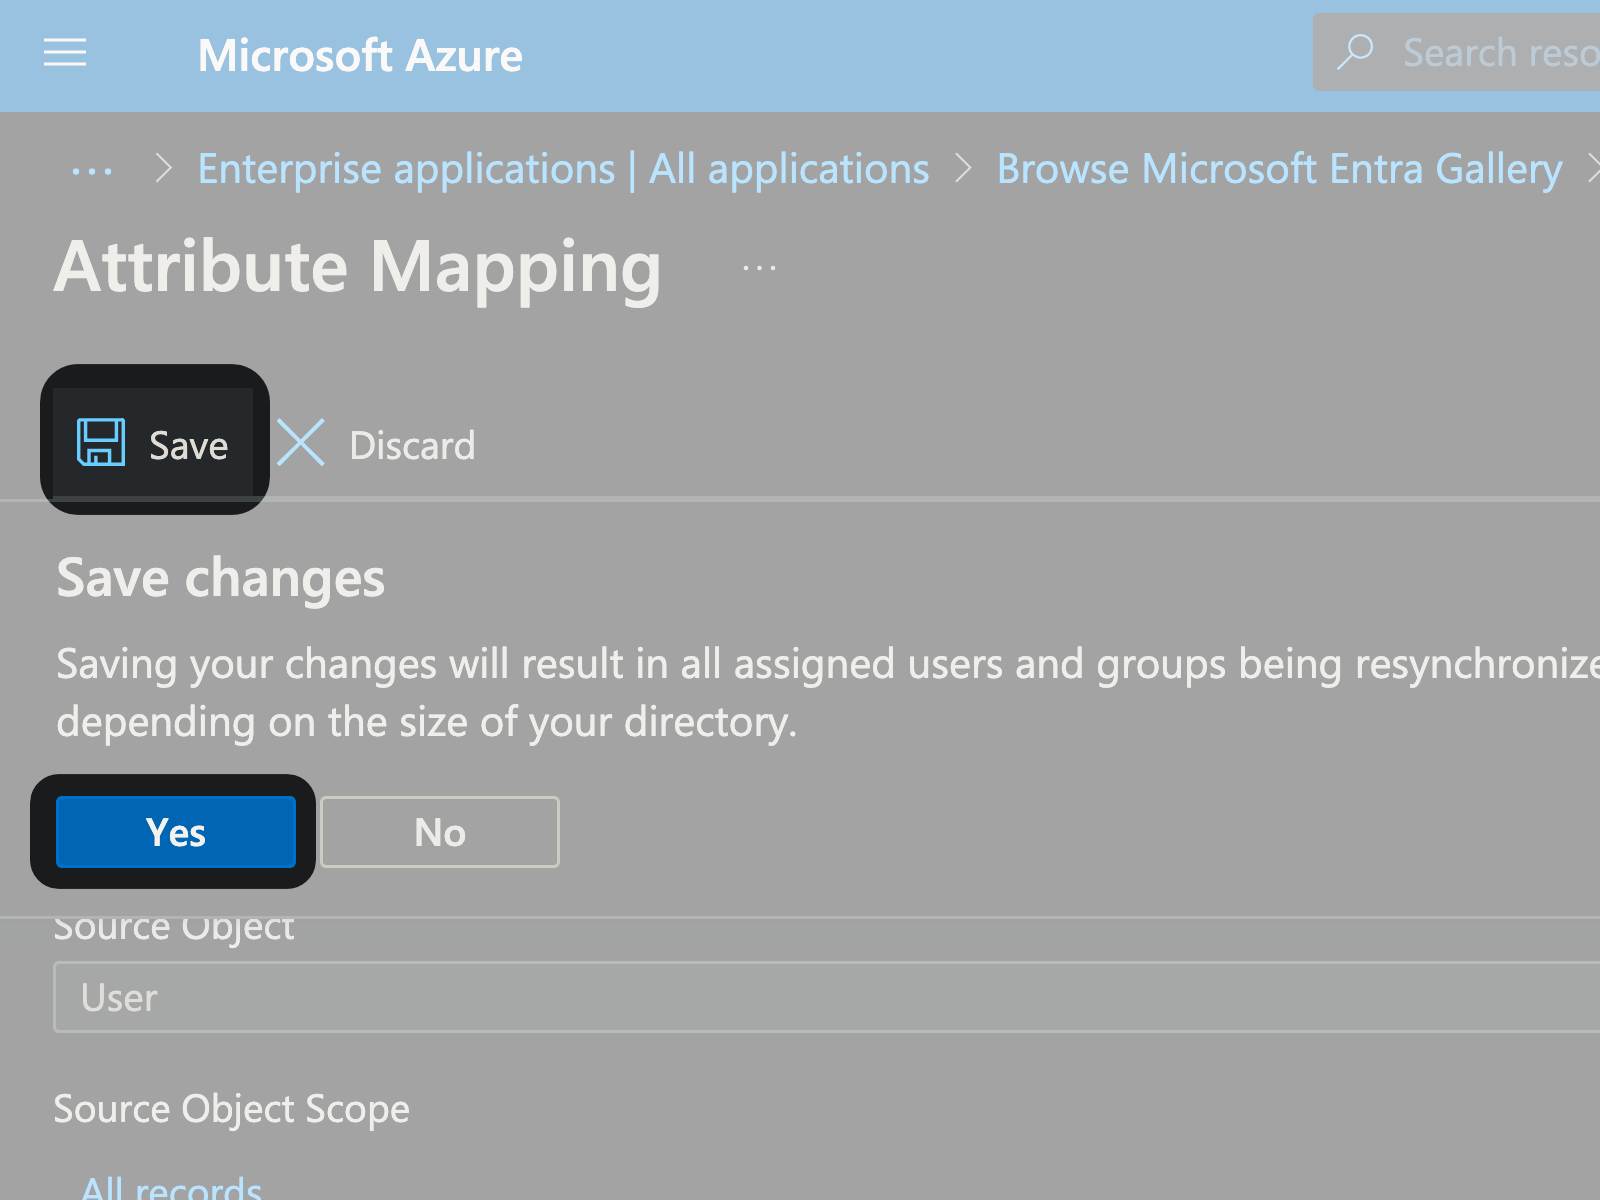
- At the top of the page click on "Save".
- Then click "Yes" to validate the changes.
Test your app's synchronization by assigning users to this application.