Discover step-by-step instructions on configuring a connection with Google. Learn how to integrate your application with Google for secure and streamlined SSO authentication.
How to start
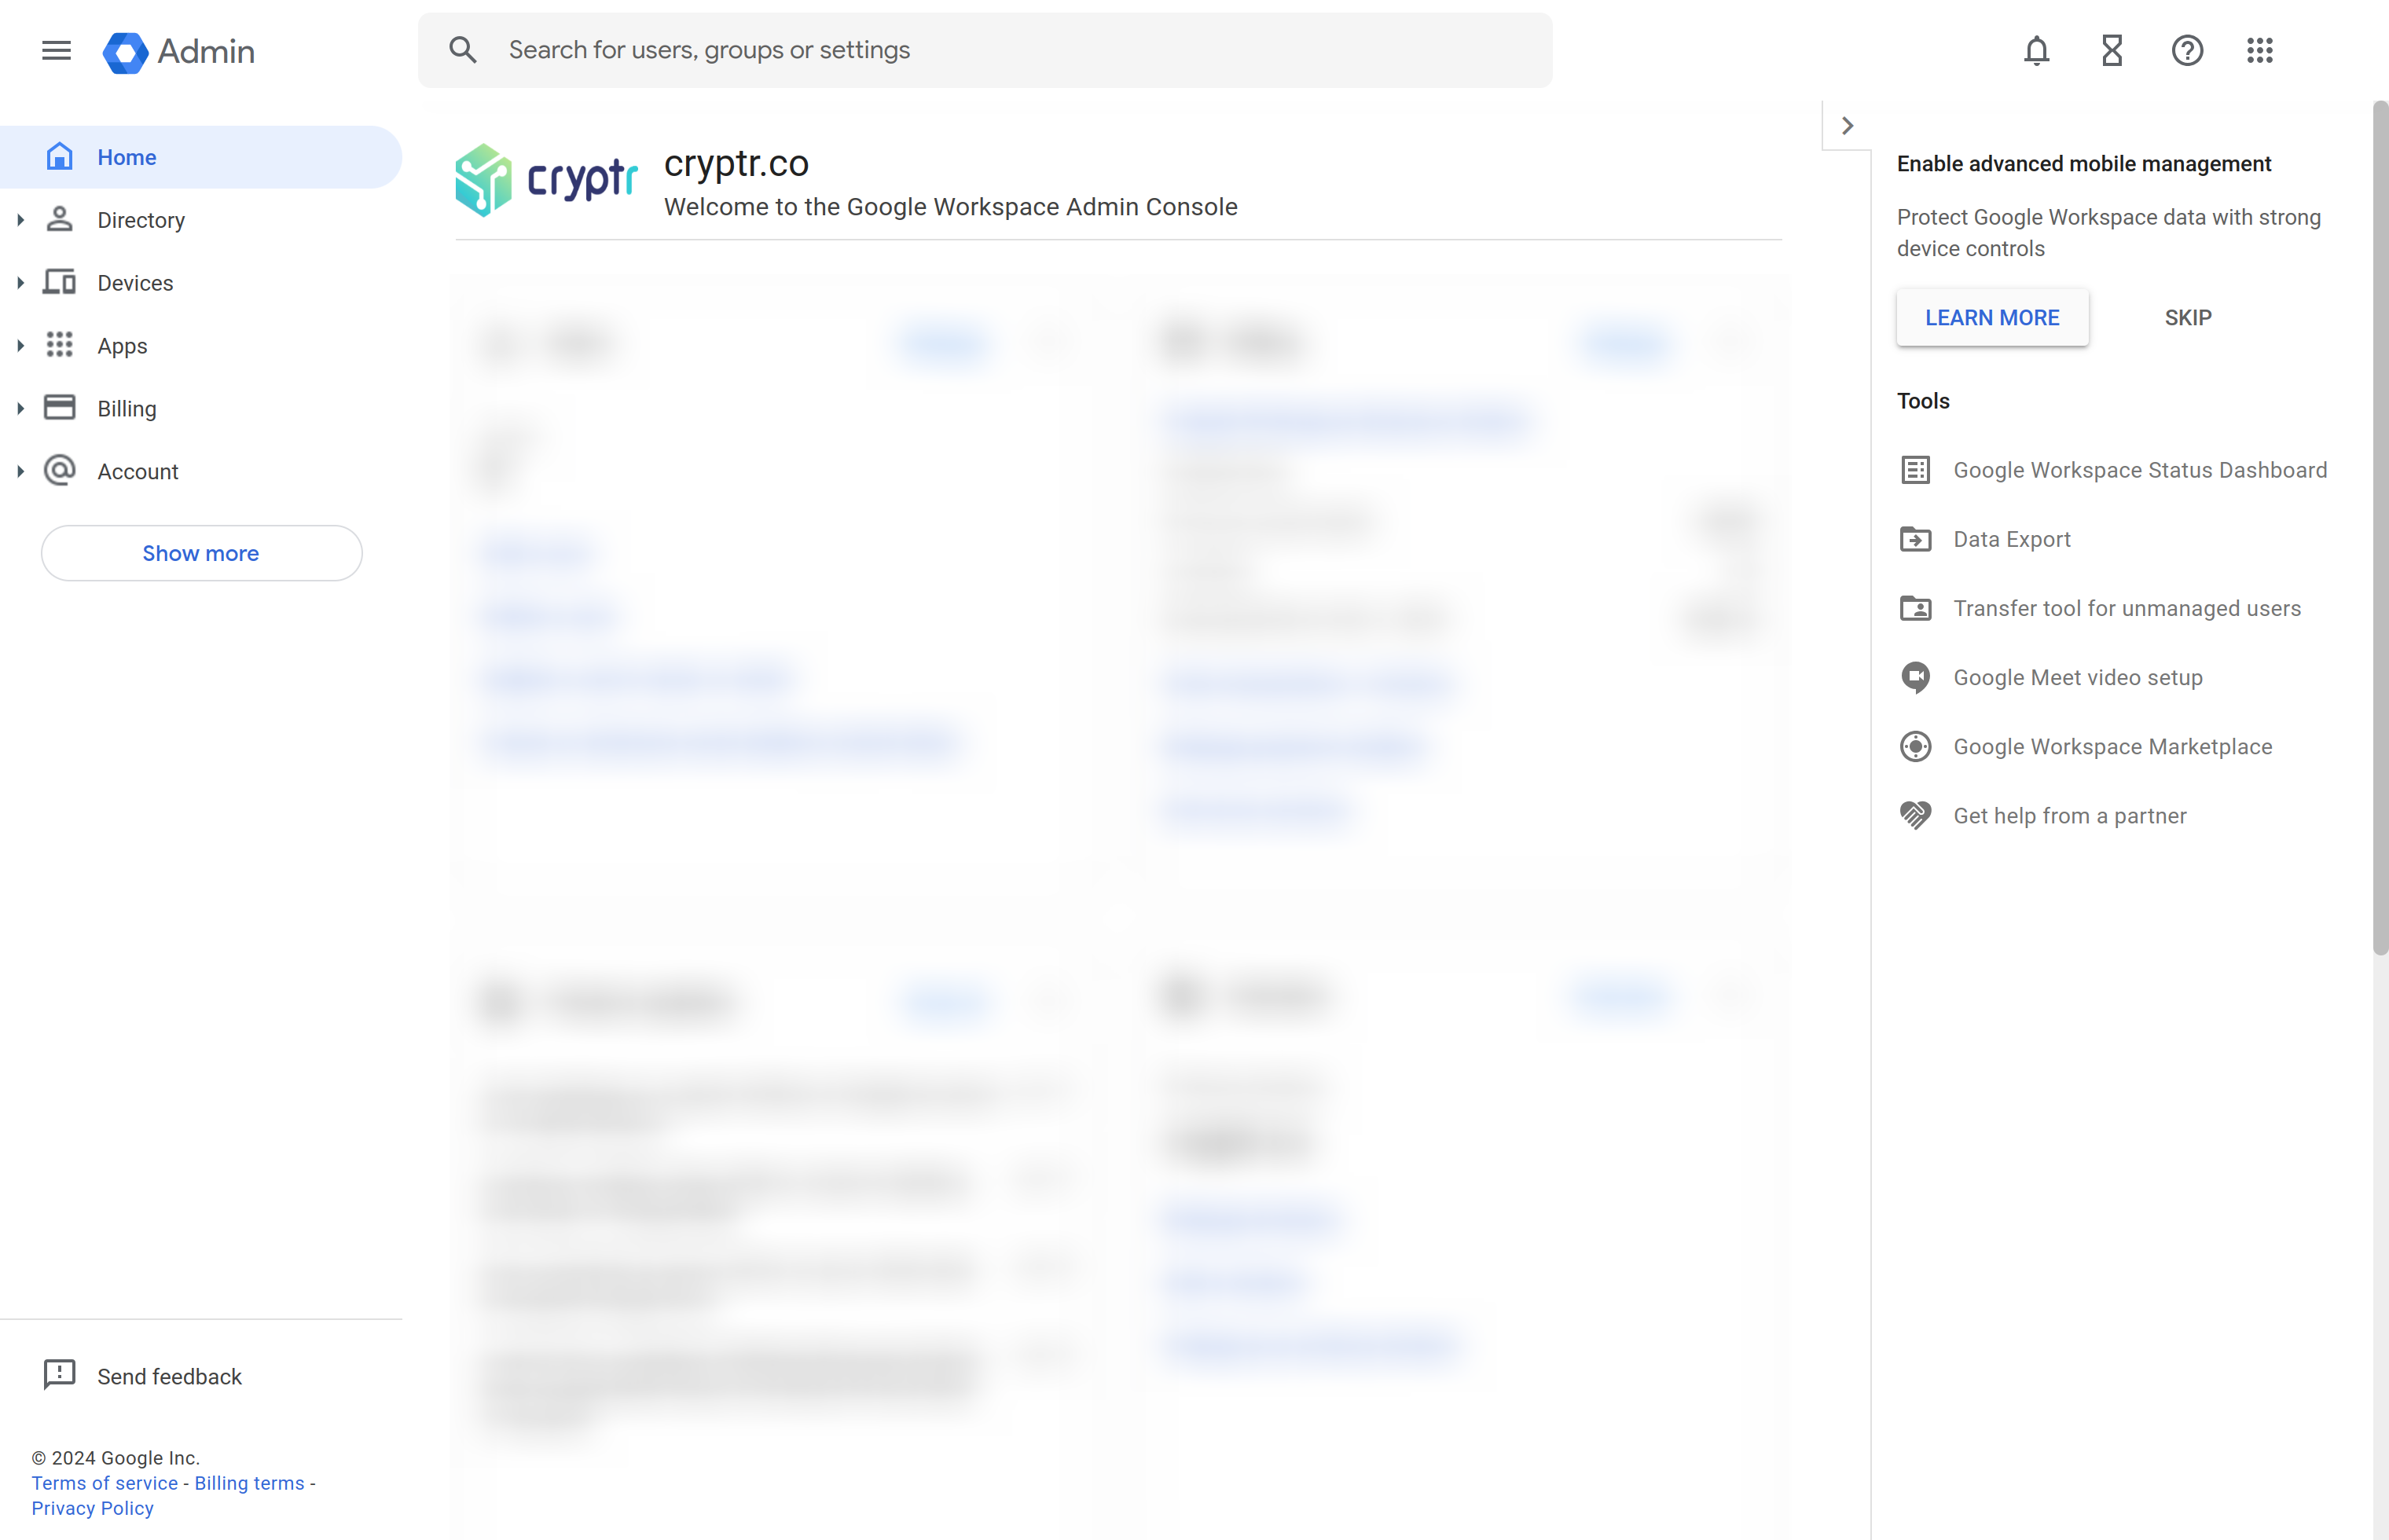
Open admin.google.com
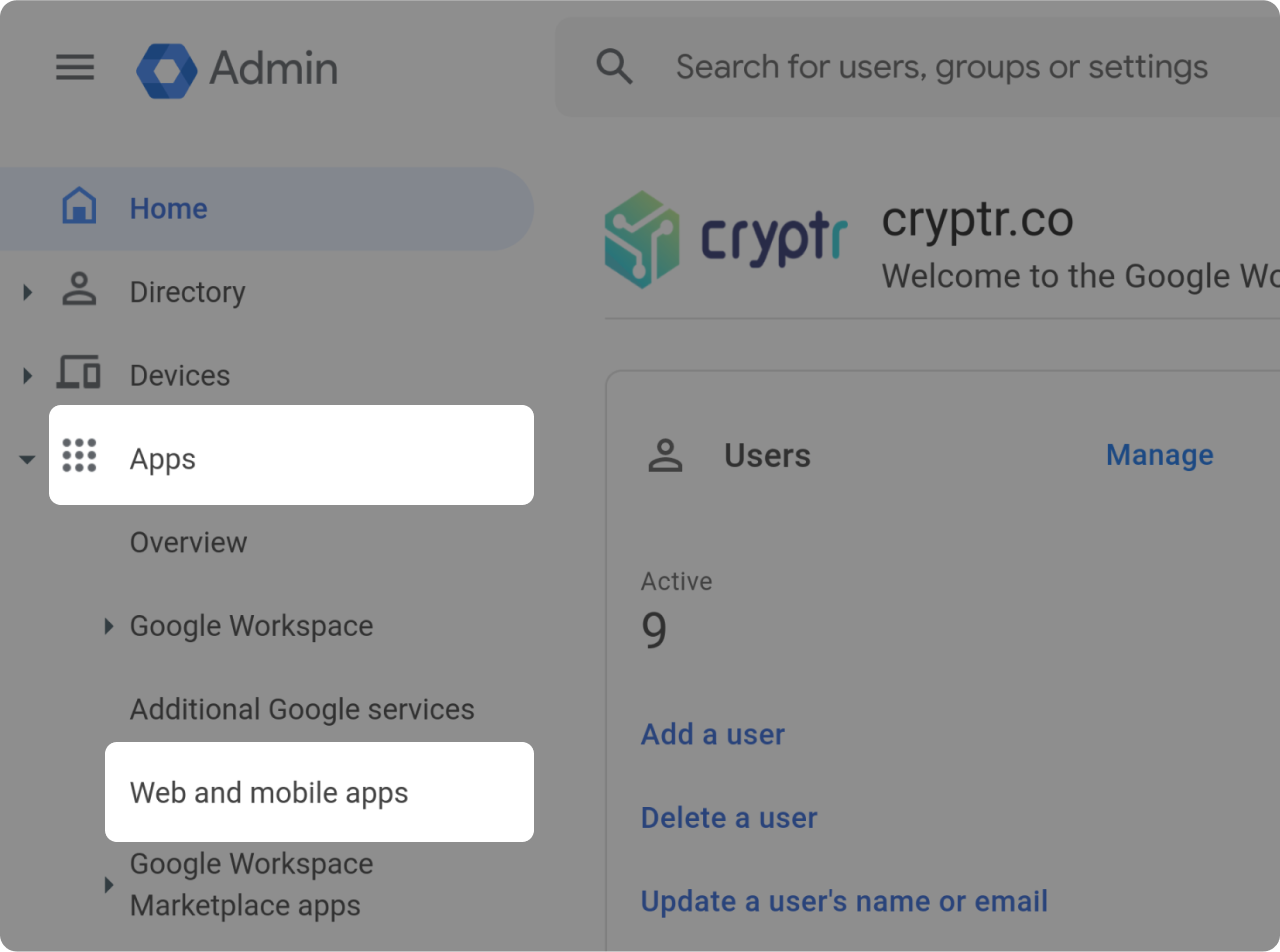
Select "Apps" in the left menu, then choose "Web and mobile apps" from its dropdown.
Declare an application
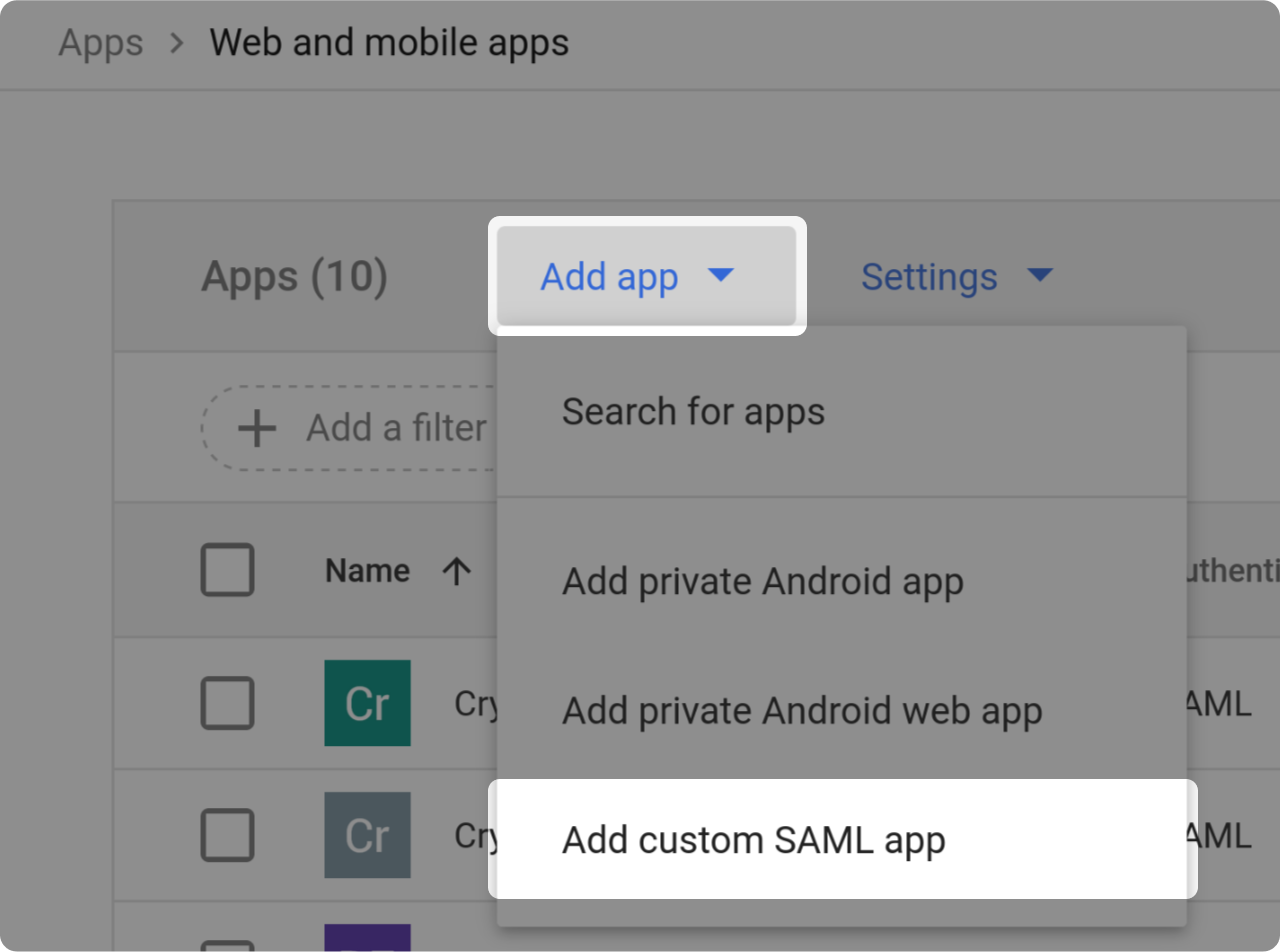
- Click on "Add app"
- Select "Add custom SAML app."
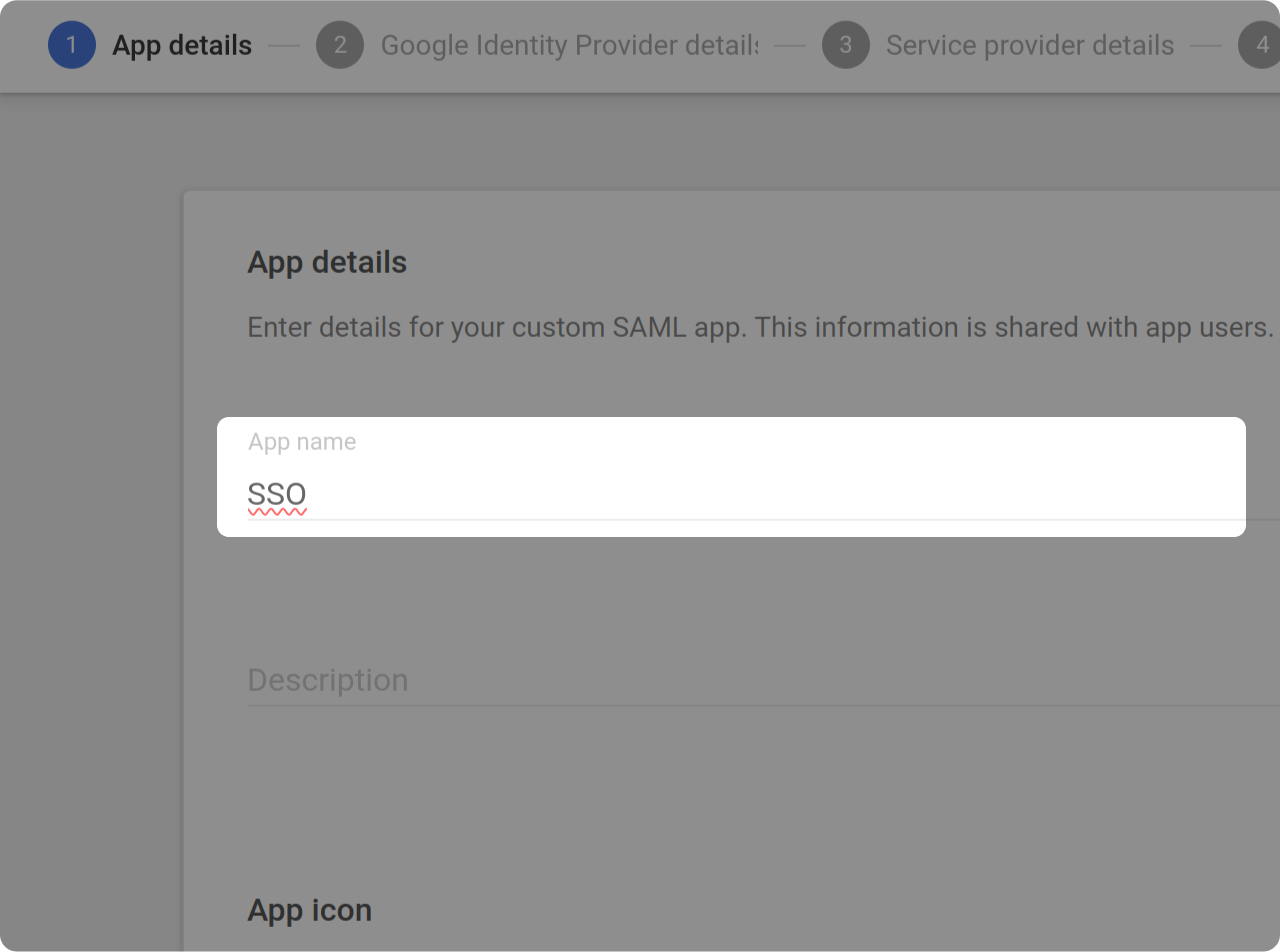
- Choose an app name (If desired, also choose a logo and other settings).
- Click "Continue"
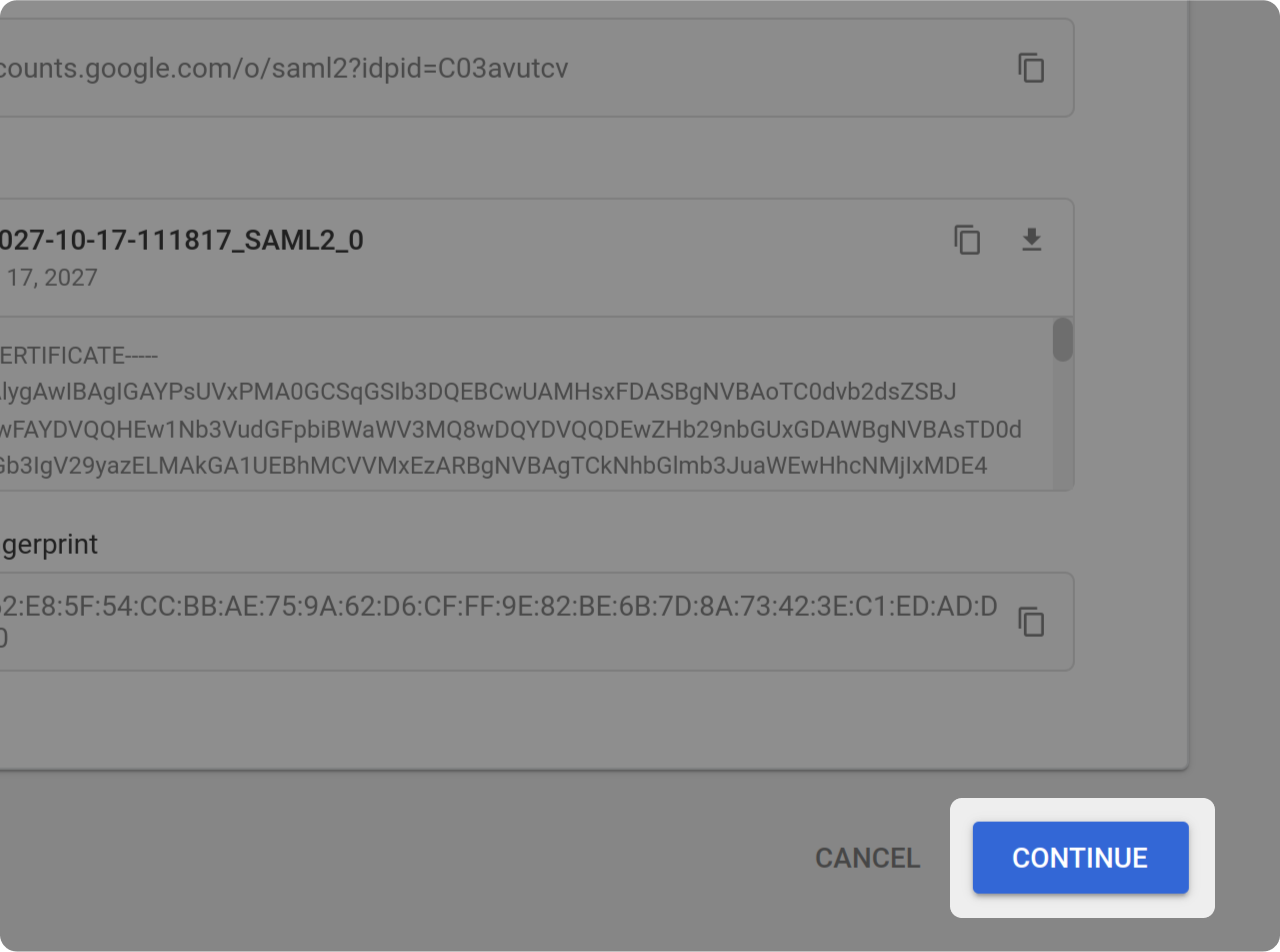
Skip the following screen by clicking the "Continue" button.
SAML configuration
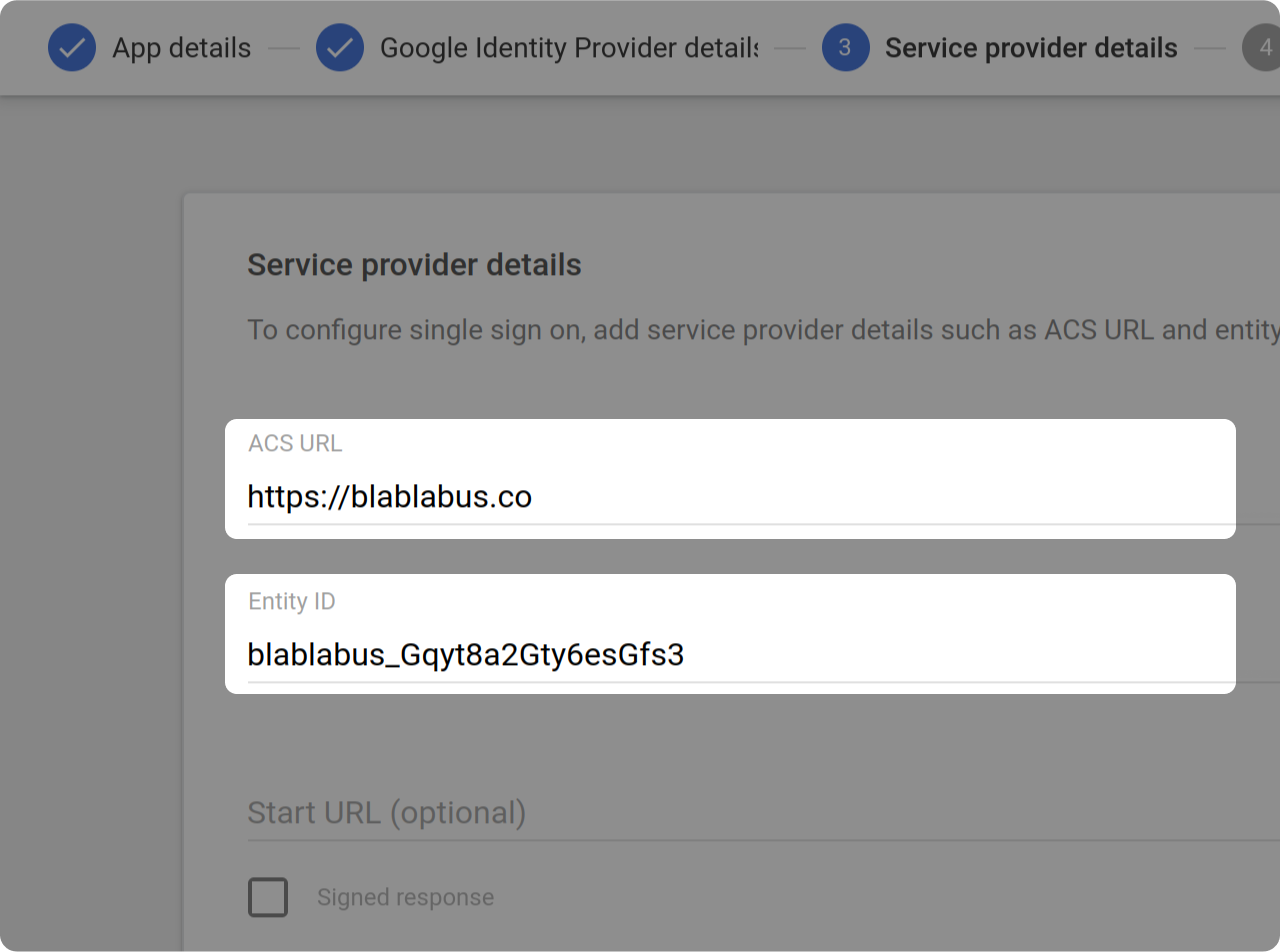
- In the "ACS URL" field, paste the value found on the right sidebar of this screen 👉
- In the "Entity ID" field, paste the value found in the right sidebar of this screen 👉
- Leave the other fields as they are and click "Next.".
Attributes Mapping
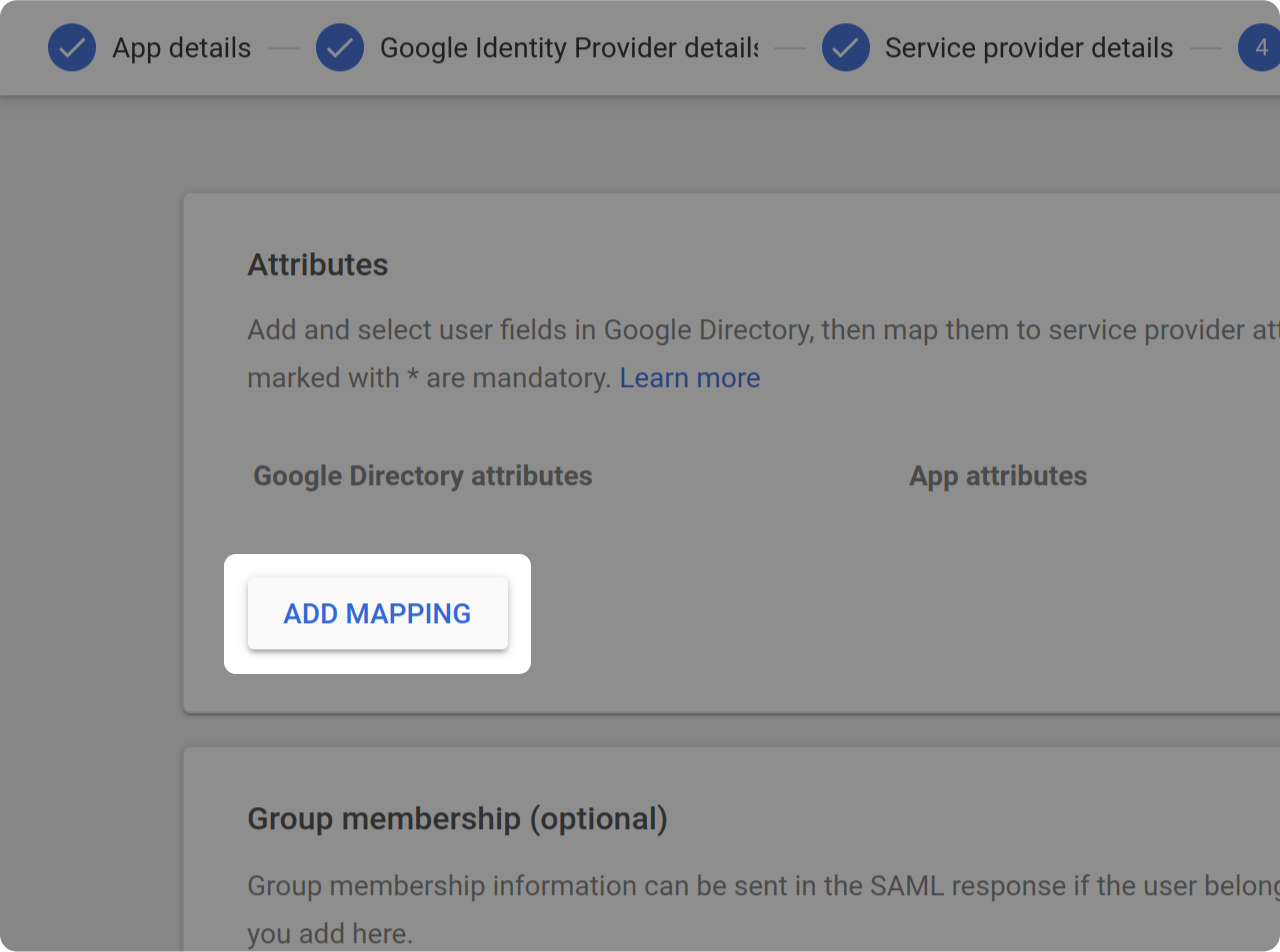
Click on "Add Mapping"
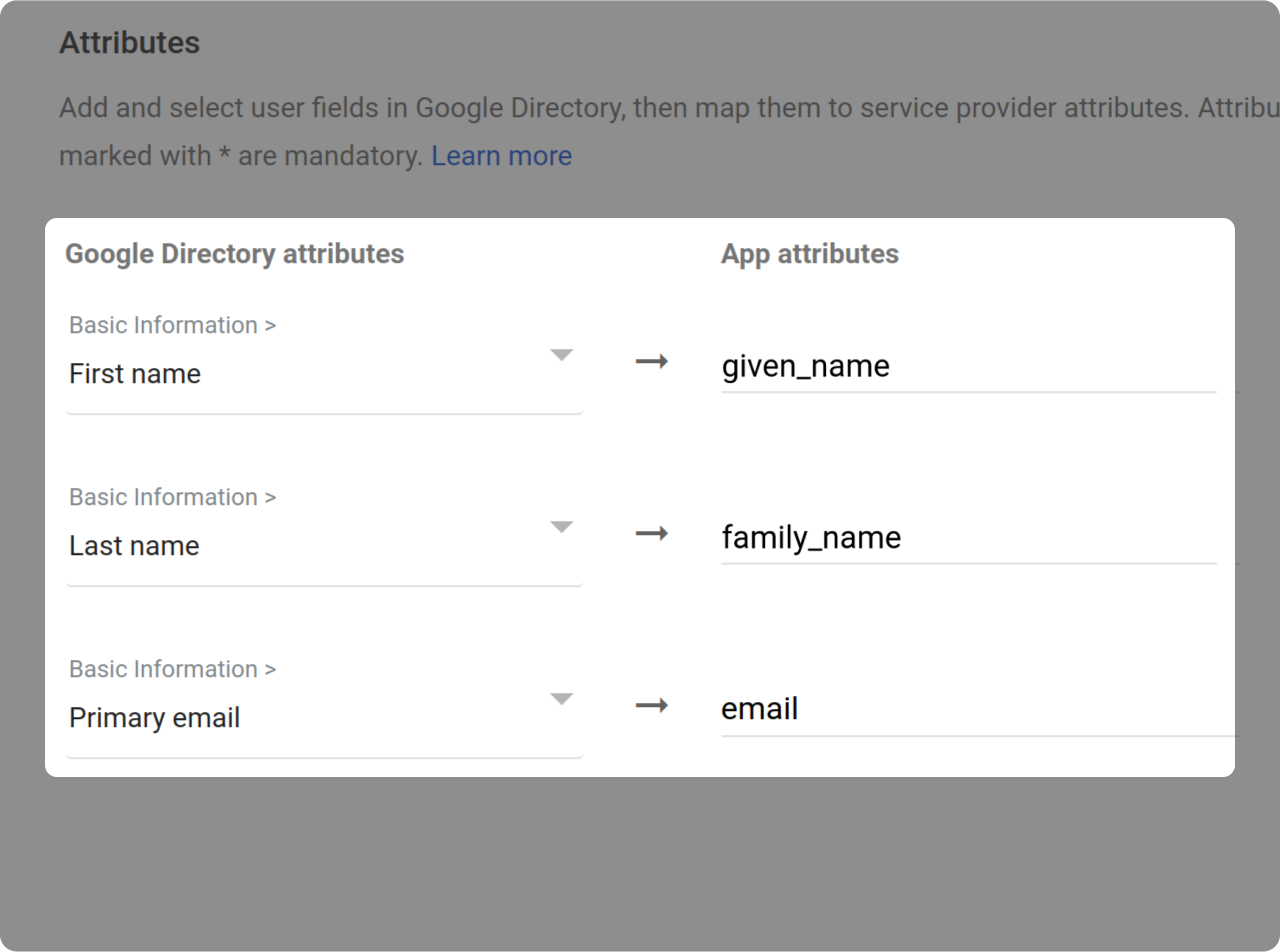

In "Attributes mapping" fill as follows:
- The "Basic Information" > "First name" field corresponds to the "given_name" attribute in the application.
- The "Basic Information" > "Last name" field corresponds to the "family_name" attribute in the application.

- The "Basic Information" > "Primary email" field corresponds to the "email" attribute in the application.
- Then proceed by clicking on "Next."
XML Metadata file
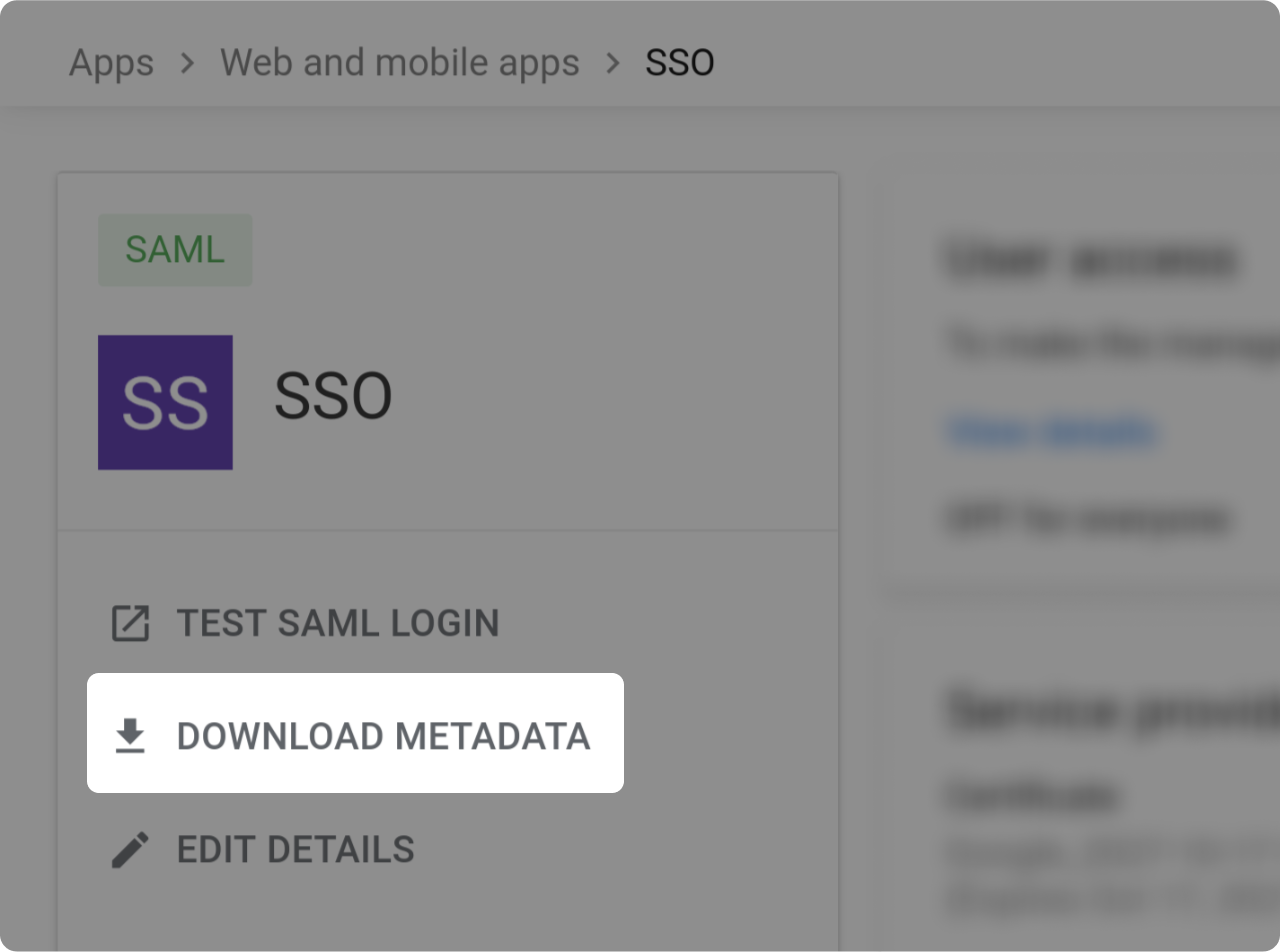
After redirection, click on "Download Metadata" to download the file.

Drop your downloaded XML metadata.
Users and groups
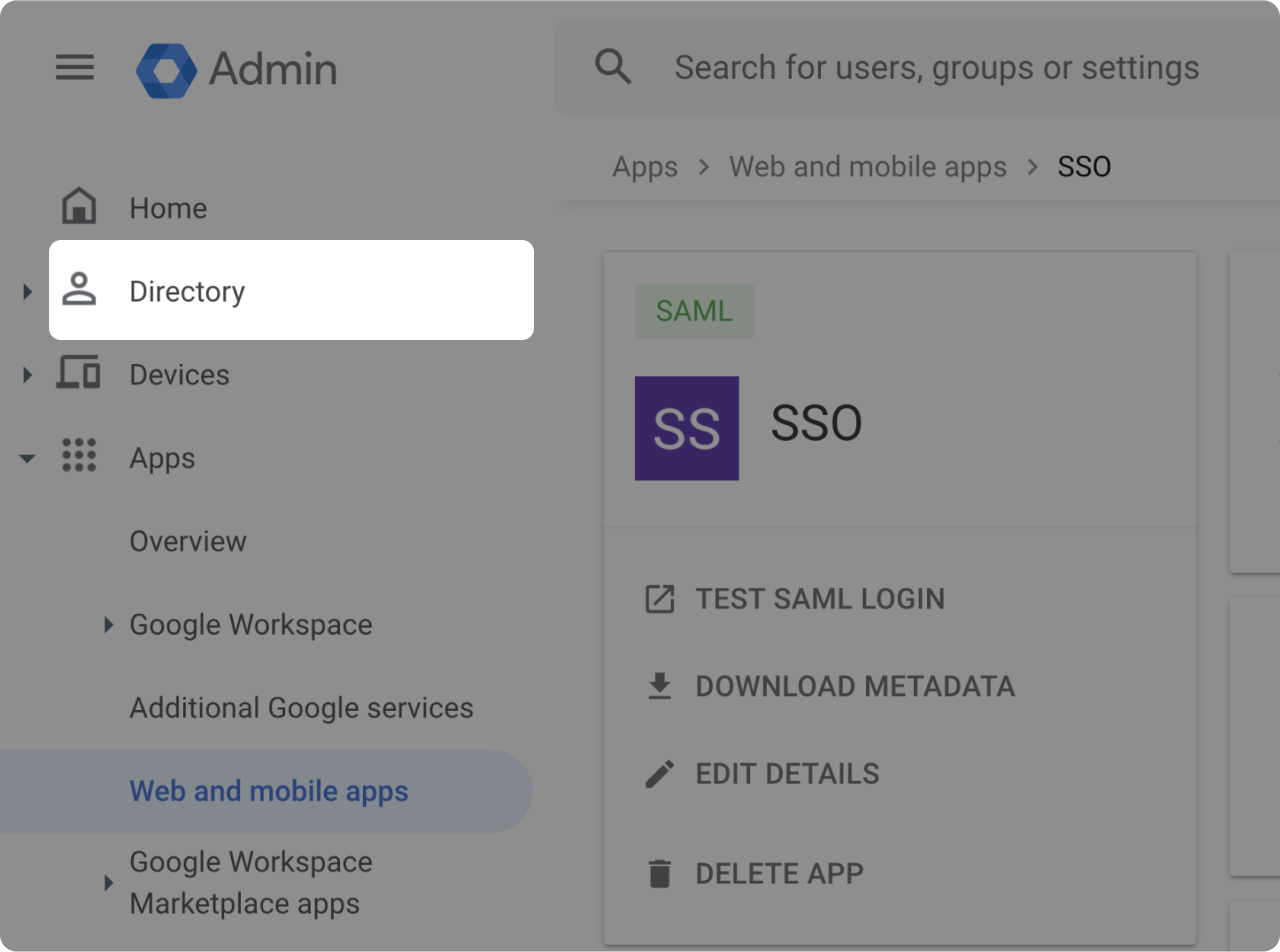
Add users to this app (Left Menu > Directory > Users).
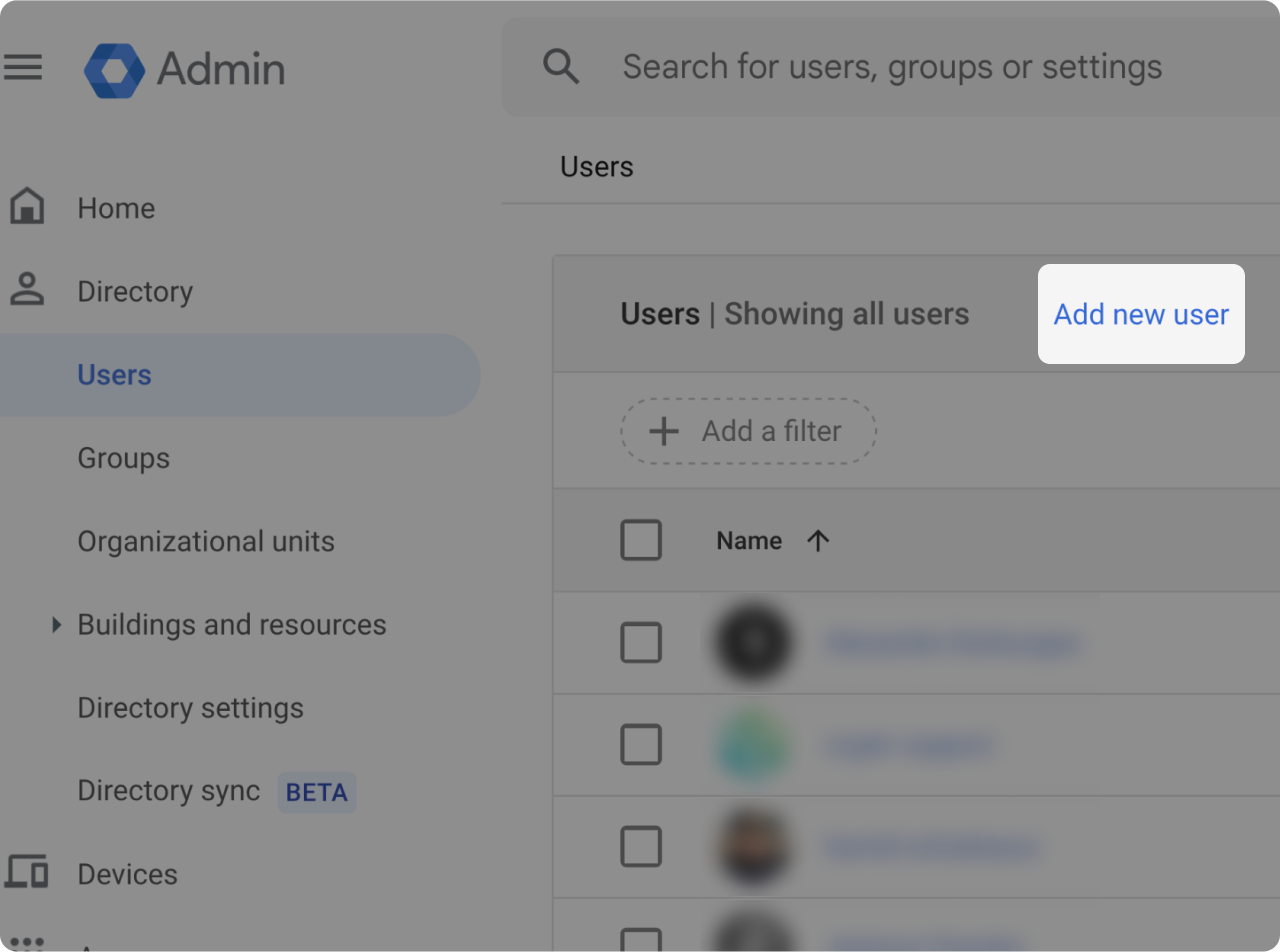
Click on "Add new user."
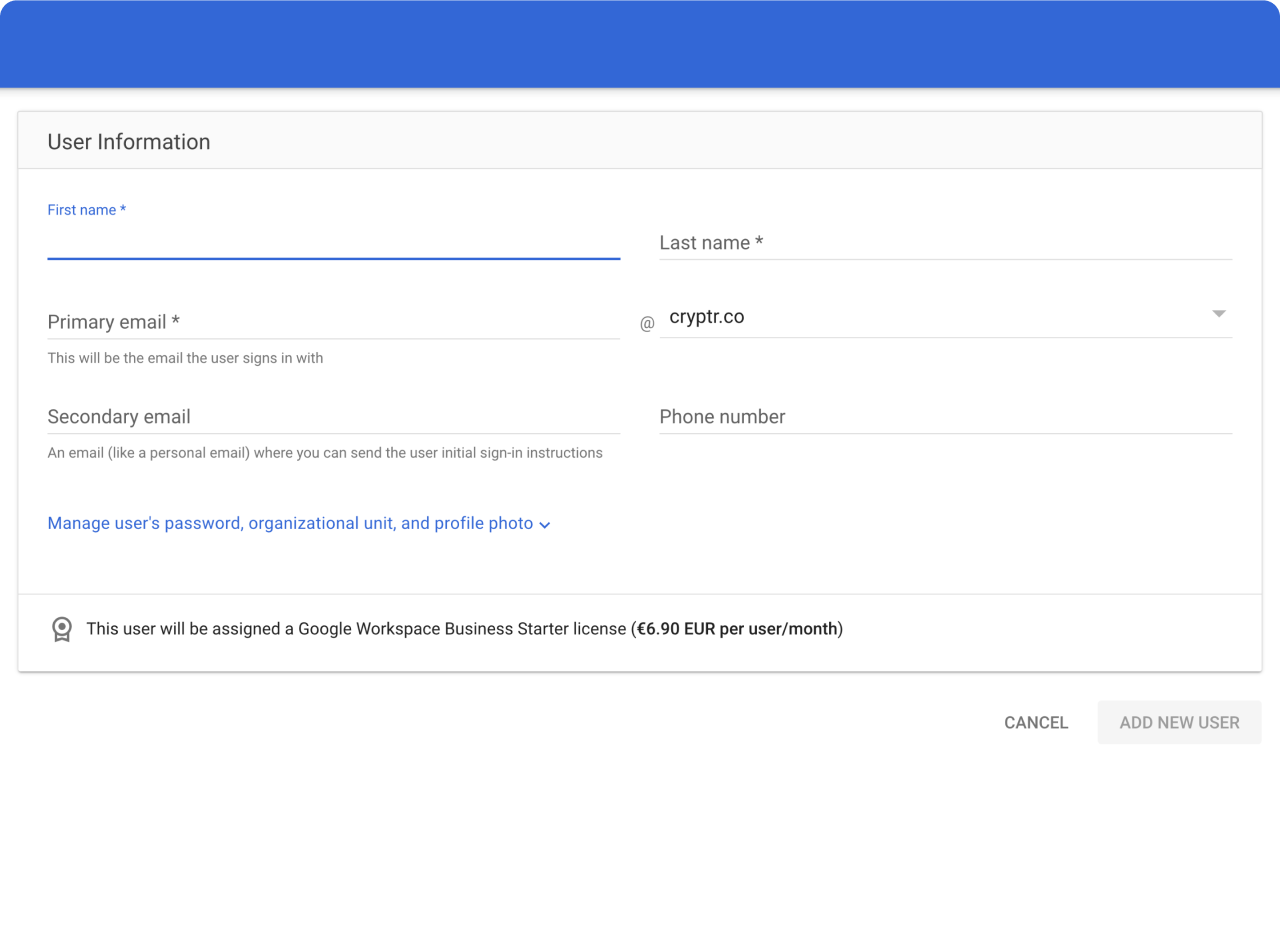
Set the user you want to add.
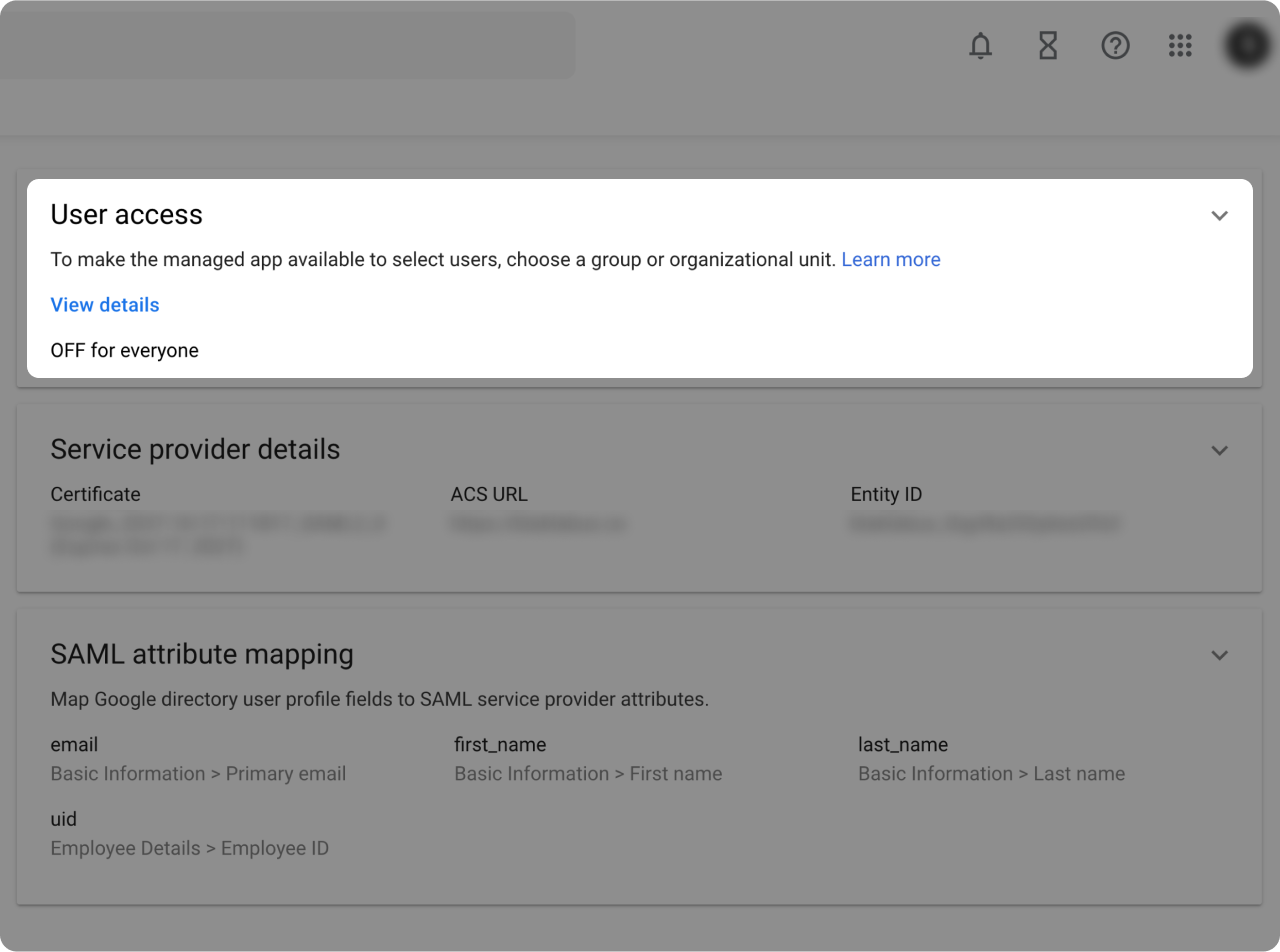
- Go back to your "Web and mobile apps" section.
- Access the "User Access" settings section.
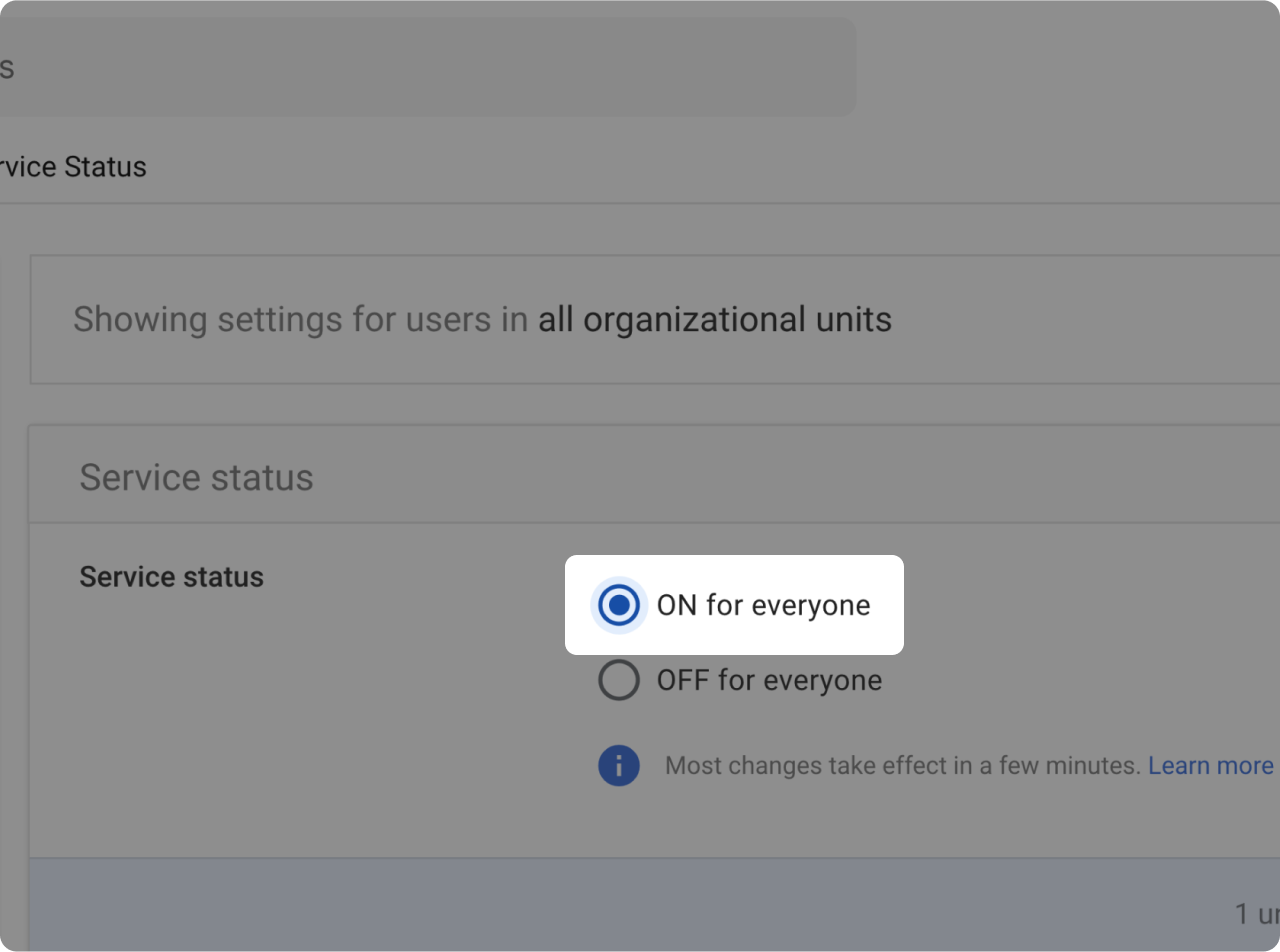
- Activate User Access by checking "ON for everyone."
Test SSO login
Test SSO login